The LED light on your PS4 controller serves more than just an aesthetic purpose; it’s a form of communication between your controller and the console. When this light flashes blue, it’s in the process of trying to connect with the PlayStation 4 system.
Ideally, after a few moments of flashing blue, the light should turn solid blue, signaling a successful pairing connection. But what happens when it doesn’t stop blinking? If you find yourself faced with a perpetually blinking blue light on your PS4 controller, it could be indicative of an underlying issue. This article will delve into the various reasons why this may occur, exploring both common problems and potential solutions.
| Solution Number | Solution Description |
|---|---|
| 1 | Forget the controller from the PS4’s Bluetooth list using another controller, PlayStation App, or USB Keyboard. Reconnect the controller via different methods. |
| 2 | Troubleshoot the PS4 Controller Using Safe Mode by powering off the PS4, entering Safe Mode, connecting the controller with a USB cable, and reconnecting. |
| 3 | Reset the Controller by turning off the PS4 and controller, pressing the reset button near the L2 button, reconnecting via USB, and checking for solid blue light. |
| 4 | Update the PS4 Firmware Using a Keyboard by connecting a USB keyboard, navigating to “System Software Update,” and following the instructions. |
| 5 | Use a Data USB Cable, ensuring you are using the correct type of cable that supports data transfer, and not a charging-only cable. |
| 6 | Charge the Controller by plugging in the PS4 controller and letting it charge for at least 30 minutes, then testing it again. |
1. Forget Your Controller From the PS4’s Bluetooth list
(Most common Fix)
The most common solution is to remove the controller from the PS4’s Bluetooth device list.
By “forgetting” or removing the controller from the Bluetooth list, you’re essentially giving the PS4 and the controller a chance to start their connection from scratch. A fresh start can often fix the issue.
Since your controller isn’t connected to your PS4, there are three ways you can do this:
- Using a USB Keyboard: Connect a compatible keyboard to your PS4 to navigate your console.
- Using Another Controller: If you have access to a second working PS4 controller.
- Using the PlayStation App: You can utilize the second screen controller feature on the PS app.
Below are the detailed steps that explain how to perform this solution through each of the three methods:
Method 1: Using a USB Keyboard
- Connect a USB Keyboard to Your PS4: Plug it into a USB port on the system.
- Sign in to PS4: Use the keyboard to navigate and sign in to your PS4.
- Go to Settings: Navigate to “Settings” > “Devices” > “Bluetooth Devices.”

- Forget the Non-working Controller: Select the non-working controller, then press the “Delete” or “Backspace” key on the keyboard to forget the device.

Method 2: Using Another Controller
- Sign in to PS4: Use a working PS4 controller to sign in to your PS4.
- Go to Settings: Navigate to “Settings” > “Devices” > “Bluetooth Devices.”
- Forget the Non-working Controller: Select the non-working controller, click “Options,” then click “Forget Device.”
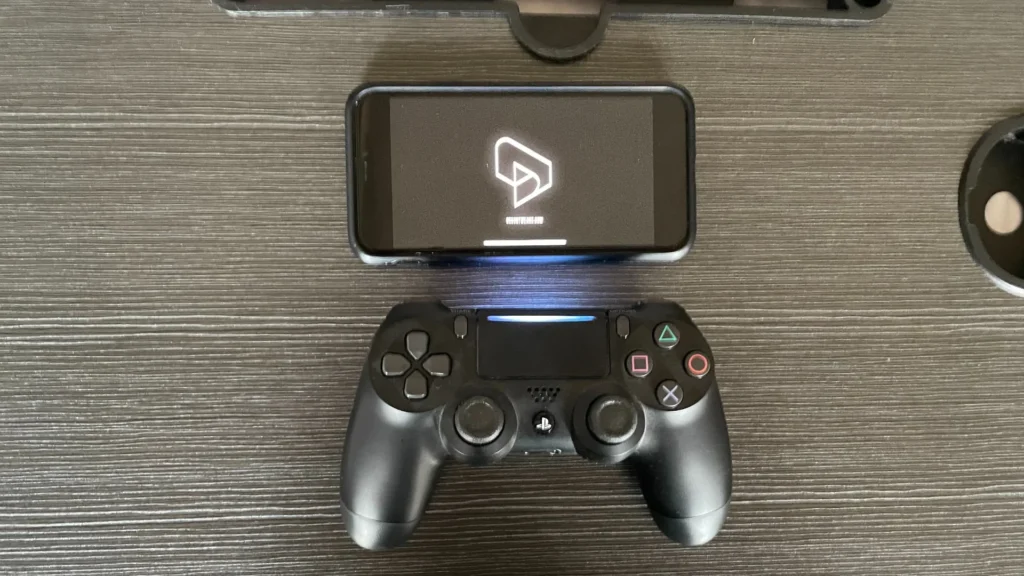
Method 3: Using the PlayStation App
- Download the PS Remote Play App: If you haven’t already, download and install the “PS Remote Play” app from the App Store or Google Play Store.

- Open the App and Sign In: Launch the app and sign in using your PlayStation Network account credentials.
- Connect to Your PS4: Tap the option to connect to your PS4. Ensure both your mobile device and PS4 are on the same Wi-Fi network. Follow on-screen instructions to establish a connection between your device and the console.
- Access the PS4 Interface: Once connected, you’ll see your PS4’s screen on your mobile device. You can navigate it just like you would if you were physically at the console.
- Navigate to Settings: Head over to the “Settings” option on your PS4’s interface.
- Go to Bluetooth Devices: Within “Settings”, select “Devices” and then choose “Bluetooth Devices.” You’ll see a list of devices paired with your PS4.
- Forget the Non-working Controller: Find the controller that’s not working as intended. Select it, press “Options” (which might be represented as three dots or another icon), and then choose “Forget Device.”
Completing the process: Reconnect the controller
- Initiate Pairing Mode:
- Press and hold the Share button on the controller.
- While still holding the Share button, press and hold the PS button until the controller starts to flash rapidly.
- Connect via PlayStation:
- On the PlayStation screen, you’ll see an option indicating a new device – the “Dualshock 4 controller”.
- Select the controller using another controller, a keyboard, or your phone.
- When asked, confirm that you want to register this device by selecting ‘Yes’.
Your PS4 controller should now be reconnected to the PlayStation.
Alternatively, you can reconnect your PS4 controller using a USB cable.
2. Troubleshoot Your PS4 Controller Using Safe Mode (Second most Common Fix)
If the first solution wasn’t effective, consider a more hands-on approach using safe mode. Here’s how:
- Power Off the PS4: When your PS4 is on, press the power button on the console. Hold it down until you hear a second beep to ensure it’s completely off.
- Wait: Give it a couple of minutes to ensure it’s fully powered down.
- Enter Safe Mode: Hold down the power button again until you hear a second beep. This signals that the PS4 is entering Safe Mode.
- Connect Your Controller: With your PS4 in Safe Mode, connect the controller to the console using a USB cable.
- Navigate Using the D-pad: On the controller, use the D-pad to select “Restart PS4.”
- Reconnect: After your PS4 turns back on, press the PS button on the controller while it remains connected to the PS4 with the USB cable.
This method effectively reboots both the PS4 and the controller, which can resolve persistent connectivity issues.
3. Reset the Controller:
The next method you should consider is resetting it. This is a straightforward process that can often resolve connection and performance issues. Here’s how to do it:
- Locate the Reset Button:
- First, make sure your PS4 console is completely turned off before you proceed.
- Turn off the controller and flip it over.
- On the back, near the L2 button, you will find a small hole containing the reset button.

- Press the Reset Button:
- Use a thin object like a paperclip or a toothpick.
- Gently insert it into the hole and press the button inside.
- Hold it down for about 3-5 seconds, then release.
- Reconnect the Controller to the PS4:
- Connect the controller to the PS4 using a USB cable.
- Press the PS button on the controller to sync it with the console.
- Check if the blue light turns solid, indicating a successful connection.
Important Note: make sure your PS4 is completely turned off before you proceed. It’s essential to have the system off when resetting and then reconnecting the controller.
By following these steps, you’re performing a soft reset on the controller, which can resolve various minor glitches or connection issues. If the problem persists after resetting, further troubleshooting or professional assistance may be required.
4. Updating PS4 Firmware Using a Keyboard:
- Connect Keyboard: Plug a USB keyboard into one of the PS4’s USB ports.
- Navigate with Keyboard: Use the arrow keys to navigate the main menu.
- Access Settings: Highlight “Settings” and press ‘Enter’.
- System Software Update: Navigate to “System Software Update” and press ‘Enter’.
- Follow Instructions: If an update is available, follow the on-screen prompts to install it.
By ensuring your PS4’s firmware is up to date, you can potentially resolve issues related to controller connectivity and other system glitches.
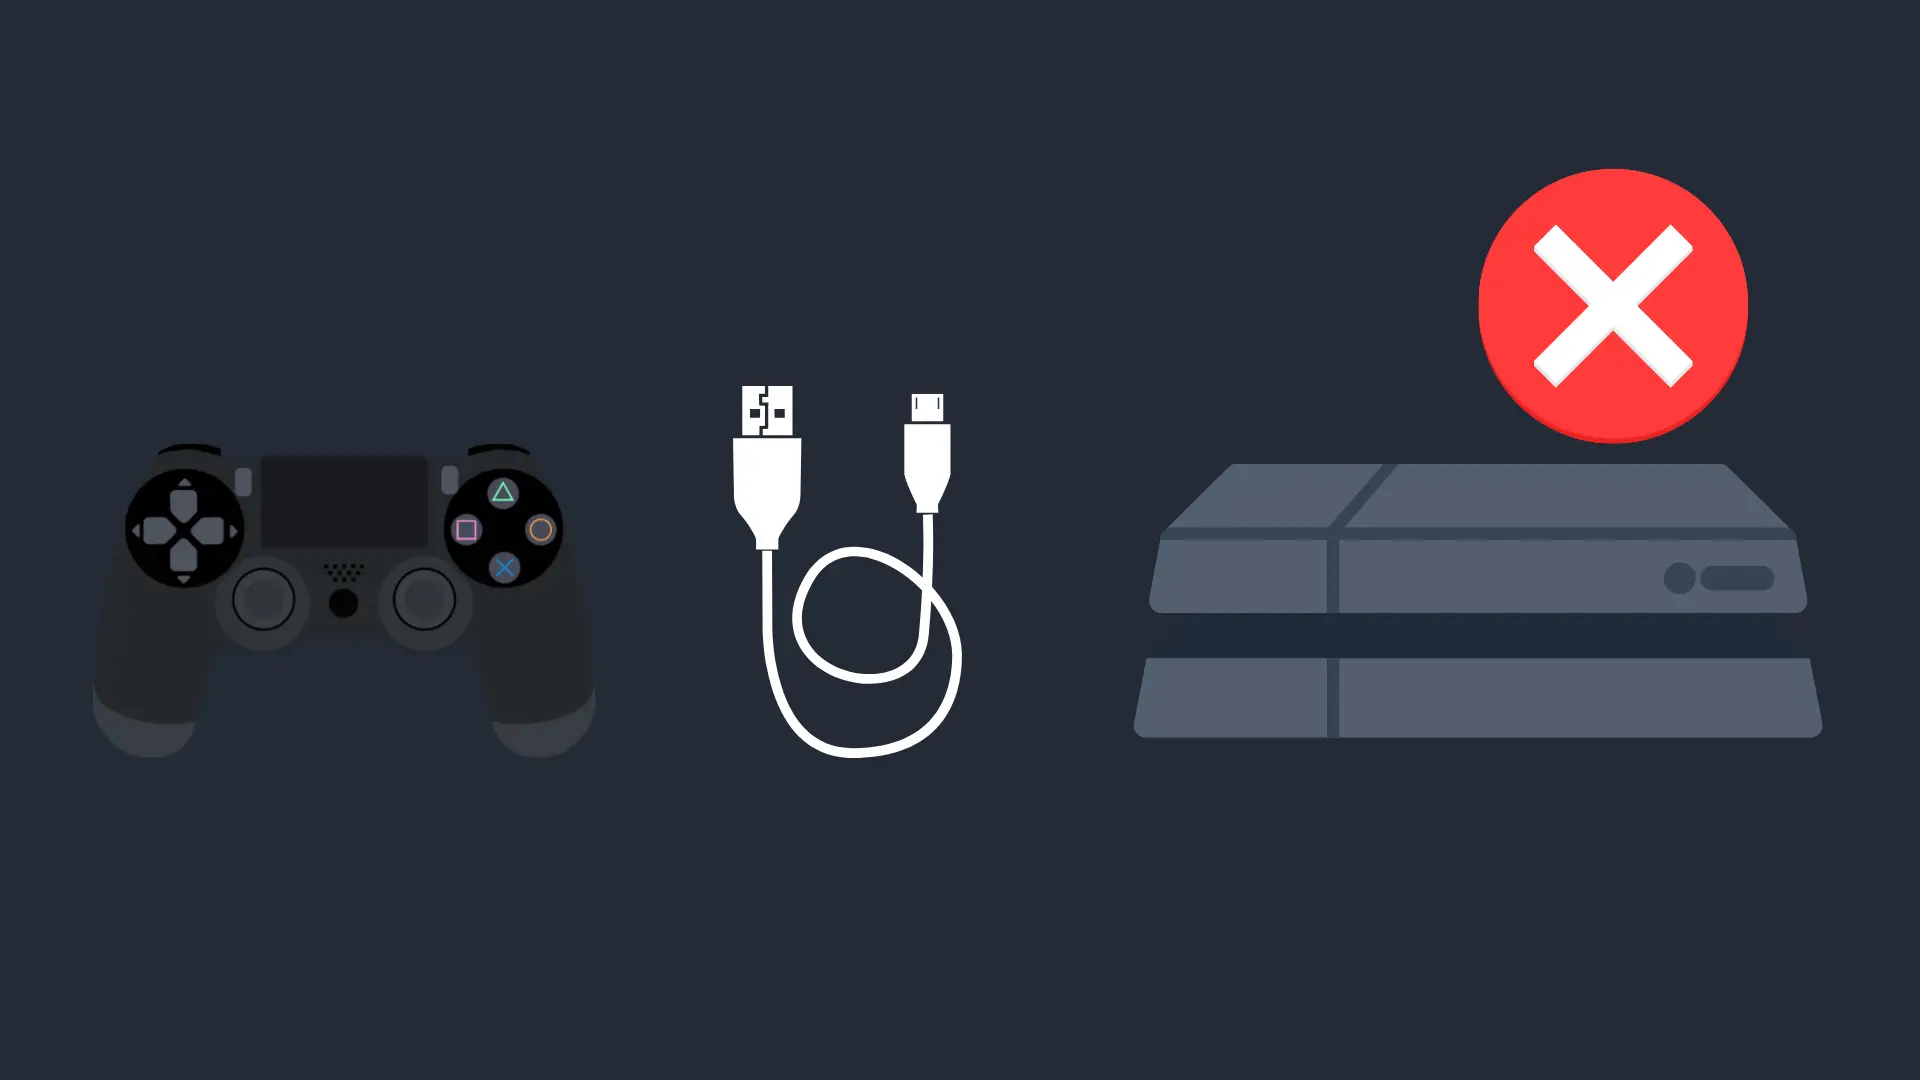
5. Use a Data USB Cable
Sometimes, the underlying issue with a blinking blue light on your PS4 controller might be as simple as using the wrong type of cable.
Make sure you are using a data USB cable and not a charging-only cable. While both types of cables might look identical, a charging-only cable lacks the necessary data wires to facilitate communication between the controller and the console. This can result in a failure to connect, leading to the perpetual blinking blue light.
To ensure proper connection:
- Check the specifications of the cable to confirm that it supports data transfer.
- If in doubt, try connecting the controller with a different USB cable known to support data transfer, such as the one that came with your PS4 or a cable used for syncing other devices.
By simply switching to the correct type of cable, you might be able to resolve the blinking blue light issue and get back to your gaming in no time.
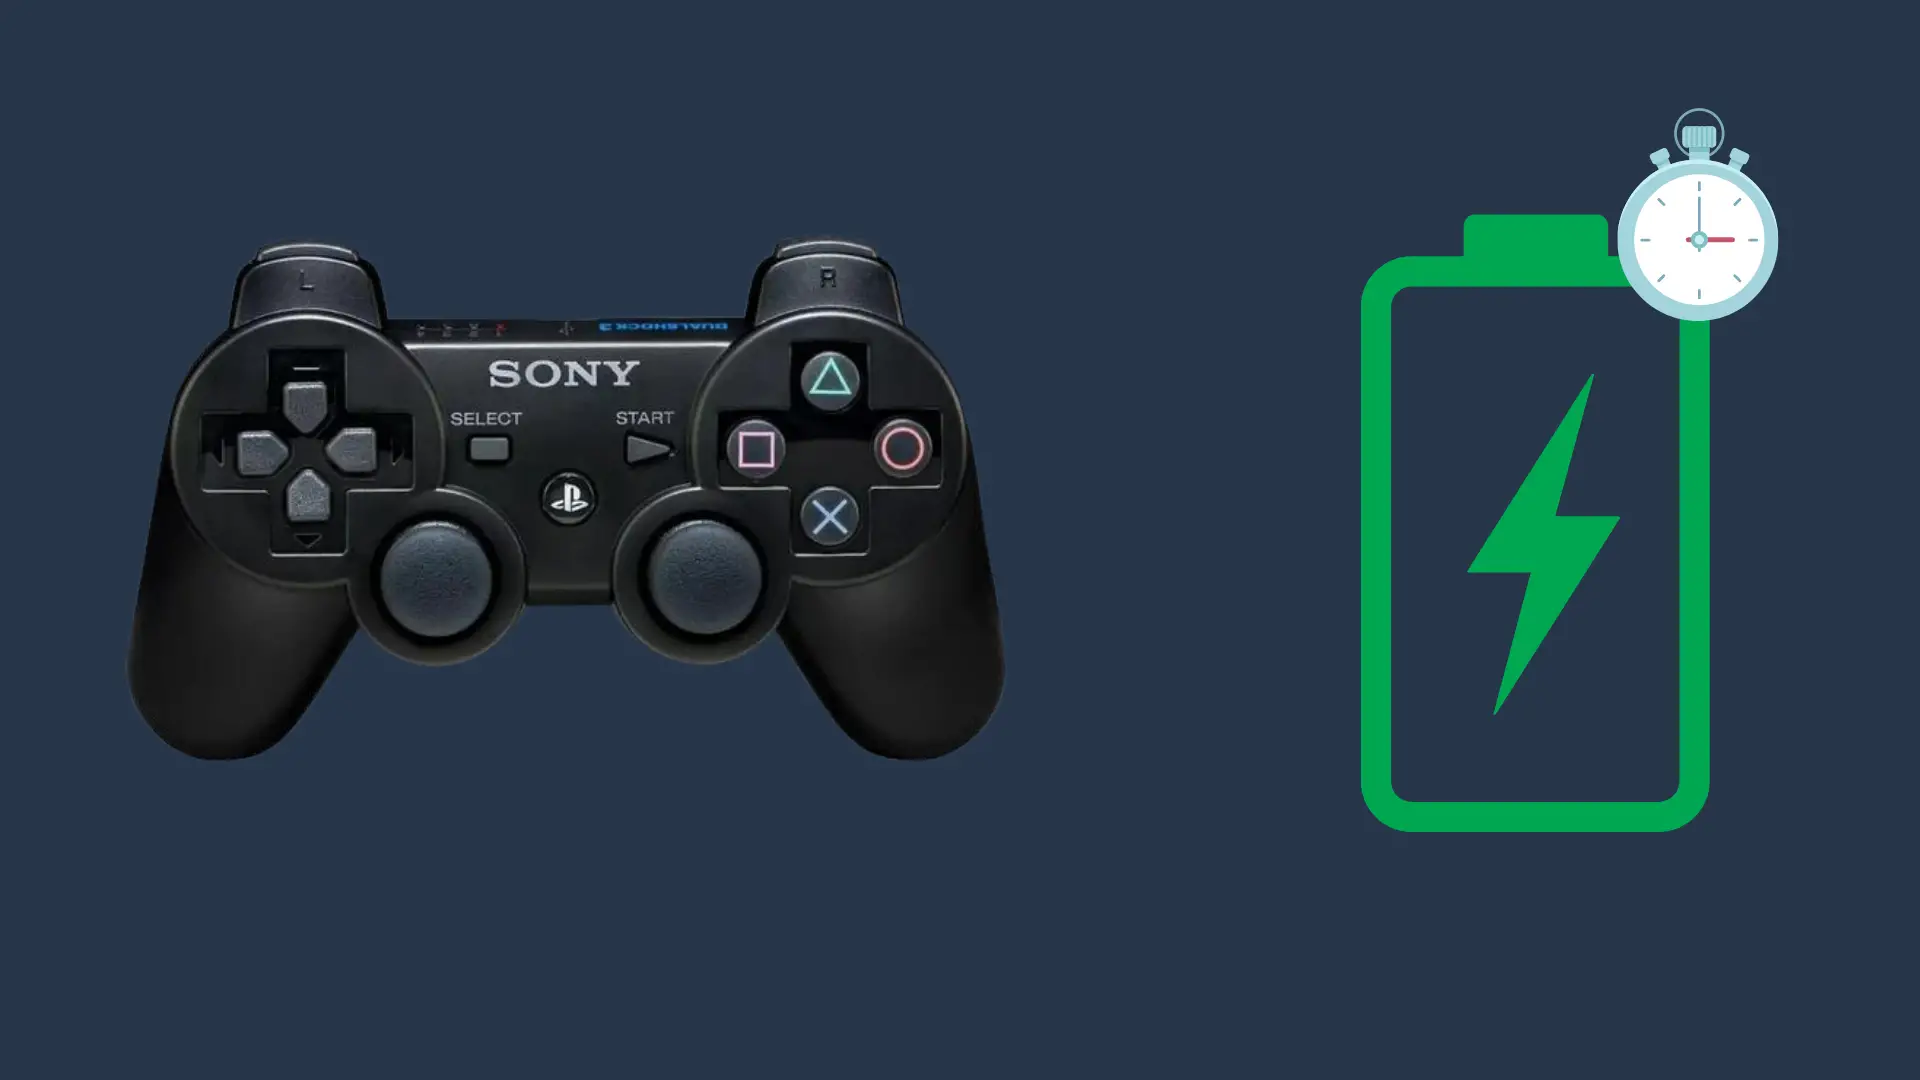
6. Charge the controller
Some users have noticed a curious scenario: their PS4 controller seemed to be out of juice, yet it still had enough power to make the LED blink. This can be misleading, as one might assume the controller is adequately charged due to the blinking LED. Based on their experiences, here’s a straightforward solution to consider:
- Plug in the Controller: Connect your PS4 controller for charging.
- Wait: Let it charge for at least 30 minutes.
- Test: After charging, try using the controller again.
By ensuring the controller is fully charged, you might sidestep more intricate troubleshooting steps. Always give this method a try if you encounter connectivity issues.
Contact PlayStation Support
If you’ve tried various methods and still can’t resolve the issue with your PS4 controller, it might be time to seek professional assistance.
- Prepare the Necessary Information: Before contacting support, have your PS4 model, controller details, and a summary of the troubleshooting methods you’ve tried on hand. This will help streamline the support process.
- Contact PlayStation Support: Visit the official PlayStation website or your local region’s PlayStation support page. They offer various channels of communication, including live chat, phone support, and email.
- Describe the Issue: Clearly explain the problem you’re facing, ensuring to mention any specific error codes or symptoms you’ve observed.
Remember, sometimes the issue might be hardware-related or might need a more in-depth diagnosis. PlayStation Support will guide you through information about warranty claims or repairs if necessary.