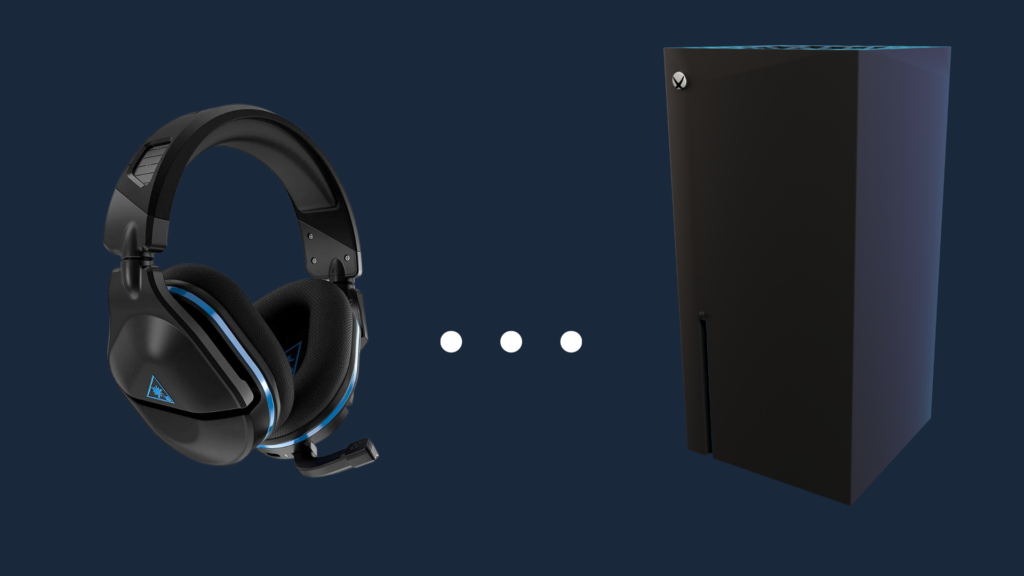
The Stealth 600 is another of the headsets developed by Turtle Beach that is specifically designed for compatibility with XBOX systems, in this case the Series X system. If you aren’t quite sure how to connect the headset to the system, this article will provide you with the instructions you need to successfully make the connection. Continue reading below to learn the step-by-step process that will prepare you for many hours of satisfying gameplay.
In a nutshell, here is the connection process. All that’s really necessary is that you ‘pair’ the headset to the console, using a prescribed process. That process calls for pressing the Pairing button on the console itself, and then pressing and holding the Pairing button on the headset. Within just a few seconds, the flashing lights on both devices will turn solid, and the connection will have been made.
For a detailed description of the process, keep reading below. You’ll also find some fascinating related topics that you should be aware of before beginning play. It’s good to know all you can about the devices you’re using before you start playing, because you’ll be able to maximize your performance, and get more enjoyment out of gameplay.
How to Connect Stealth 600 to Xbox Series X
If you follow the detailed, step-by-step procedure below, you should have no trouble connecting your new Stealth 600 headset to your XBOX Series X game console.
- Step 1 – Power on the headset and the game console
- Step 2 – Press the POWER button on your headset until you see that the LED is clearly lit up.
- Step 3 – Press the POWER button on the console to ensure that it has been powered up and is ready for pairing.
- Step 4 – Locate the PAIRING button on the console and press it. That should cause it to start blinking, and this tells you that it is in PAIRING mode, ready to be paired with another device.
- Step 5 – Press and continue to hold the CONNECT button on the headset, until you notice that the POWER LED begins blinking in a rapid fashion. This indicates that the headset is now in PAIRING mode as well.
- Step 6 – Within a few seconds, you should notice that the blinking lights on both devices have turned solid. You should then see a message that the ‘Headset is Assigned’, which will be accompanied by a distinct tone in the headset. This indicates that the headset and game console have successfully been paired up for usage.
Now that the headset has been paired successfully with the game console, you should go ahead and setup the Windows Sonic Surround Sound. To do that, follow these additional steps:
- Step 1 – From the HOME screen, press the XBOX button on your controller.
- Step 2 – Navigate to the tab for Profile & System, and once you get there, click on SETTINGS.
- Step 3 – Navigate to the tab for GENERAL >> Volume & Audio Output
- Step 4 – On the right-hand side of your screen, locate the Headset Audio column, and then set the Headset Format to Windows Sonic for Headphones.
- Step 5 – Begin to play with your fantastic new headset for XBOX Series X!
What if the connection fails?
Despite the fact that the Stealth 600 is specifically designed to be fully compatible with your XBOX Series X game console, there are times when pairing does not occur smoothly. This failure may be caused by outdated firmware in either device, possible Bluetooth interference, or even a low battery in your headset. Here are some things to check when that happens:
- Step 1 – Ensure you have the correct XBOX variant. You can do this by checking your Turtle Beach headset variant and making sure it’s not a PS4/PS5 variant. The variant will be listed on the packaging material, and if you can’t find it, you can also ask the store personnel where you bought the headset.
- Step 2 – Do a hard reset of your Turtle Beach headset. A hard reset will generally resolve simple issues like an unresponsive headset, or any kind of problem with connectivity. In order to execute the hard reset: depress the Connect/Bluetooth and Mode buttons simultaneously for approximately 20 seconds and wait for the headset to power down automatically. After it has shut down, you can press the POWER button to start it up again and re-do the pairing process.
- Step 3 – Update the firmware for your headset. If you still have some kind of incompatibility or connection issue, this should resolve the problem. To accomplish an update of the firmware, you’ll have to download the Turtle Beach Audio Hub Updater program. To update your firmware: connect your headset to a PC using a USB cable, then launch the Turtle Beach Audio Hub Updater program. If an update is necessary, you will be prompted to begin the process. Once the update has finished, you can perform the pairing process again.
- Step 4 – Be sure your headset is sufficiently charged for pairing. If it lacks the necessary charge, the pairing process is likely to fail, and you won’t have any indication why the failure occurred.
For other issues
If you should encounter any other kinds of failures when attempting the pairing process, and the recommended remedies above still don’t resolve your issue, you can contact Turtle Beach Technical Assistance. Be sure to have all the specifics ready about your headset and game console, so you can provide this information to a representative. These are skilled professionals who have dealt with all kinds of technical issues in the past, and resolved the vast majority of them, so you can expect that your specific problem will soon be handled, and you can get on with some gameplay.