There’s nothing more frustrating than getting ready for your workout or commute, only to discover that Skullcandy Earbuds One Side Not Working. This common issue affects many Skullcandy users, regardless of whether you own Indy Evo, Sesh, Push Active, Grind, or any other model. When your Skullcandy earbuds have one side not working, it significantly impacts your listening experience and can leave you wondering if your investment is ruined.
The good news is that in most cases, you can resolve this problem without needing to purchase a replacement. This comprehensive troubleshooting guide will walk you through various solutions on how to fix your Skullcandy earbuds one side not working, helping you get back to enjoying your music in stereo.
Why Skullcandy Earbuds Have One Side Not Working
Before diving into solutions, it’s helpful to understand why this problem occurs. Skullcandy wireless earbuds use a master/slave configuration where one earbud (usually the right) acts as the primary connection to your device, then relays audio signals to the secondary earbud. This design can lead to several potential failure points:
- Battery and charging issues: Uneven battery levels or charging connection problems
- Connection and pairing failures: Disrupted Bluetooth connections between earbuds
- Physical problems: Dirt build-up, water damage, or internal damage
- Software glitches: Outdated firmware or connection memory errors
Now let’s explore the most effective troubleshooting steps to get both sides of your Skullcandy earbuds working again.
Basic Troubleshooting: First Steps to Fix Your Skullcandy Earbuds
1. Check the Battery Status
When your Skullcandy earbuds have one side not working, the first element to check is battery status. Uneven charging can cause one earbud to stop working while the other continues functioning normally.
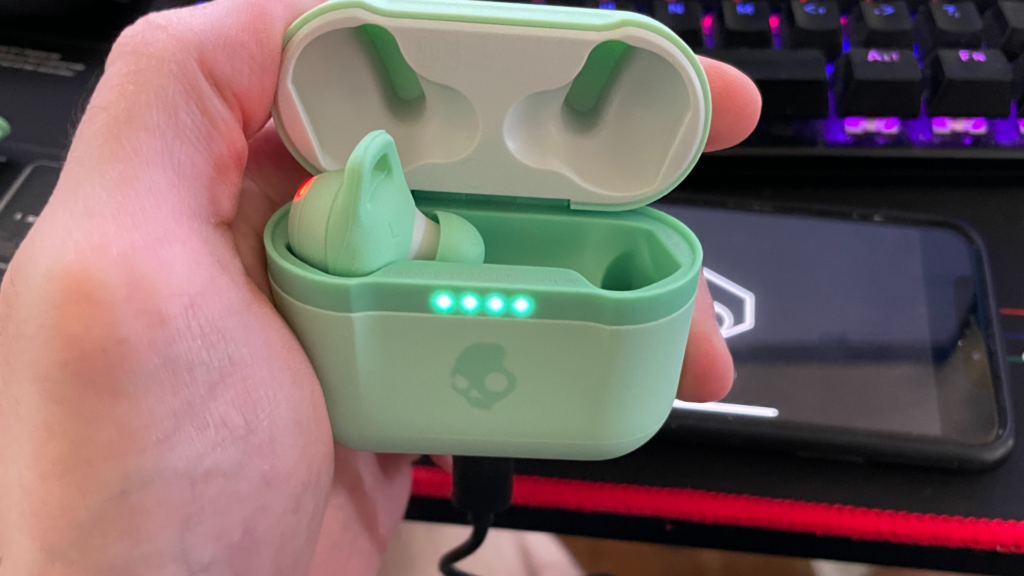
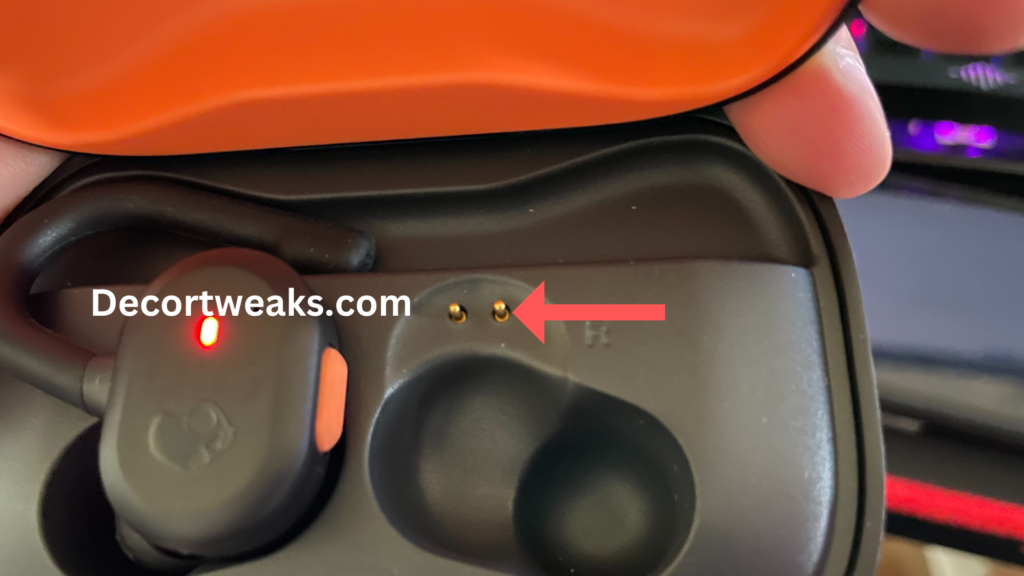
Most Skullcandy earbuds indicate battery status through LED indicators on the earbuds or charging case. A red light typically signals low battery (below 30%), while no light may indicate a completely drained battery. Some models display a blue light when fully charged.
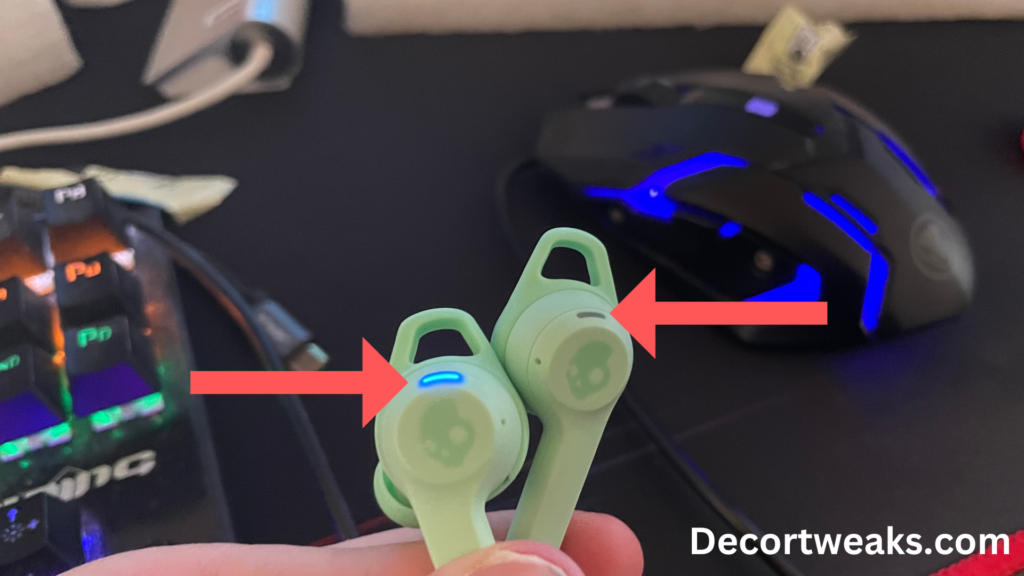
If the LED indicator doesn’t light up when placed in the charging case, there might be a connection issue between the earbud and the charging pins in the case. This connection problem often occurs when the earbuds aren’t properly aligned with the charging connectors or when dirt and debris obstruct the charging pins.

Try this: Place both earbuds in the charging case and ensure they’re properly seated. Allow them to charge fully before attempting to use them again. If one earbud still isn’t working after charging, continue to the next troubleshooting step.
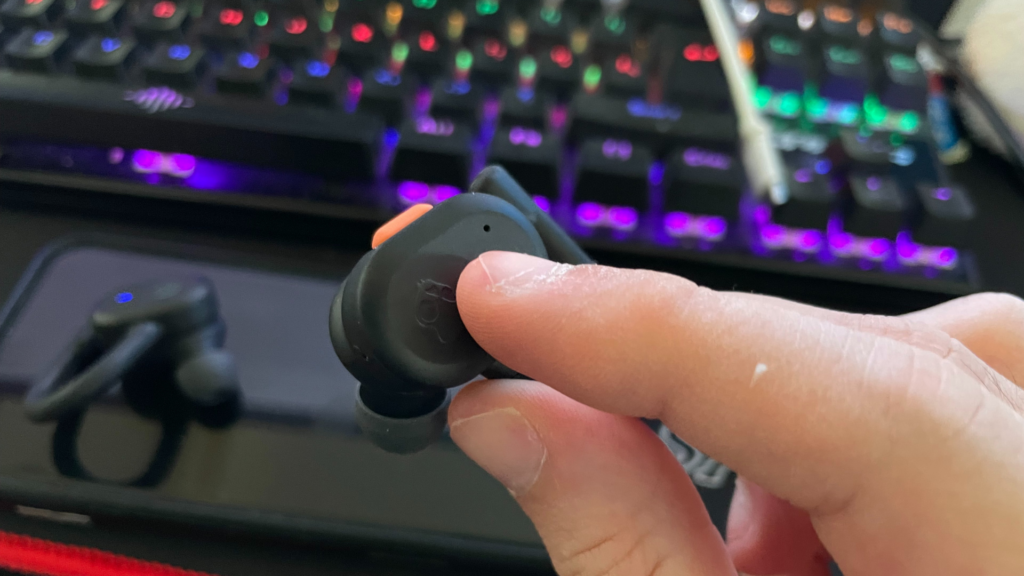
2. Re-Sync Your Skullcandy Earbuds
When one side of your Skullcandy earbuds isn’t working, re-syncing them can restore communication between the primary and secondary earbuds. The exact process varies depending on your Skullcandy model:
For Skullcandy Indy Evo and Sesh Evo Models:
- Remove your earbuds from your device’s Bluetooth paired list
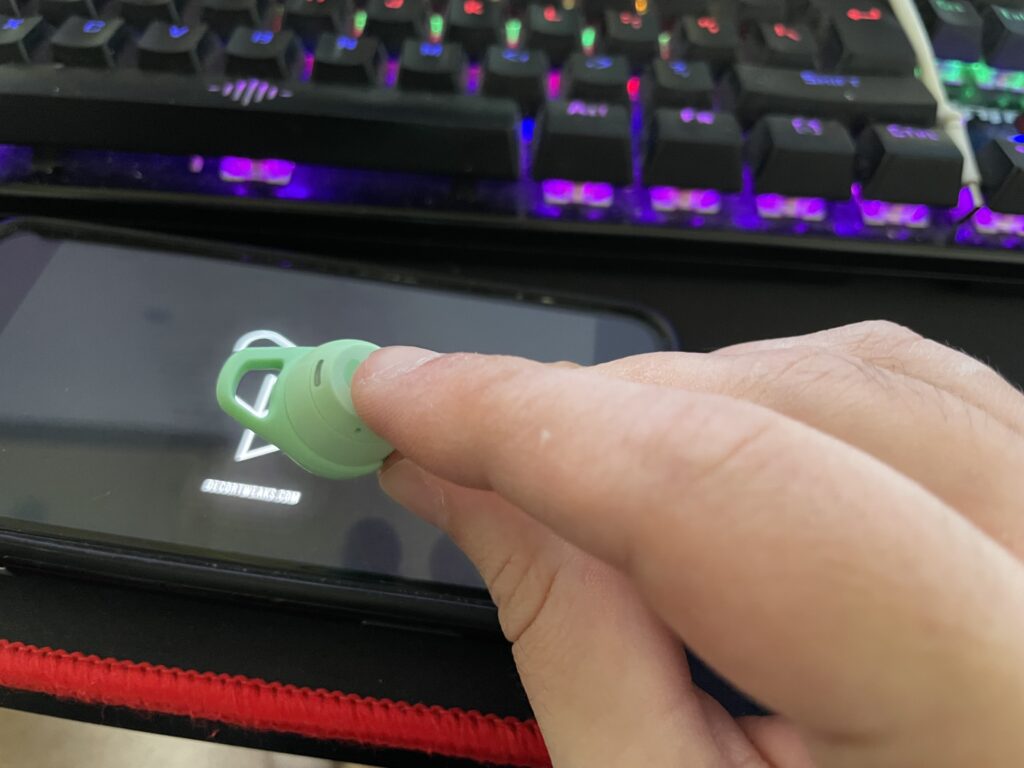
- Remove earbuds from the case and hold both touch sensors for 6 seconds to power off
- Once powered off, hold the touch sensors on both earbuds for 10 seconds to reset
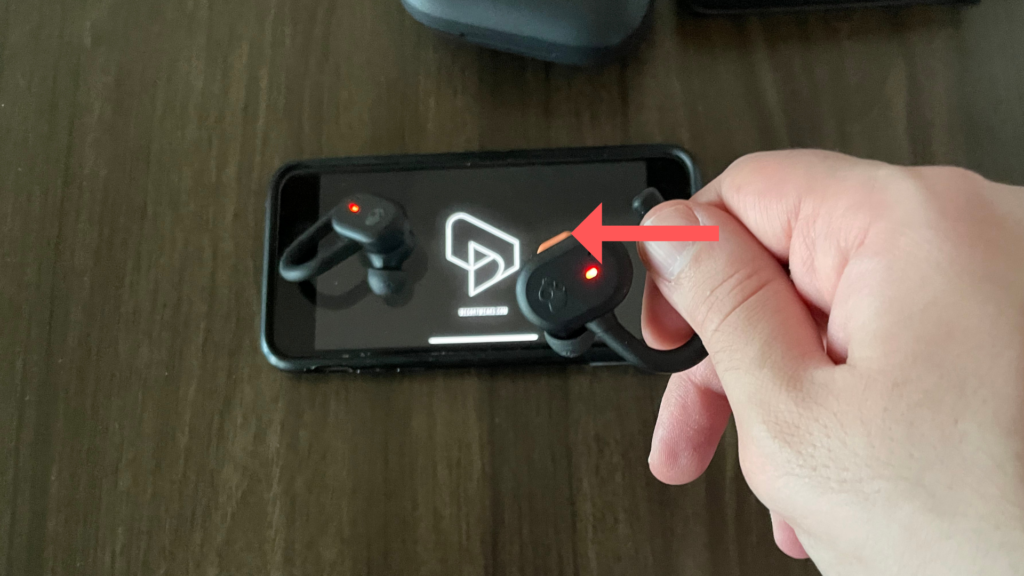
- Place earbuds in the case until LEDs show red, then remove them
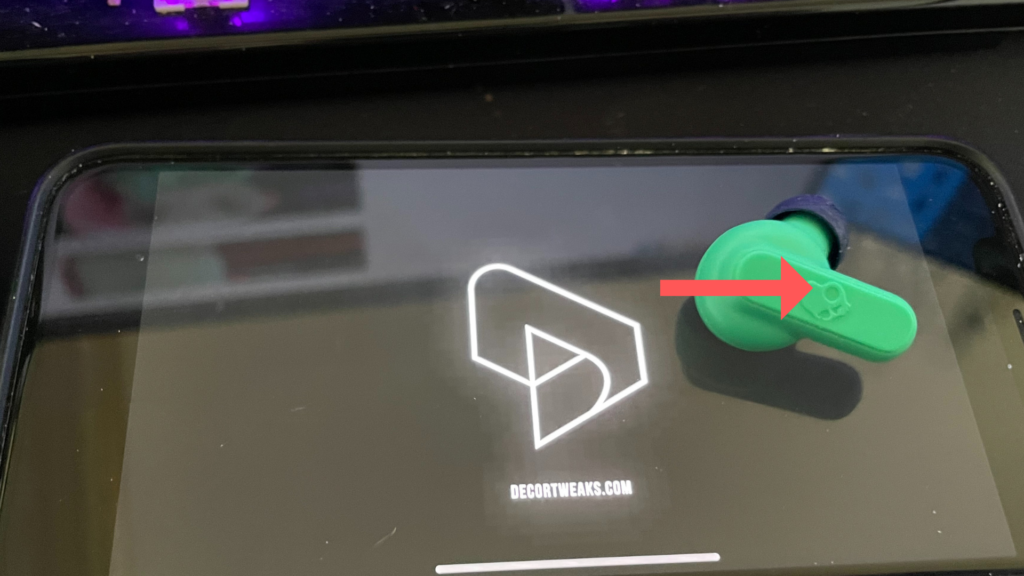
- The earbuds will automatically power on and sync (the LEFT earbud will flash RED/BLUE)
- Turn on your device’s Bluetooth and select your earbuds from available devices
For Skullcandy Grind, Grind Fuel, Push Active, and Mod Models:
- Turn off Bluetooth on your device
- Remove both earbuds from their case and ensure they’re powered on
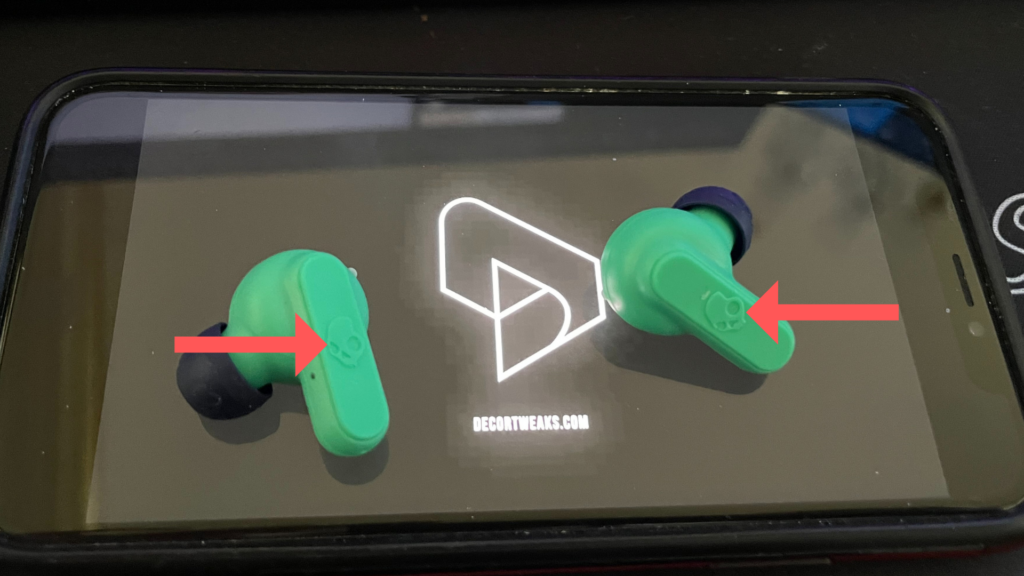
- Press the button on each earbud three times simultaneously
- The LED on the earbuds will pulse and then flash blue several times when successfully re-synced
- Turn Bluetooth back on and select your earbuds from the list
For Skullcandy Dime, Jib, and Rail Models:
- Remove earbuds from their case or turn them on by pressing each bud’s button for 2 seconds
- With earbuds powered on, press the button on each earbud four times
- The earbuds will flash Red/Blue briefly as they re-sync
- Once successfully re-synced, both earbuds will flash blue simultaneously
Re-syncing often resolves communication issues between earbuds. If one side is still not working, proceed to a complete reset.
Advanced Solutions When One Side of Your Skullcandy Earbuds Still Isn’t Working
3. Reset Your Skullcandy Earbuds
If re-syncing didn’t fix your Skullcandy earbuds one side not working issue, a complete reset might be necessary. This process clears all connection memory and returns the earbuds to factory settings.
Universal Complete Reset (Works for All Skullcandy Models):
- Remove earbuds from the case and hold both touch sensors or buttons for six seconds to power off
- After powering off, continue holding both touch sensors for another ten seconds
- Place earbuds back in the case until LEDs turn red, then remove them
- The earbuds will power on automatically and begin syncing
Model-Specific Reset Methods:
Different Skullcandy models may have slightly different reset procedures. For the most effective results, follow the specific instructions for your model:
For Grind, Grind Fuel, Push Active, and Mod Models:
- Remove earbuds from your device’s Bluetooth paired list and turn off Bluetooth
- Remove both earbuds from the case (you’ll hear a tone and voice indicating they’re on)
- Press and hold only the RIGHT earbud button for 3 seconds
- Both earbuds will show a red/blue pulse when ready to pair
For Dime and Jib Models:
- Remove earbuds from your Bluetooth paired devices list
- Take earbuds out of their case (they’ll power on automatically)
- Press the button on either earbud twice, then hold for 2 seconds
- You’ll hear a “Pairing” voice prompt, and the LEFT bud will flash RED/BLUE
For Rail Models:
- Remove RAIL from your Bluetooth paired devices list and turn off Bluetooth
- Remove both earbuds from their case
- Press and hold the sensors on both earbuds simultaneously for about six seconds
- The right earbud will flash purple six times followed by a “Ready to pair” voice prompt
4. Target the Problematic Earbud
Sometimes focusing troubleshooting on just the non-working earbud can be effective when your Skullcandy earbuds have one side not working.
Resetting Just the Problematic Earbud:
- Remove only the non-working earbud from the case
- Press and hold its touch sensor for 6 seconds to turn it off
- Hold the touch sensor for another 10 seconds to reset it
- Place it back in the charging case to ensure it receives any reset signals
- After a few moments, remove it and check if it now syncs with its counterpart
5. Reset Each Earbud Individually
If targeting just the problematic earbud didn’t work, try resetting each one individually:
- Reset only your left earbud by pressing and holding its touch sensor for 10 seconds while powered off
- Place it in the charging case
- Remove the right earbud and reset it following the same procedure
- Place both earbuds in the charging case for a few moments
- Remove them together and attempt to reconnect to your device
6. Address Charging Connection Issues
Many users report that even when the charging case shows adequate battery life, individual earbuds may not be charging properly. This charging imbalance is a common cause when one side of your Skullcandy earbuds isn’t working.
Try this unique solution: Place only the non-working earbud inside the charging case and charge both simultaneously. This targeted charging approach has helped many users resolve one-sided audio issues.
7. Clean Charging Connections and Earbuds
When your Skullcandy earbuds have one side not working, dirt and debris on charging contacts can prevent proper charging and communication between earbuds.
For effective cleaning:
- Inspect the charging contacts on both earbuds and inside the charging case
- Verify ear tips are correctly positioned and not interfering with charging alignment
- Use a soft, dry cloth to gently wipe down the interior of the case, focusing on charging ports
- For stubborn debris, use a small brush, compressed air, or a cotton swab
- Clean the earbuds themselves, paying special attention to the connection points
- After cleaning, test if both earbuds now charge and function properly
8. Drain and Rebalance Batteries
Skullcandy earbuds can operate independently in mono mode, which sometimes leads to battery imbalances. When one earbud has substantially more charge than the other, it can disrupt proper function.
To rebalance batteries:
- Allow both earbuds and the charging case to completely drain until they no longer power on
- Connect the charging case to a power source and let everything charge fully
- Monitor the charging LEDs to ensure both earbuds reach maximum capacity
- Test the earbuds to see if both sides now work correctly
This process serves as a soft reset and often resolves issues when your Skullcandy earbuds have one side not working.
Addressing Physical Issues with Your Skullcandy Earbuds
9. Check Audio Settings on Connected Device
Sometimes when Skullcandy earbuds have one side not working, the issue may actually be with your device’s audio settings rather than the earbuds themselves.
- Access the sound or audio settings on your connected device
- Verify that audio output is set to stereo mode (not mono)
- Check balance settings to ensure neither side is muted or reduced in volume
- Test audio playback after adjusting settings
10. Check for Physical Damage and Blockages
Physical issues are common culprits when one side of your Skullcandy earbuds isn’t working.
Inspect for Dirt and Earwax Build-up: Accumulated debris can significantly reduce sound quality or block it entirely. Gently clean speaker meshes using a soft brush or cloth, being careful not to push debris further inside.
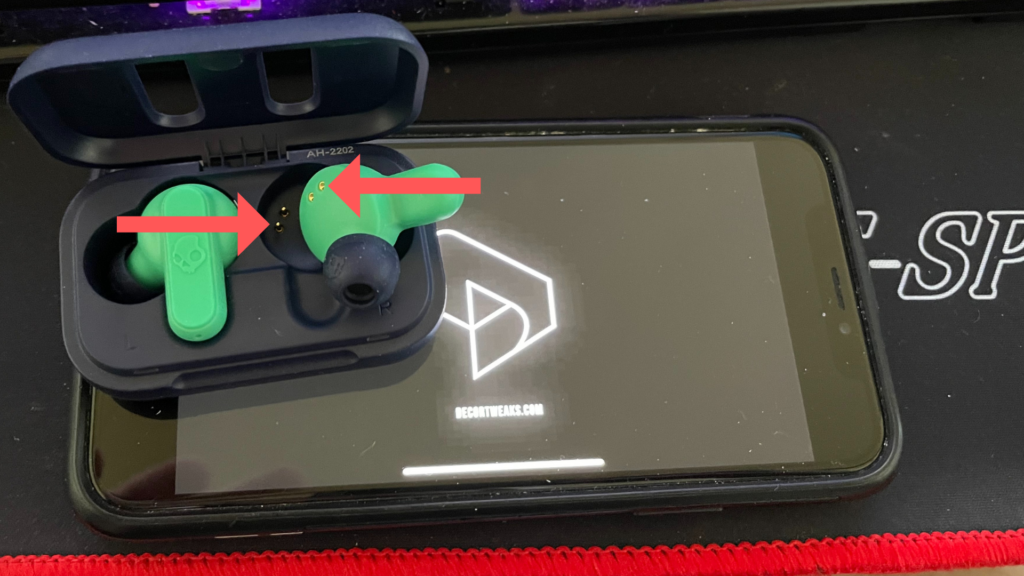
Check Charging Pins: Examine the charging pins inside the case for damage or misalignment. Proper alignment of these pins is essential for charging and overall performance.
Look for Water Damage: Despite water-resistant features, moisture can still cause damage. Check for signs of water exposure or corrosion on connectors. If you suspect water damage, allow the earbuds to dry completely before using.
11. Verify Protective Film Removal (For New Earbuds)
A surprisingly common issue with new Skullcandy earbuds is overlooking the protective plastic film on charging connectors.
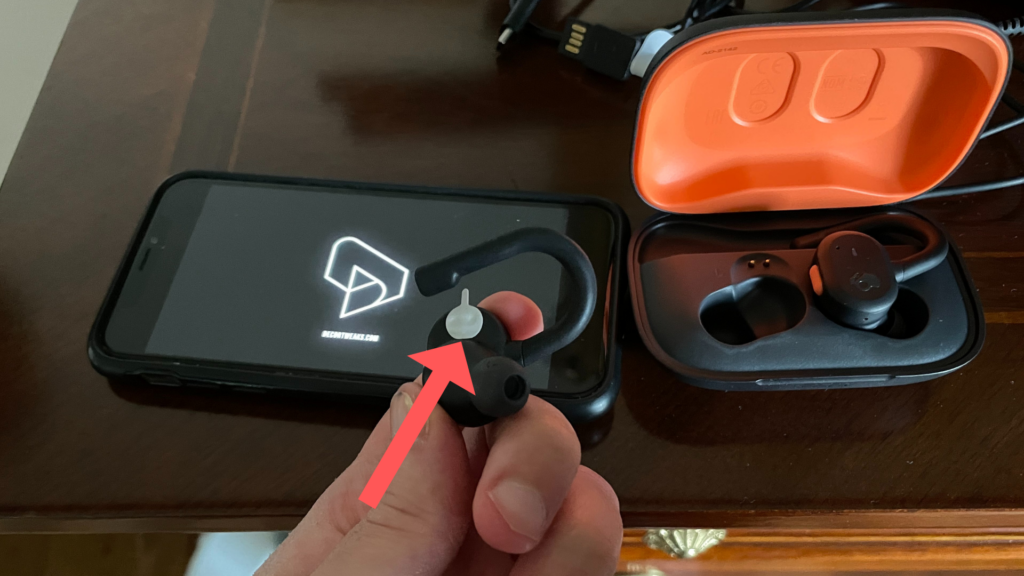
- Inspect both earbuds for any transparent protective film, especially around charging contacts
- Carefully remove any protective covering you find
- Place earbuds back in the case and check if charging indicators illuminate
This simple step is often overlooked but can instantly resolve charging and audio issues.
When All Troubleshooting Fails
If you’ve tried all the above solutions and one side of your Skullcandy earbuds still isn’t working, it might be time to consider professional assistance or warranty options.
Contact Skullcandy Support
Skullcandy offers customer support that can provide model-specific guidance or process warranty claims if applicable. Visit their official support website to:
- Access detailed troubleshooting for your specific model
- Connect with support via email or live chat
- Check warranty status and eligibility
- Initiate a warranty claim if your earbuds are still covered
Most Skullcandy products come with a limited warranty, typically lasting one year from purchase. The support team can guide you through the warranty process if your earbuds qualify.
Prevention Tips: Keep Both Sides of Your Skullcandy Earbuds Working
Once you’ve fixed your Skullcandy earbuds, follow these preventative measures to avoid future issues:
- Regular cleaning: Wipe down earbuds and charging contacts weekly to prevent buildup
- Proper storage: Always store earbuds in their charging case when not in use
- Complete charging cycles: Occasionally let batteries drain completely before fully recharging
- Even usage: Try to use both earbuds equally rather than primarily using one in mono mode
- Careful handling: Avoid dropping earbuds or exposing them to extreme temperatures
- Keep software updated: If your model has firmware updates, install them promptly
Volume Imbalance Issues: When One Side Is Quieter
Sometimes rather than one side not working at all, you might experience volume imbalance where one Skullcandy earbud is significantly quieter than the other. This can be caused by:
- Sound blockage: Earwax or debris partially blocking sound output
- Audio settings: Incorrect balance settings on your connected device
- Wear and tear: Internal speaker damage from prolonged use
- Manufacturing variation: Slight differences in speaker performance
To address volume imbalance:
- Clean both earbuds thoroughly, focusing on speaker meshes
- Check audio balance settings on your connected device
- Reset earbuds following the procedures outlined earlier
- If imbalance persists after cleaning and resetting, contact Skullcandy support
Conclusion: Enjoying Your Skullcandy Earbuds in Stereo Again
When your Skullcandy earbuds have one side not working, it doesn’t necessarily mean they’re permanently damaged. In most cases, the issue can be resolved through the troubleshooting steps outlined in this guide. From simple solutions like checking battery levels and cleaning connections to more advanced fixes like targeted charging and complete resets, these approaches address the most common causes of one-sided audio problems.
Remember that different Skullcandy models may respond differently to these troubleshooting steps, so pay attention to model-specific instructions when available. With proper care and maintenance, your Skullcandy earbuds should provide b
FAQs: Skullcandy Earbuds One Side Not Working
Why is only one of my Skullcandy earbuds working?
This is usually caused by a sync issue between the two earbuds. It can happen after an interrupted Bluetooth pairing or if one earbud didn’t charge properly. A quick reset or re-pairing usually fixes the issue.
How do I reset Skullcandy wireless earbuds?
To reset, remove both earbuds from your paired device, power them off, and then press and hold the buttons on both buds for about 10 seconds until the LED flashes. Reconnect to your device and test if both sides are working.
What if one Skullcandy earbud won’t charge?
Check the charging case and ensure both earbuds are seated correctly. Clean the charging contacts gently with a dry cloth, and make sure your case is fully charged. Dirt or misalignment can prevent one side from charging.
Can Bluetooth connection cause only one earbud to work?
Yes, sometimes a weak or interrupted Bluetooth connection can cause syncing issues. Try disconnecting and re-pairing your Skullcandy earbuds, or forget the device and start fresh with a new connection.
Is my earbud damaged if one side still won’t work after resetting?
If you’ve reset your earbuds and checked the charging, but one side still doesn’t work, it could be a hardware issue. Try testing the earbuds on another device. If the problem persists, contact Skullcandy support for a replacement or warranty claim.