

If every time you try to open YouTube on your Nintendo Switch, you get an error message saying it could not connect, you will need to close the YouTube application to change some of the settings.
YouTube will either not open or not play a video if your System Settings are not correctly set. You will want to make sure your date and time are correct and that your sound is set to “Stereo” so that YouTube will open and play videos without any issues.
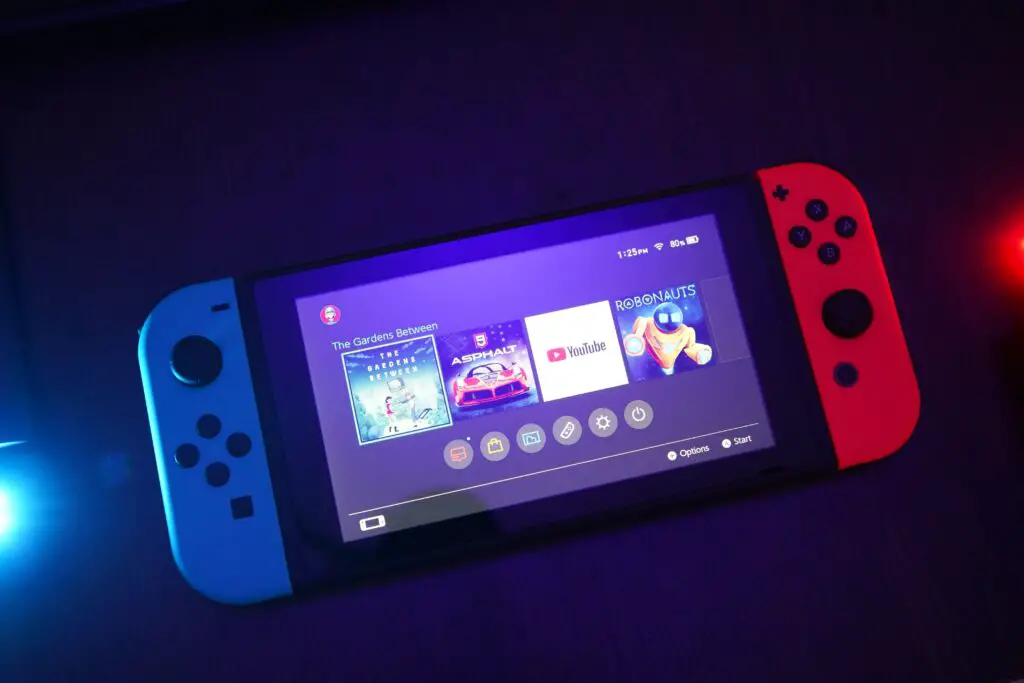
Keep reading to learn how to navigate to the correct settings and change them to stop getting error messages whenever you want to use the YouTube application.
Check your internet connection
Before going through any settings, you should first check your internet connection and make sure it’s connecting correctly and has a strong enough connection to play videos. It may simply be that your WiFi isn’t working correctly or that you’re trying to use public WiFi that it’s not fast enough for YouTube or blocked.
How to reconnect YouTube
Here are some easy steps to getting your Nintendo Switch to reconnect to the YouTube application, so you don’t get the error message anymore:
- Close the YouTube application by navigating to the application and pressing the X button. Then press the A button to confirm you want to close the software.
- Click on Settings and scroll down to the System Settings.
- Navigate right and scroll down to the Date and Time and check if the date and time are correct. If it’s wrong, press the A button to open the Date and Time Settings.
- Either click on “Synchronize clock via Internet” or change the clock manually so that your Nintendo Switch has the correct date and time.
- Open the YouTube application by navigating back by pressing the B button until you see the application. Choose your profile, and the application should open.
If you’re still having issues opening the application, you can try deleting the application and re-downloading it.
How to delete an application
If you want to delete the YouTube application and reinstall it, you can delete it by going to Settings and scrolling down to Data Management. Navigate right to select Manage Software, and a new window will open with a list of the applications of games on your device.
Scroll through the list until you find the YouTube application and click on it. In the menu that opens, select the option called “Delete Software,” then press the A button to confirm you want to delete the application. Once deleted, you can press the A button again, and the application will no longer be on your device.
How to redownload an application
If you decide to delete the YouTube application and redownload to see if this helps fix the problem, you can go to the Nintendo eShop and click on your user icon in the upper right corner. In the new window, there will be a list down the left-hand side with an option called “Redownload.”
Click on this option, and it will open a list of all your past applications and games. Scroll until you find the YouTube application and click the “cloud” icon on the right, and it should download.
How to fix a playback error
You might find that you can open the YouTube application, but when you try actually to play a video, all you get is a message telling you there’s a playback error. Here are some quick steps to get your settings fixed so you can play videos:
- Click on Settings and scroll down to System Settings.
- Navigate right and scroll down to Console Sound Settings and see whether your sound is “Mono” or “Stereo.”
- Change sound to “Stereo,” and you should be able to navigate back to the YouTube application by pressing the B button and play a video without any issues.
If you’re still having problems with a playback error, then you can try clearing the YouTube application’s cache or checking to make sure there isn’t an update available.
How to clear YouTube cache
You may be having playback errors because the YouTube application cache is full, so here is how you clear it:
- Go to Settings and scroll down until you get to System Settings.
- Select Formatting Options, and you should see the option to “Clear Cache.”
- Click on Clear Cache, select the users you want to clear the cache for and follow the instructions on the screen.
It’s a good habit to regularly clear your cache to help your applications and games run better and free up some memory on your device. Keep in mind that clearing the cache will get rid of any passwords saved to the device.
How to update a Nintendo Switch
You may be having problems with applications because there is an update you need to download to your Nintendo Switch. You can easily update your Switch by going to the Settings and scrolling down to System Settings. You should see an option called “System Update” that you can click on, and it should run any updates for you.
If you only want to update the YouTube application, you can select the YouTube application icon, making sure not to run it and press the + or – button. A menu will open with an option called “Software Update” that you can select and then click on the option “Via the Internet” to start running the update process.
How to fix black screen on YouTube videos
If you go to watch a YouTube video on your Switch and all you get is a black screen, you may need to log out of your account. Try playing a video while logged out, and in most cases, you won’t have any issues. If the black screen keeps happening, you should try updating the application and/or clearing your cache.
Changing the DNS settings
If your only issue is too slow internet, and you want to speed up your internet connection on the Nintendo Switch to watch YouTube, then changing your DNS settings can help.
- Go to Settings and select “Internet” from the list on the left-hand side.
- Select Internet Settings and find the Registered Networks and select the internet network you want to connect to.
- Click “Change Settings” from the new window, then scroll down through the settings to find DNS Settings.
- Change the DNS Settings to “Manual,” and you will get an option called “Primary DNS.”
- Enter your DNS server for Primary DNS. You can use the Google DNS server 8.8.8.8. which will boost your speed and give you more security.
- Enter your DNS server for Secondary DNS as well. If you’re using Google’s DNS, then you should enter 8.8.4.4. for the Secondary DNS.
Changing the DNS should boost the internet speed on your Switch and make it easier to stream video through the YouTube application.
Can you connect your phone to YouTube on Switch?
You can pair your mobile phone with your Nintendo Switch, so your phone acts as a remote. You will need to have the YouTube application on your phone. Open the YouTube application on your Switch and go to “Link with TV code.” Then open the application on your phone and click on “Watch on TV” to enter the TV code.
Your phone and Switch should link together, and you can cast video from your phone to your Switch. However, some people have pointed out that there is a longer loading time for videos to play, about 30 seconds or more than on the application itself, so keep that in mind while using this method.
Nintendo Switch LAN adapter vs WiFi
Some people have issues using the YouTube application on their Nintendo Switch if they alternate between connecting to the internet through WiFi and a LAN adapter. You may find that you can only use the YouTube application using one of the other. Generally speaking, connecting with a LAN adapter will be faster and more reliable than WiFi to work better for streaming videos.
Final Thoughts
Most of the time, you can fix the issues you’re having with the YouTube application on your Nintendo Switch by checking your System Settings and making sure they are correct. Simply not properly setting your date and time can result in YouTube not opening, and the wrong sound settings can prevent you from playing a video, even one from your own YouTube channel.


