If your Skullcandy earbuds are not charging, it can be a major inconvenience, especially if you rely on them for music or taking calls. In this article, we’ll explore the potential reasons why your earbuds may not be charging and provide you with practical solutions to get them charging again quickly.
Remove Stickers on the Earbuds or Case’s Charging Pins
For first-time users of Skullcandy earbuds, it’s important to know that there are small white stickers covering the charging pins of each earbud. These stickers may not be immediately noticeable, and some users may assume they are a permanent part of the earbuds. However, the stickers must be removed before charging the earbuds, as attempting to charge them with the stickers on could prevent the earbuds from charging correctly.
Ensure that the Earbuds are Resting Correctly in the Case’s Charging Pins
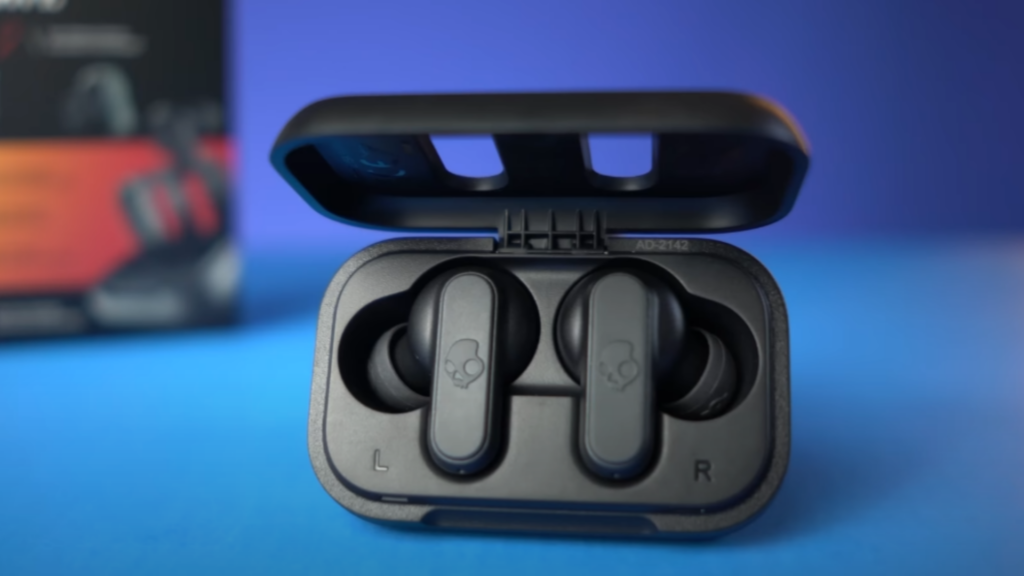
Improper placement of the earbuds in the case can prevent them from charging. Place them in the case and ensure that the charging light is active. If not, wiggle the earbuds slightly until the charging connectors in the earbuds are perfectly aligned with the cases’ charging pins.
There can be a number of things that can prevent the earbuds from resting correctly in the case’s charging pins. One common reason can be due to incorrect placement of the removable in-ear gels on the earbuds. This can cause the buds to not sit correctly in the charging case, leading to charging issues.
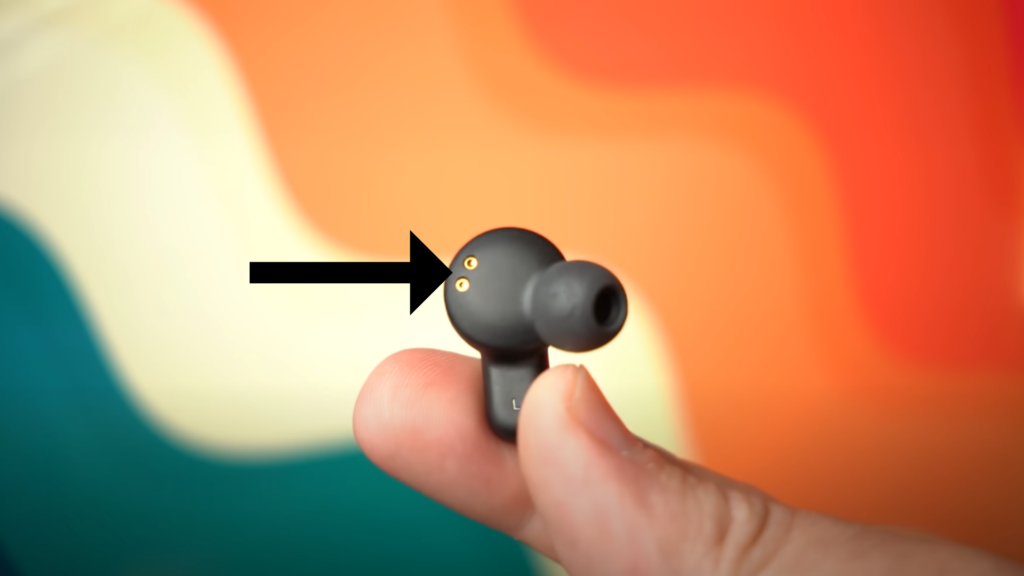
Another possible reason why your earbuds may not sit correctly on the charging pins in the case is due to blockages on the gold charging connectors on the earbuds themselves, often caused by dirt or debris. So make sure you clean the charging connectors on your earbuds.
Additionally, it’s important to ensure that the case lid is fully shut when charging your earbuds. A partially closed lid can cause charging interruptions and prevent your earbuds from charging properly.
Clean The Case’s Charging Ports
Next, check for any debris that may be blocking the charging pins in the case or on the earbuds. Depending on the charging case’s design, you can use a microfiber cloth or a cotton swab to clean the case and earbuds.
However, it’s important to be gentle on the contact points when cleaning and avoid using sharp metallic objects that could damage them. Instead, use a soft cloth or swab to remove debris and ensure the charging pins and connectors are clean and unobstructed.
Try a Different Power Source
If you’ve been charging your earbuds using your computer’s USB port, try using a power adapter instead.
Skullcandy recommends using a power adapter that does not exceed 18-Watts (5 Volts/3.6amps) of power output.
Check the Charging Cable
Next, it’s important to check the charging cable for any damage or wear and tear. If you have a spare cable or can borrow one from a friend, try using it to confirm whether the cable is the issue.
Ensure that the Charging Case is adequately charged
Next, it’s important to check if your Skullcandy charging case is adequately charged. Even if it has a little bit of battery left, it may not be sufficient to charge your device fully.
Turn Both Earbuds off Before placing them in the case
In some instances, simply turning them off before placing them in the case can solve the issue. In other words, don’t put one earbud into the charging case until both are turned off.
Drain the Battery on Both Earbuds
If one earbud has a higher battery than the other, there may be a bug that prevents them from charging correctly in the charging case.
Fortunately, you can easily fix this issue by fully draining both earbud batteries to even out their charge status and then charging them to full again. This process typically takes 24 hours to complete.
Here are the steps to properly drain the batteries:
- Take the Skullcandy earbuds out of the charging case and set them aside.
- Disable Bluetooth on your device to prevent the earbuds from connecting.
- Leave the earbuds out for a full day to allow them to continuously drain and even out their charge status.
- After 24 hours, place the earbuds back into the charging case and check if they are now charging correctly.
Reset Your Skullcandy Earbuds
Different Skullcandy earbud models have a different reset process. To reset your earbuds, follow the instructions for your specific model:
For Grind, Grind Fuel, Skullcandy Push Active, and Skullcandy Mod:
- Disconnect and forget your earbuds from your device’s Bluetooth list.
- Turn off Bluetooth on your device.
- Remove both earbuds from the charging case.
- Press and hold the button on the right earbud for three seconds (the button is located on the back of the earbud).
- A tone will indicate that the reset process was successful, followed by a flashing purple light.
- Both earbuds will then flash blue, indicating that they are ready to pair.
- Turn Bluetooth back on your device and select your earbuds from the device’s Bluetooth list to connect. Note: It’s recommended to take out the left earbud first to prevent connection issues.
For Indy, Indy Evo, Sesh Evo, and Skullcandy Jib:
- Disconnect and forget your earbuds from your device’s Bluetooth list.
- Turn off Bluetooth on your device.
- Press and hold both buttons on the back of the earbuds for six seconds to turn them off.
- Hold the button on one earbud for 10 seconds, then place it in the case and close the lid.
- Hold the button on the second earbud for 10 seconds, then place it in the case.
- Pull both earbuds out of the case to activate pairing mode.
- Turn on Bluetooth on your device and pair it with your earbuds.
For Skullcandy Dime:
- Disconnect and forget your earbuds from your device’s Bluetooth list.
- Turn off Bluetooth on your device.
- Remove both earbuds from the charging case and ensure they are turned on.
- Double-tap the button on either earbud, then hold for two seconds.
- Place them in pairing mode.
- Only the left earbud should flash red and blue.
- Go back to your device’s Bluetooth list and select your earbuds to re-pair them.
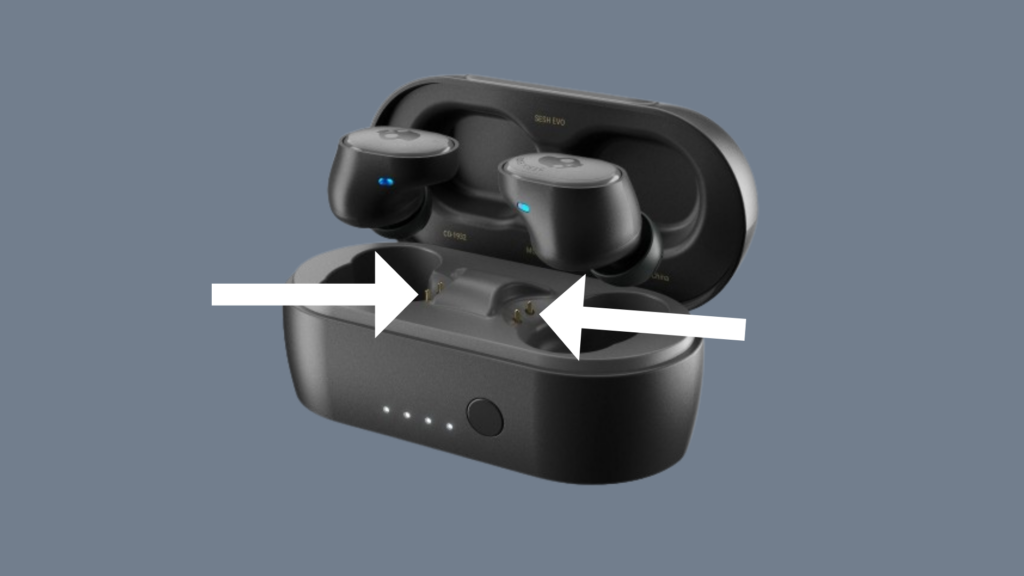
Check For Damage in the Case
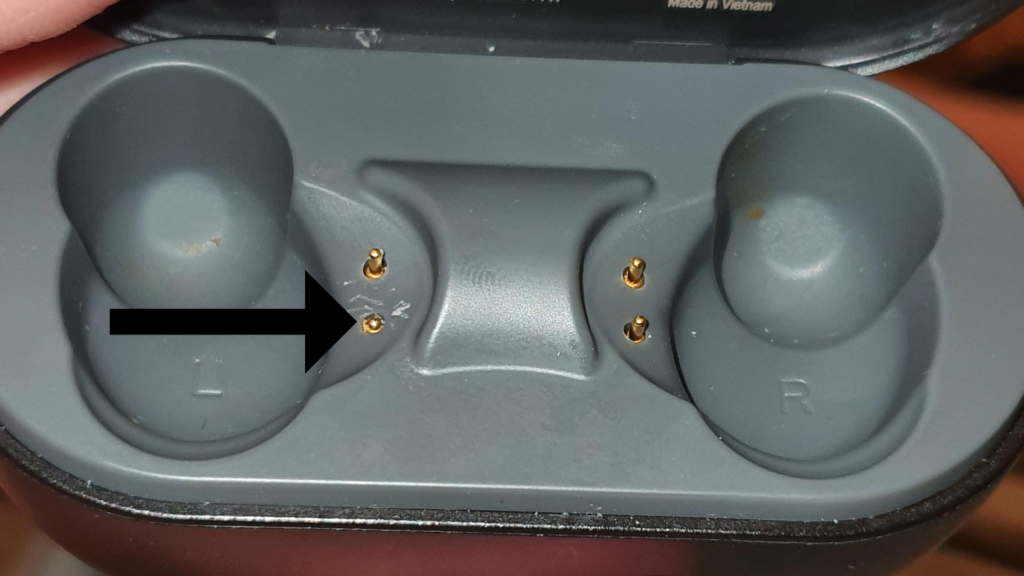
As mentioned above, the charging pins in the case are responsible for charging your earbuds, and if they’re damaged, then you’ll need to get them repaired in order to solve the issue. The charging pins will vary depending on the earbud model you own, but generally, the charging pins protrude outwards. If you notice a pin pushed in, as shown in the image above, this may be the cause of the issue.
If your warranty is still active, you may be able to get a new case sent over, depending on the cause of the damage. Simply visit Skullcandy’s Warranty Page and fill out the Warranty Claim Forum.
Skullcandy Warranty
If you’ve exhausted all possible troubleshooting options and your Skullcandy earbuds still refuse to charge, it may be time to consider utilizing the device’s 1-year warranty.
To begin the process, head to Skullcandy’s website and fill out their warranty claim form with as much detail as possible, including any supporting images or videos to illustrate the issue. From here, the company will work with you to determine if your unit is eligible for a replacement.