The Meta Quest 3 has just hit the market, and with the excitement of unboxing a new gadget comes the practicality of understanding its basic operations.
One of the essential aspects to get acquainted with is how to charge the device. If you’ve just got your hands on this latest VR headset and are wondering about the charging process, this guide is tailor-made for you.
We’ll walk you through the simple steps to ensure your Meta Quest 3 is powered up and ready for your virtual adventures.
Charging the Meta Quest 3 Headset
Your Meta Quest 3 is powered by a built-in rechargeable battery. Charging is a breeze with the 18-W adapter and the accompanying USB-C cable that comes with the headset.
Steps to Charge:
- Connect one end of the USB-C cable into the provided power adapter.
- Find the USB-C port on your headset, located on its left side, and plug in the other end of the cable.
- Insert the power adapter into a power socket.
- Observe the LED light on your headset’s side. An orange glow means it’s in the midst of charging. When it shifts to green, the battery is full and ready for your next VR session.
For those who crave longer VR experiences without the interruptions of recharging, there’s the Meta Quest 3 Elite strap, equipped with an additional battery. It’s up for grabs at the official Meta Store and select retail outlets.
Meta Quest 3 Charging Dock Guide
If you’ve got your hands on the Meta Quest 3 Charging Dock, you’re in for a simplified charging experience. This guide will walk you through the setup process to ensure your Quest 3 headset and Touch Plus controllers are always ready for action.
Inside the Meta Quest 3 Charging Dock Box:
- Charging dock
- Two specialized batteries for Touch Plus controllers
- Charging cable
Note: An external power adapter isn’t included. You’ll need to use the one that came with your Quest 3 or any compatible adapter with at least 18 W. However, a 45-W adapter is suggested for quicker charging.
Installing Batteries in Touch Plus Controllers:
- Open the battery compartment of the right Touch Plus controller (identified by the Meta button).
- Press the release button and remove the battery cover.
- Take out the current battery.
- Find the right-side rechargeable battery, marked with an “R”.
- Insert this battery with the “-” sign at the top, then close the compartment.
- Do the same for the left controller using its respective battery.
Remember: These batteries should be charged initially before first use.
Setting Up the Charging Dock:
- Connect the provided charging cable to the dock.
- Attach the other end to the Quest 3’s 18-W power adapter (or a 45-W one for optimal charging speeds).
- Plug this adapter into an outlet.
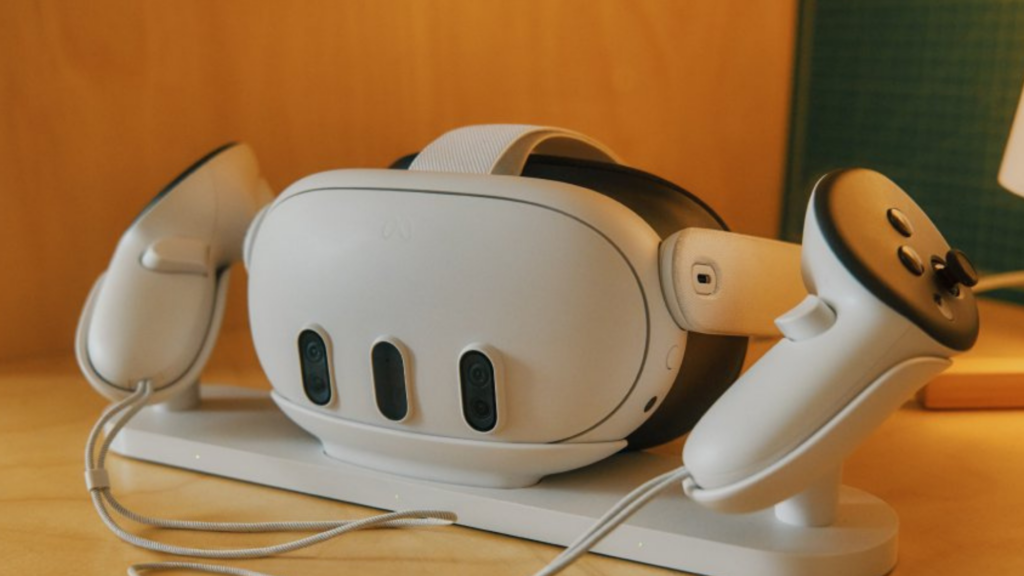
Charging Process:
- Position your controllers on the dock with the grip button pointing up.
- Place the headset with its front side facing you.
- Ensure no straps block the charging connectors. The dock’s LEDs will illuminate orange during charging and change to green once fully charged.