Samsung Galaxy Buds have become an essential accessory for many smartphone users, providing a seamless and convenient audio experience. However, occasionally, users may encounter issues with their earbuds not charging properly. This can be a frustrating problem, but fortunately, there are various solutions that can help resolve it and get your earbuds back to working order.
In this article, we will discuss several ways to fix the Samsung Galaxy Buds not charging issue. By following these steps, you’ll be able to enjoy your earbuds and their exceptional audio quality without any interruptions once again. So, let’s dive into the solutions and get your Galaxy Buds up and running.
Troubleshooting Methods
Check the Alignment of Earbuds in the Charging Case
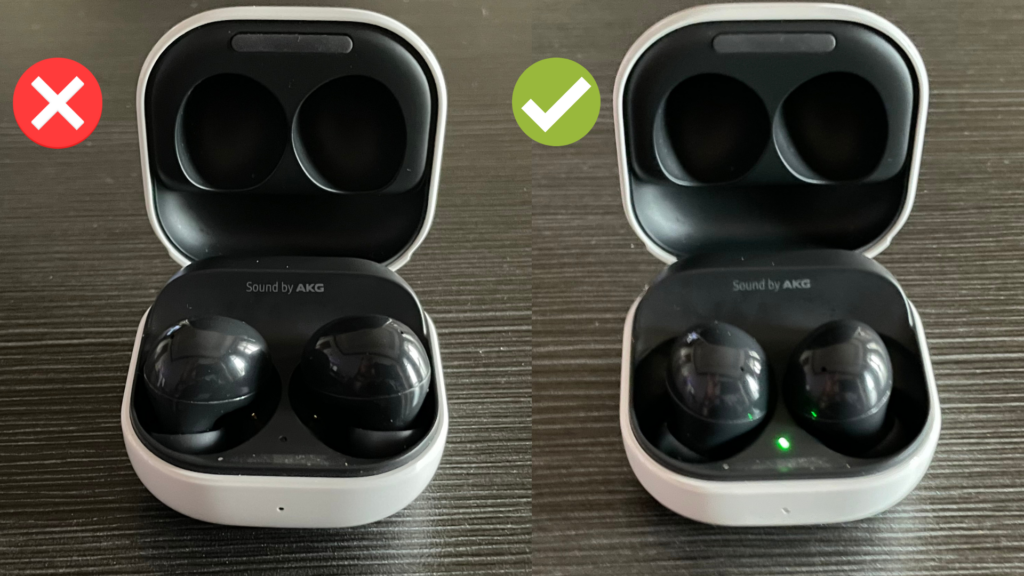
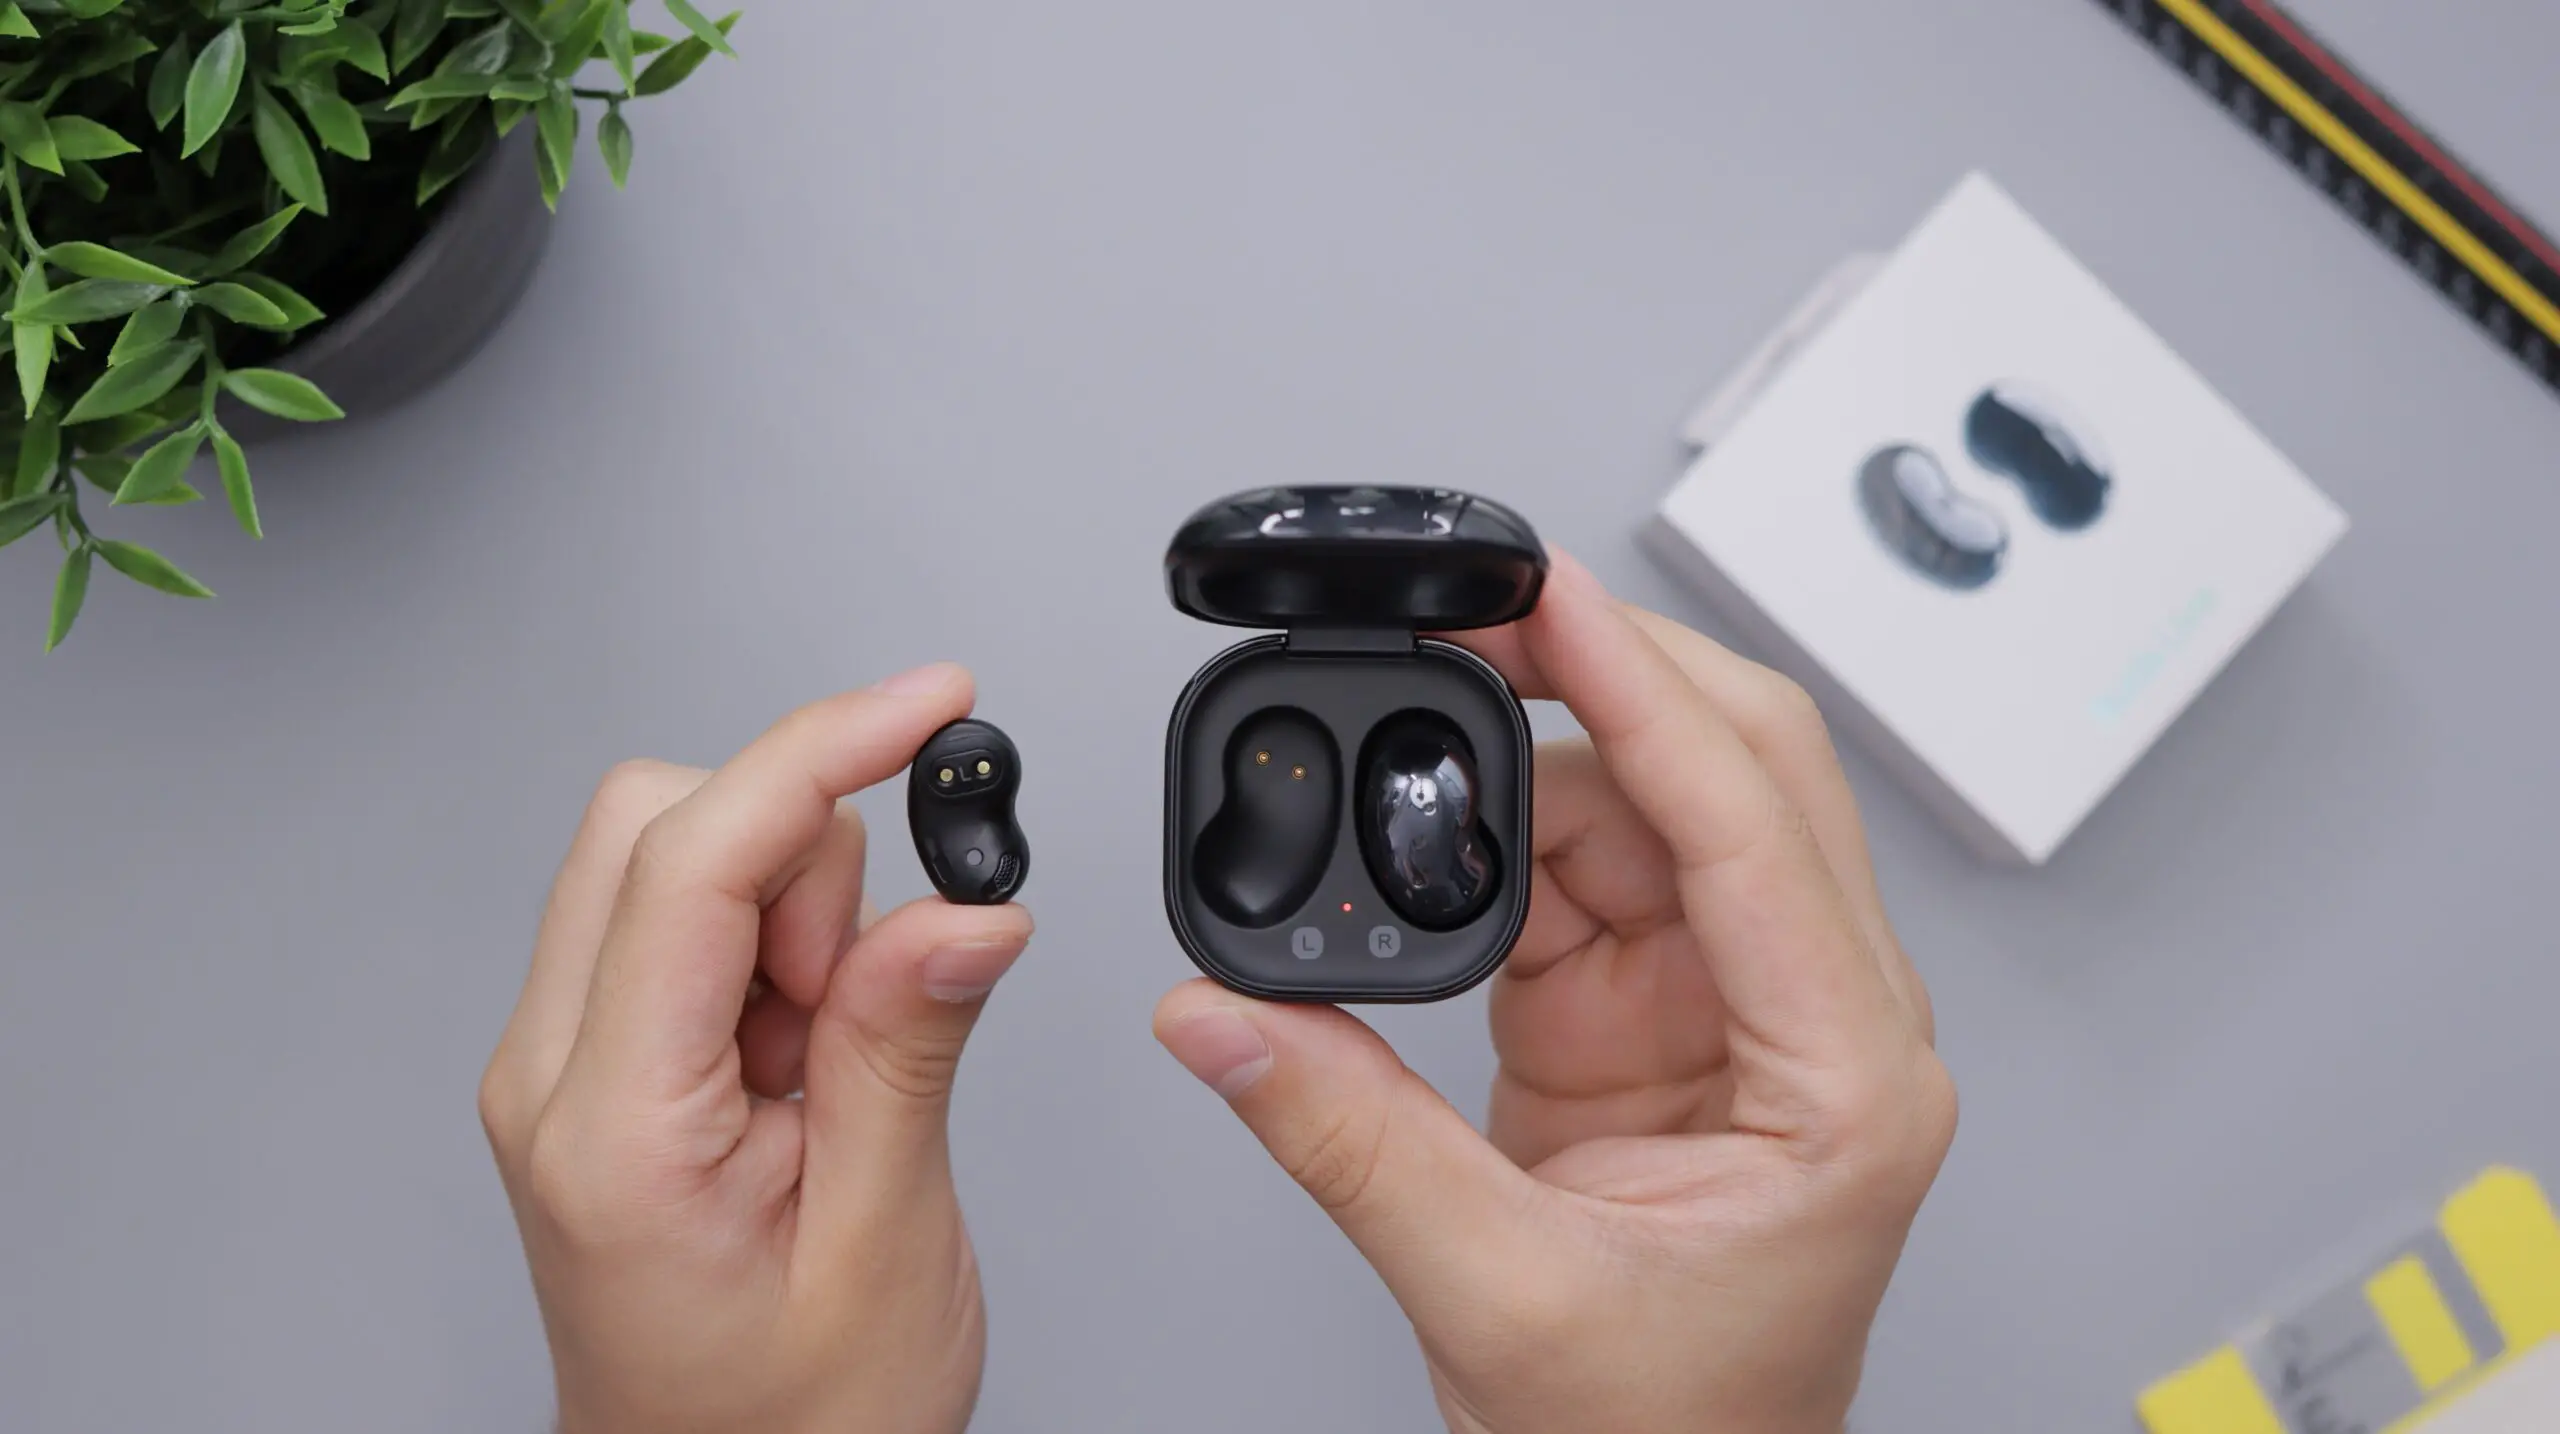
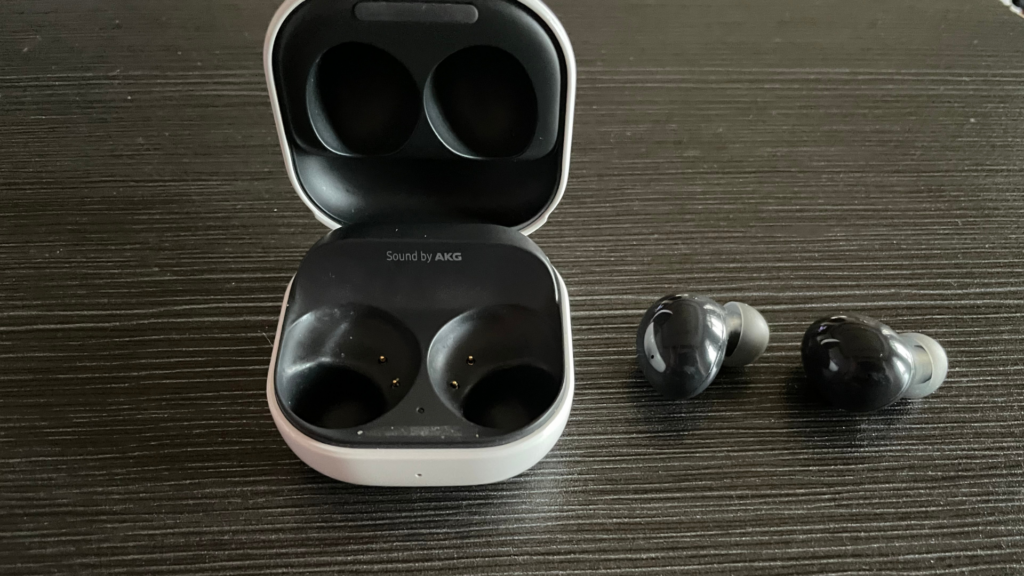
Incorrect positioning of the Galaxy Buds in the charging case, or misalignment between the charging pins and the earbuds’ connectors, often leads to charging issues. Below is a more detailed step-by-step guide to ensure proper placement and connection.
- Start by removing your Galaxy Buds from their case. Pay attention to the specific slots designed for the left and right earbud within the case.
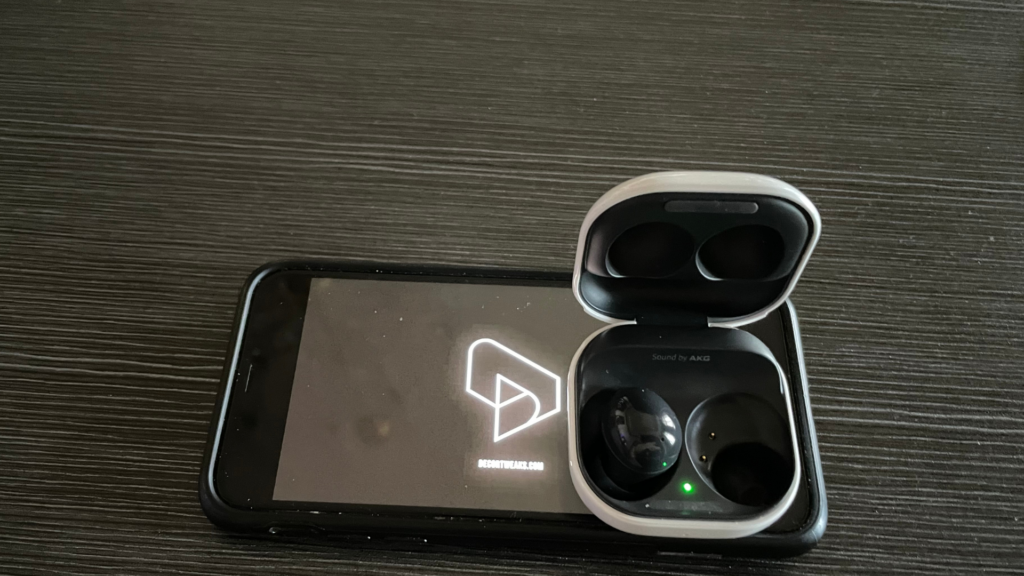
- Press down gently on each earbud to make sure they’re properly seated. They should fit snugly and not move around. If placed correctly, the LED indicator should light up, indicating that the earbuds are charging.
Take note, the accurate alignment between the charging pins in the case and the connectors on the earbuds is a vital aspect of the charging process.
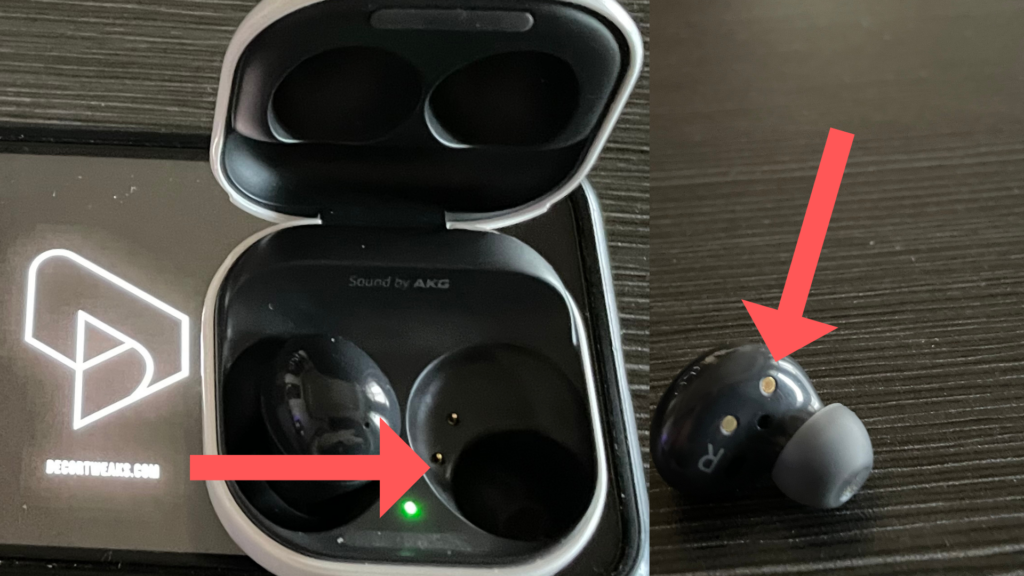
Misalignment can prevent the earbuds from charging, even if they seem to be properly seated in the case.
Aligning the Ear Tips on the Earbuds
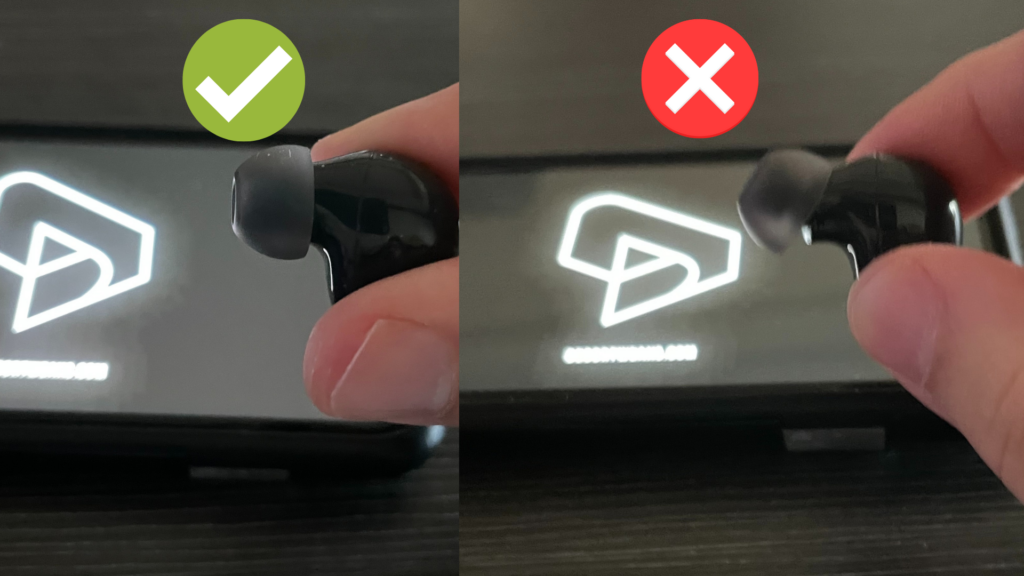
Sometimes, the ear tips around the earbuds might not be correctly aligned. This can lead to an improper fit in the case, preventing the earbuds from charging. Here’s how to rectify this issue:
a. Inspect the Earbuds: Check your Galaxy Buds and see if the ear tips are correctly aligned. Misalignment could be preventing the earbuds from seating properly in the case.
b. Align the Ear Tips: If an ear tip is skewed or twisted, remove it first, then realign it correctly before putting it back onto the earbud.
c. Test the Fit: Once you’ve aligned the ear tips, place the earbuds back into the charging case to see if they fit better and start charging.
Quick Tip: A quick way to determine if this is the issue you’re facing is to remove the ear tips from the earbuds, place them in the case, and check to see if they are charging.
Clean Earbuds and Charging Case
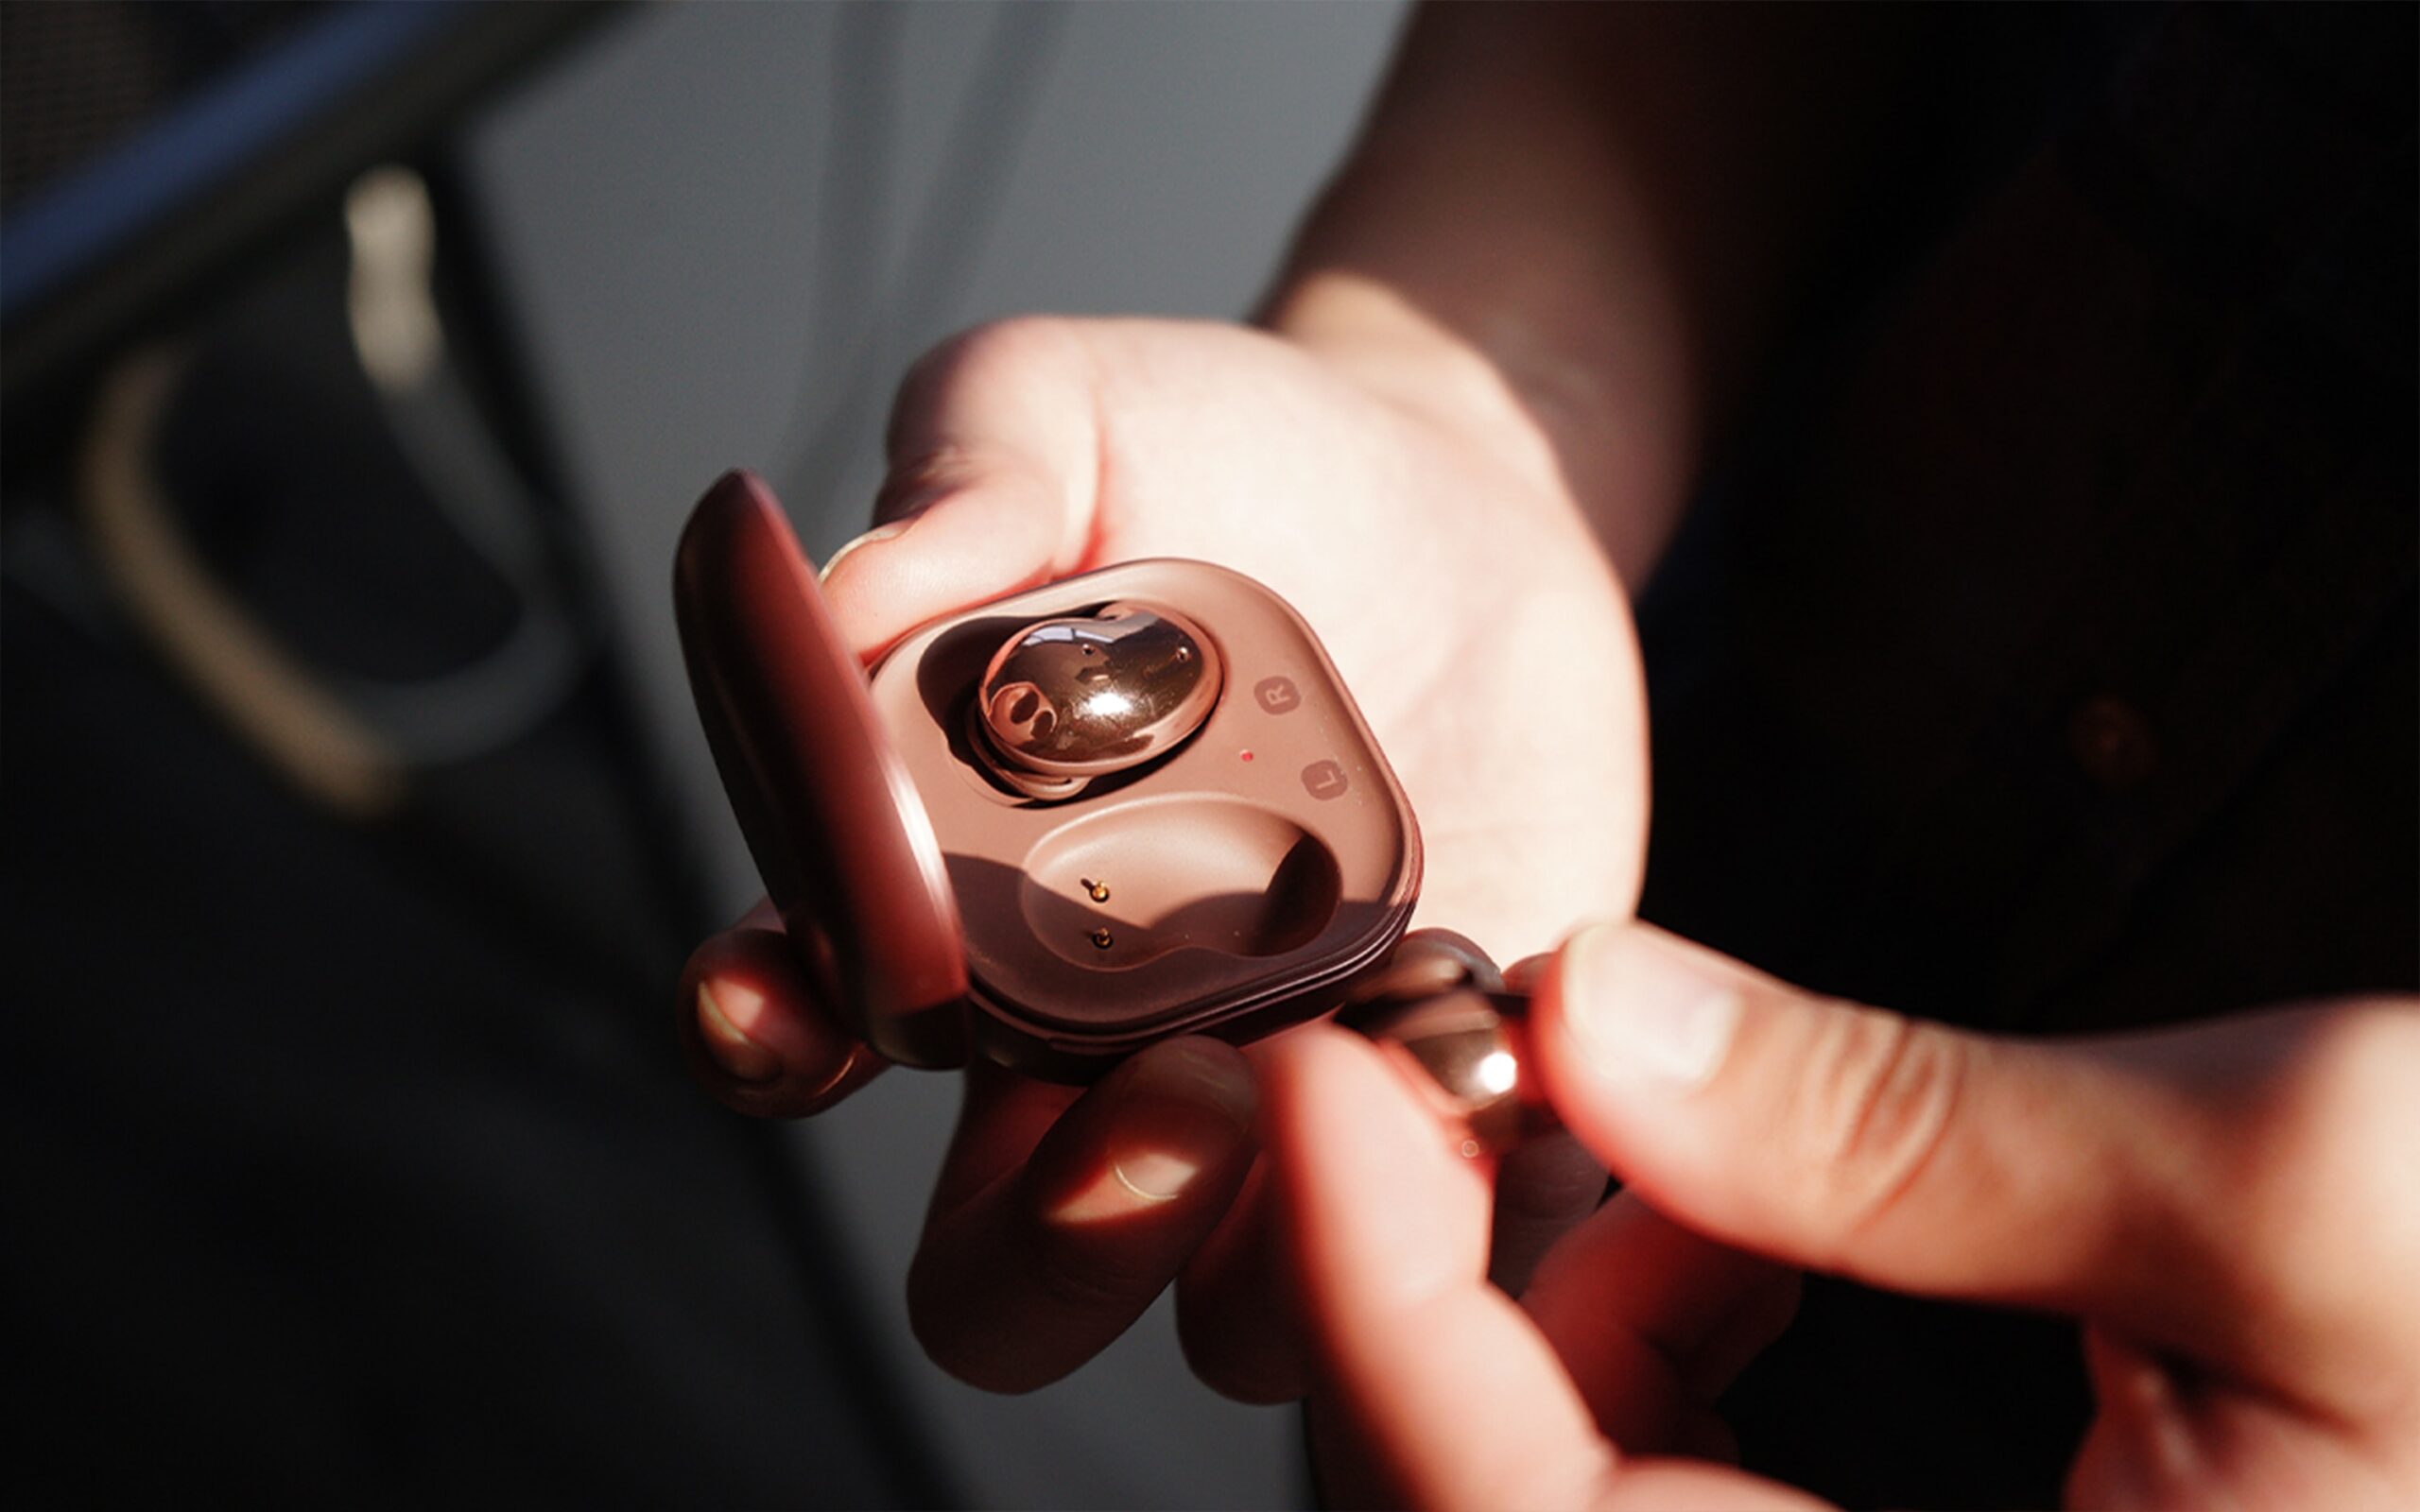
Next, carefully check your Galaxy Buds and the case for any dust, lint, or debris. These can block the connection between the charging pins and connectors, disrupting the charging process.
- Cleaning the Charging Case: Particularly around the charging pins, use a dry cotton swab. Lightly swab around and on the charging pins to remove any dust or debris. Be cautious and do not apply too much force as the pins are delicate and can be easily damaged.
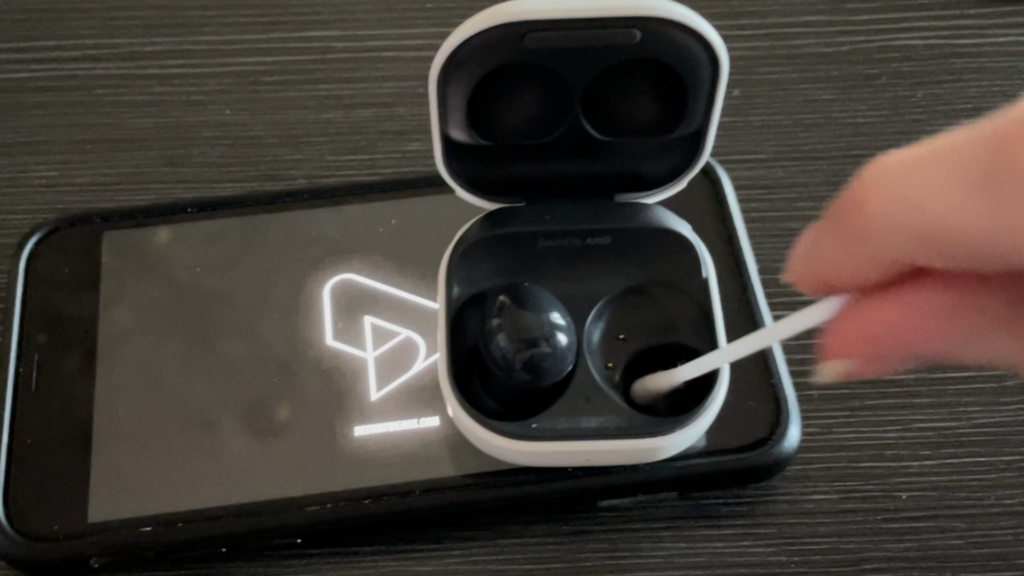
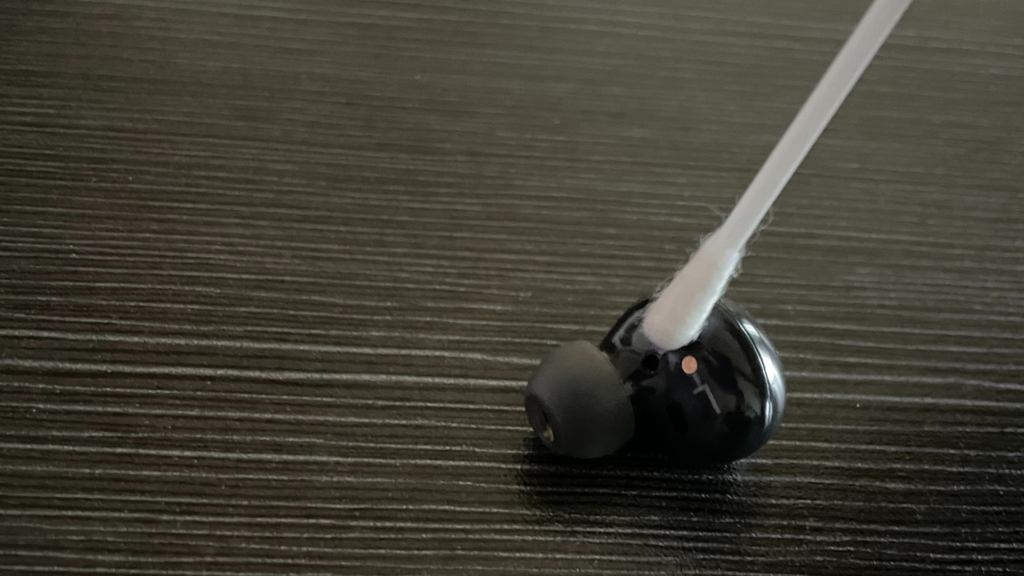
- Cleaning the Earbuds: Wipe the outer part of the earbuds with the cloth. For the connectors on the earbuds, use the dry cotton swab to gently clean them.
After cleaning, properly place the earbuds in their respective slots in the case. Confirm that the connectors on the buds align with the charging pins in the case. Correct placement should trigger the LED indicator, showing that the buds are charging.
Individual Charging of Earbuds
Next, individual charging might be the solution. This method involves isolating the problematic earbud in the charging case to allow for a more focused and secure connection. Here is how you can do it:
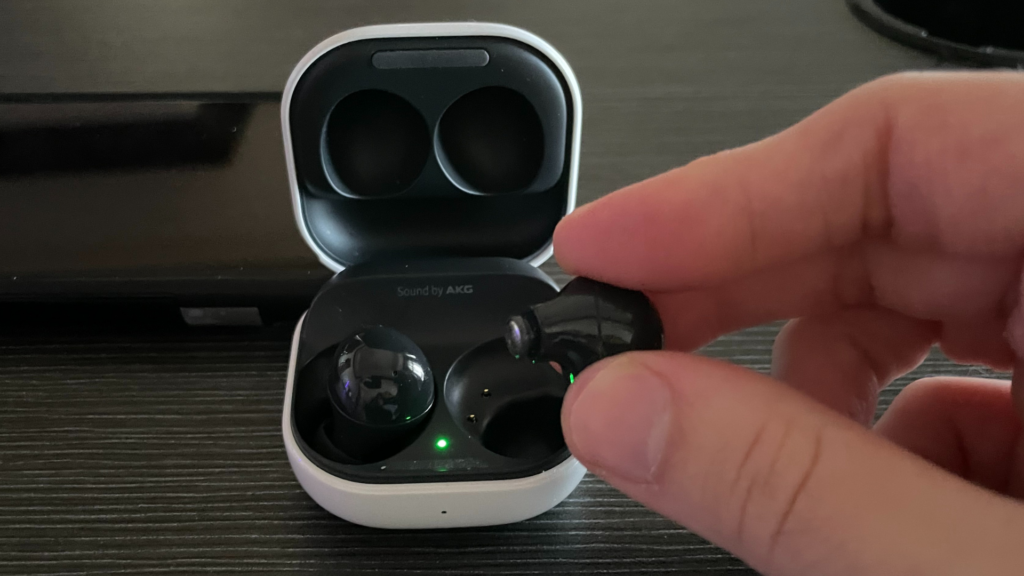
a. Remove the Working Earbud: Take out the functioning earbud from the charging case and only leave the non-working one in the case. (If both earbuds have charging issues, address each one individually.)
b. Ensure Steady Charging: Check the indicator light on the problematic earbud. It should emit a constant red light, indicating that it’s charging. If the light turns green (indicating a full charge) but the earbud is still not working, remove it and place it back in the case until the light stays red.
c. Try Different Positions: If the red light isn’t steady, you may need to adjust the earbud’s position within the case. You can try to wiggle it slightly or press it down for a few seconds. This might help establish a better connection with the case’s charging contacts.
d. Persist with the Process: Keep trying until you achieve a steady red light on the earbud. It may take some time and patience.
e. Leave the Earbud to Charge: Once the red light is constant, leave the earbud in the case to charge. Do not close the case lid during this process.
Software Updates
Regularly updating the software on your Galaxy Buds is essential for proper functioning and preventing issues such as not charging. Ensure that the earbuds are connected to your smartphone and follow these steps:
- Open the Galaxy Wearable app on your smartphone.
- Tap on ‘Earbuds software update’ under the ‘General management’ section.
- If an update is available, tap on ‘Download and install’ to begin the process.
Resetting Galaxy Buds
Resetting Samsung Galaxy Buds can help to fix connection or minor functionality problems. The exact procedure might differ slightly depending on the specific model, but here’s a general guide on how to reset the Galaxy Buds:
- Open the Galaxy Wearable App: Connect your Galaxy Buds to your mobile device, and open the Galaxy Wearable app.
- Select Your Earbuds: Tap on the image of your Galaxy Buds in the app.
- Go to Settings: Navigate to the ‘Settings’ or ‘General’ section in the app.
- Find the Reset Option: Look for the ‘Reset’ or ‘Reset Earbuds’ option. This may be under an ‘About earbuds’ or ‘Advanced’ settings menu depending on the model.
- Confirm the Reset: Tap the ‘Reset’ option, and a prompt may appear to confirm your decision. Tap ‘Reset’ or ‘OK’ to confirm.
- Wait for the Process to Complete: The earbuds will then reset to their factory settings. This may take a few moments.
- Reconnect the Earbuds: Once the reset process is completed, reconnect the Galaxy Buds to your device, and set them up as if they were new.
Drain the Battery and Recharge for Potential Fix
Occasionally, a simple reset of the battery can correct charging problems. Follow the steps below to implement this method:
- Use the Earbuds Until Power Depletion: Continue using your Galaxy Buds until they completely run out of power. This might mean listening to audio until the sound cuts off, indicating that the battery has been fully depleted.
- Recharge the Earbuds: Once the battery is drained, place the earbuds back in the charging case and leave them to charge uninterrupted. The LED indicator should illuminate, showing that the earbuds are charging.
- Full Charge Cycle: It’s important to let the earbuds charge completely without interruption. This might take up to 2 hours depending on your model.
- Check the Earbuds: After the buds have fully charged, try using them again. If the issue was related to the battery’s firmware, this complete drain and recharge cycle could have solved the problem.
Please note that this method should not be used frequently as fully depleting a battery can decrease its overall lifespan over time. However, using this as a one-time troubleshooting method can help identify and potentially fix charging issues.
Buds Settings
Another aspect to verify is the Buds settings within the Galaxy Wearable app. Certain settings might impact the charging behavior of your Galaxy Buds. Check the following settings on your smartphone:
- Open the Galaxy Wearable app.
- Ensure that the ‘Battery optimization’ setting is disabled. This setting, when enabled, could affect the charging process.
- For Galaxy Buds Live and Buds Pro users, verify whether the ‘Voice wake-up’ setting is enabled. In some cases, disabling this setting has been reported to resolve charging issues.
By performing these software checks, you can eliminate issue causes from the software side and narrow down the cause of the problem.
Connecting the Two Charging Pins Together
In instances where your charging case, especially one that’s been water-damaged, fails to charge both earbuds, creating a connection between the two charging pins in the case might help:
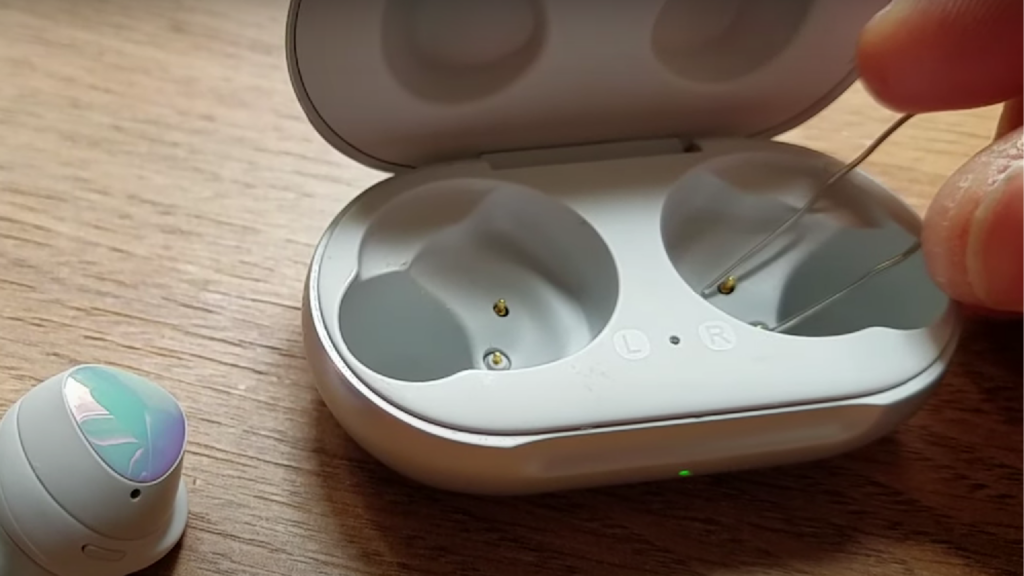
Connect the Charging Pins: connecting the two charging pins together has been effective in normalizing the docking function. Carefully use a piece of metal or conductive material to bridge the pins momentarily. Please exercise caution while doing this to avoid any further damage.
Test the Solution: Once you’ve connected the pins with the wire, try charging the earbuds again. If successful, this method might bypass any internal circuit issues caused by water damage and allow the charging process to continue.
d. Use Caution: Remember that this is a makeshift solution and might not provide a permanent fix. Also, this approach could potentially cause more damage or void your warranty.
e. Seek Professional Help: If this solution doesn’t work or if you feel uncomfortable attempting it, we recommend seeking help from a professional repair service or a Samsung service center.
Please note: Dealing with water damage or trying to perform internal fixes yourself can be risky and may cause more harm to your device. If you’re uncertain about these types of fixes, it’s always best to consult a professional.
Checking and Fixing Stuck Charging Pins
Sometimes, the charging pins inside the case can get stuck and prevent the earbuds from charging correctly. Here’s what you can do if you encounter this issue:
a. Inspect the Charging Case: Look carefully inside your charging case to check if any of the charging pins are stuck or seem to be pushed in more than the others.
b. Attempt to Fix: If you notice a stuck pin, try to gently nudge it with a non-metallic, pointed object like a toothpick. Remember, the goal is to get it to pop back up without causing any damage.
c. Proceed With Caution: Be extremely careful while doing this to avoid any potential damage to the delicate charging pins.
d. Professional Help: If the pin doesn’t pop back up or if you’re not comfortable trying to fix it yourself, it would be best to take your Galaxy Buds and the charging case to a Samsung service center for professional assistance.
Remember that attempting to fix hardware issues yourself might void the warranty on your device. Always consider professional help if you’re unsure about the process or if the issue persists after your attempts to fix it.
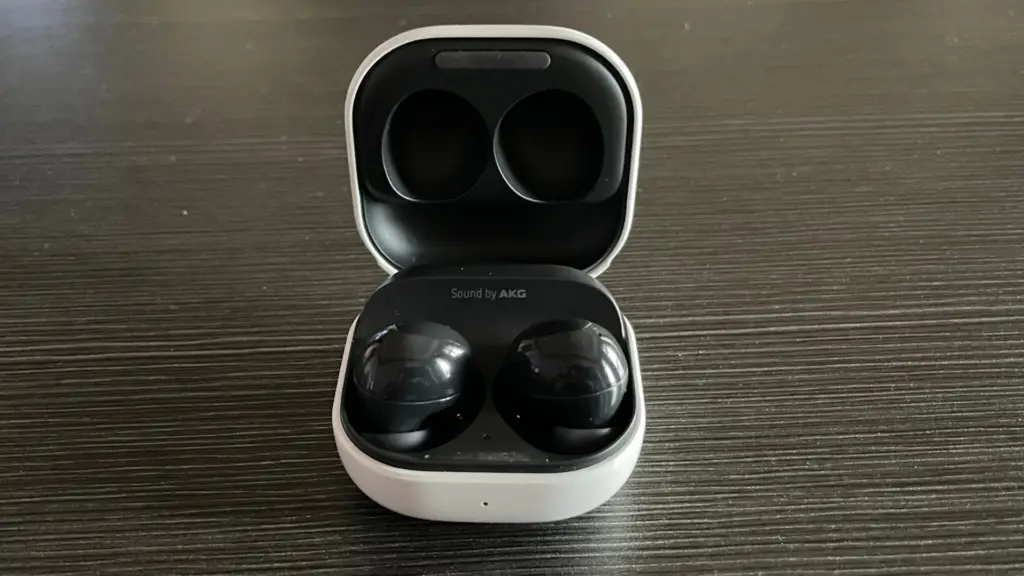
Charge the Case Separately
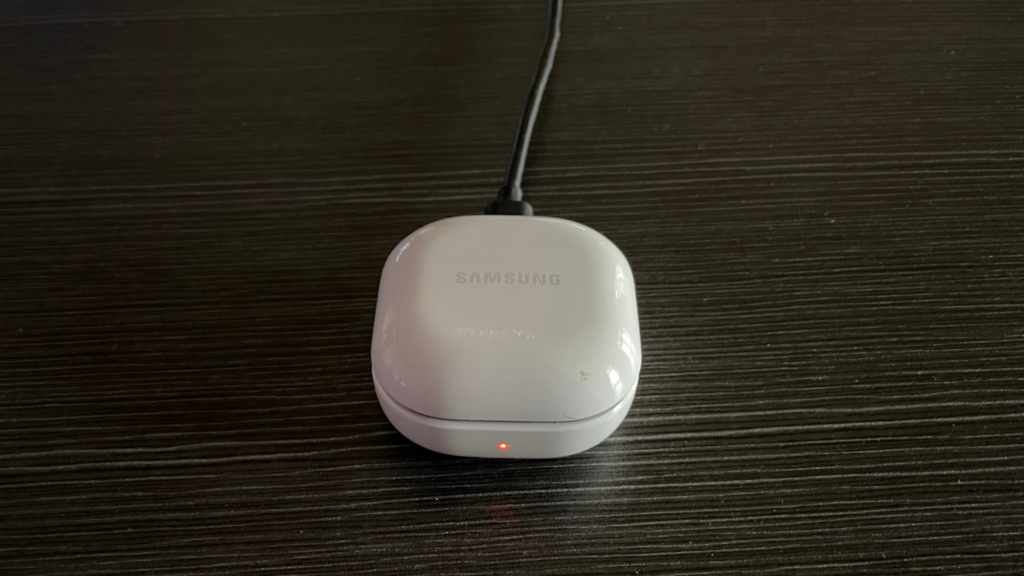
Sometimes the issue is not with the earbuds, but with the charging case. Connect the case to a charger without the earbuds inside and examine the charging status. If it charges without the buds, it may indicate an issue with the earbuds or their alignment within the case.
Charging Cable
The charging cable’s condition can also impact the charging process. Inspect the cable for any visible damage, such as frayed wiring or bent connectors.
If you find any issues with the cable, replace it with an official Samsung charger to ensure compatibility and efficiency.
Moreover, test the cable by connecting it to a different device to make sure it functions correctly. If the cable appears to be in good condition but your Galaxy Buds still do not charge, try using a different charging method, such as wireless charging, if supported by your earbuds and charging case.
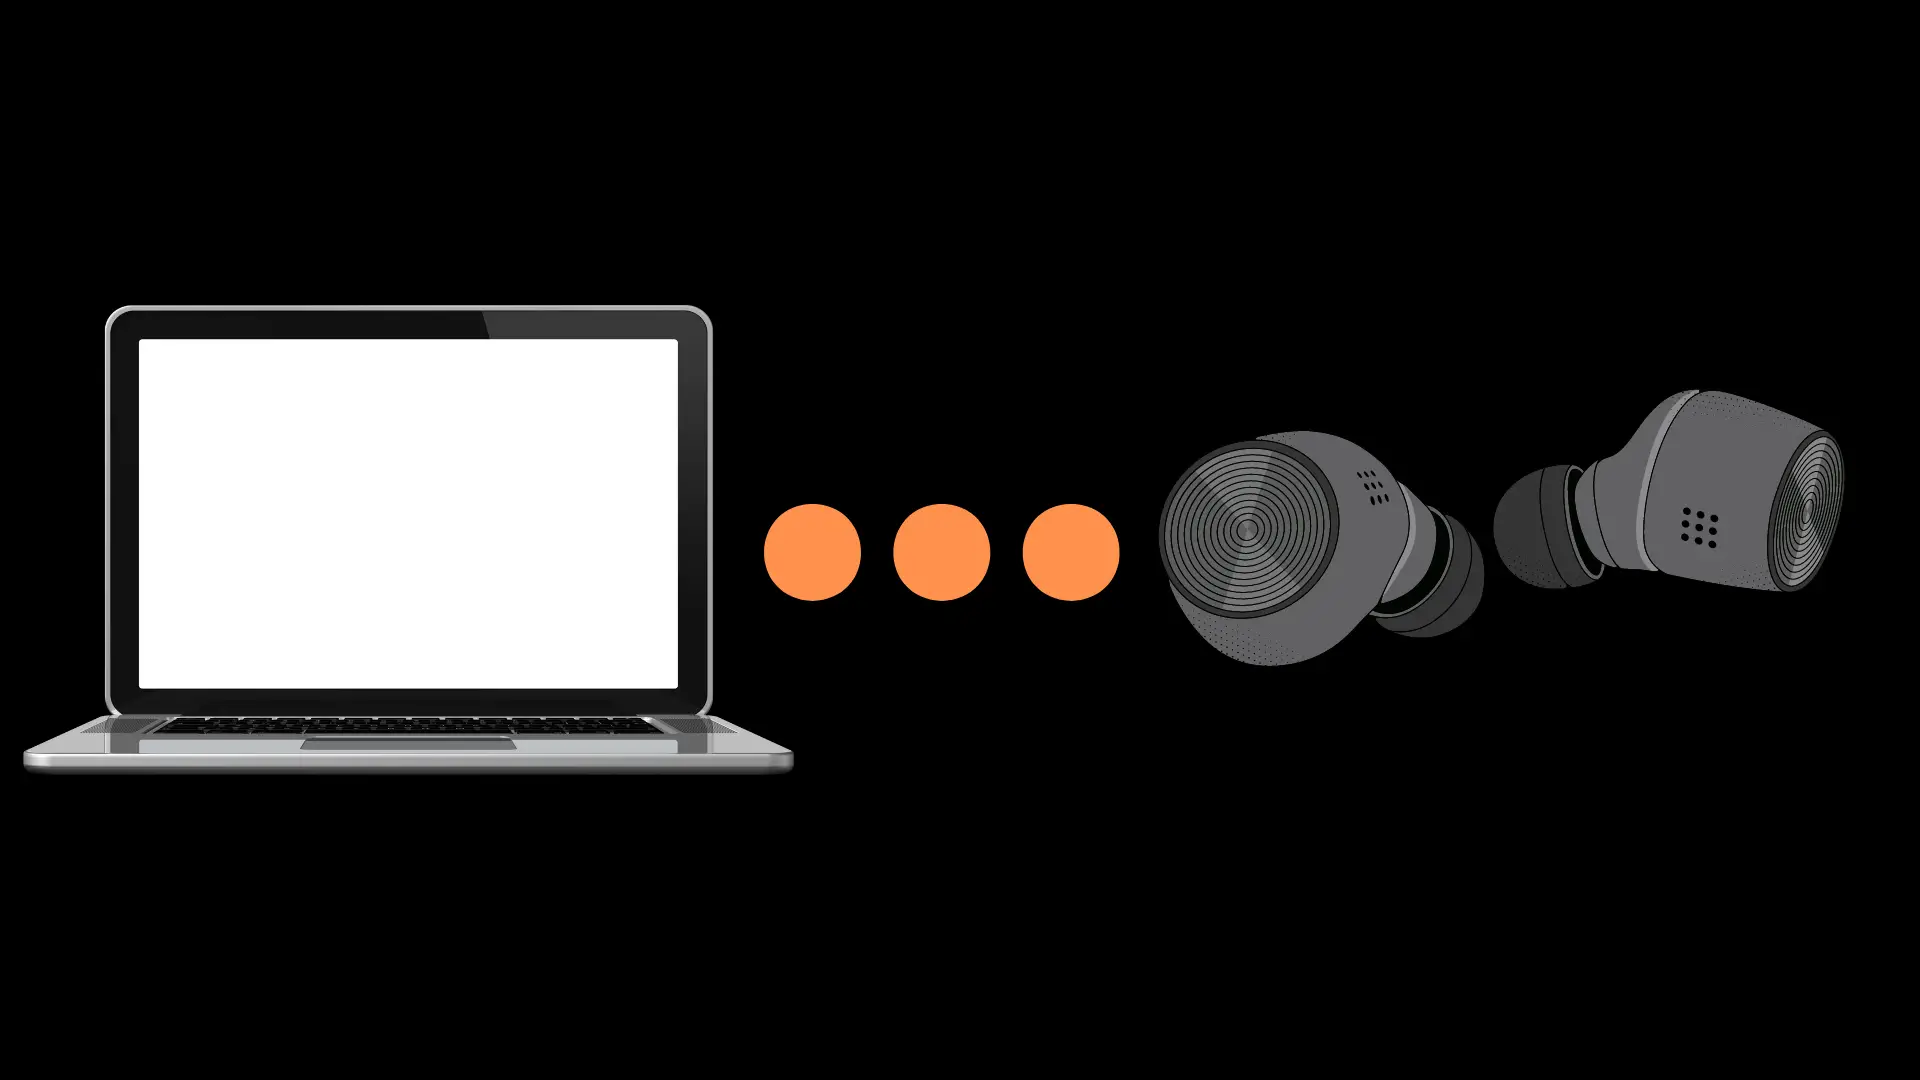
Switch to a Different Charging Method
If your Galaxy Buds are not charging via a wired connection, try using a wireless charger or vice versa. This can help determine if the problem is related to a specific charging method.
Inspect For Damage
Galaxy Buds
First and foremost, examine your Galaxy Buds for any visible damage or debris. This can include scratches, dents, or broken parts.
Case Inspection
Next, check the charging case for any physical damage, such as cracks or deformations. Make sure the case is fully charged by connecting it to a power source using the official charging cable.
Professional Support: When All Else Fails
While the troubleshooting steps provided can resolve many charging issues, there may be instances where professional help is necessary. If you’ve tried everything and your Galaxy Buds still aren’t charging, it’s time to reach out to the experts.
- Samsung Customer Service: Reach out to Samsung’s customer service via their hotline or online support. They can provide additional troubleshooting steps, guide you through warranty claims, or offer advice on the next best course of action.
- Authorized Service Center: If the issue persists, consider taking your Galaxy Buds to an authorized Samsung service center. The trained technicians can diagnose and fix hardware problems that might be too complex to handle at home.
Remember, attempting to repair your Galaxy Buds yourself could void the warranty, and some issues might be beyond the scope of home remedies. If all else fails, don’t hesitate to seek professional assistance.