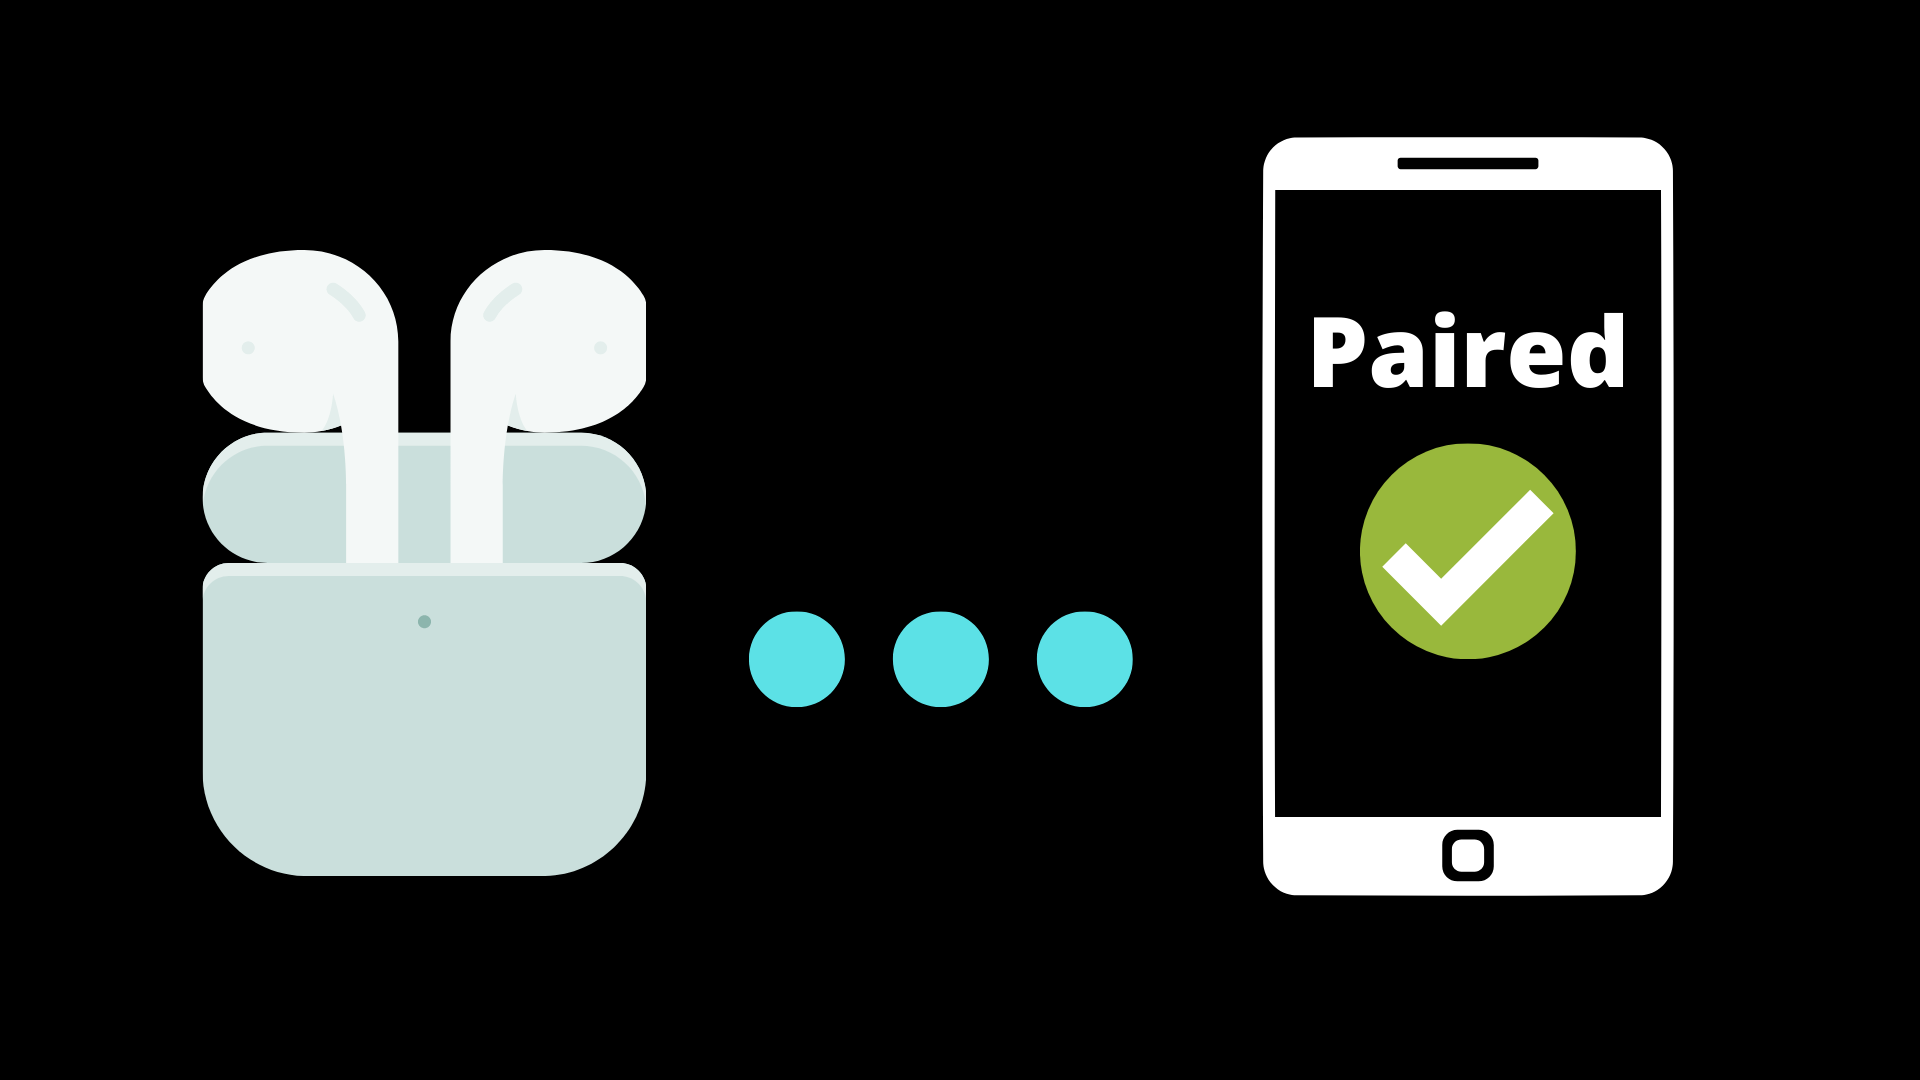
When your AirPods display a blinking red or Amber light, it’s crucial to comprehend the potential causes and possible solutions. This article will delve into the typical reasons behind the flashing red or Amber light on your AirPods case.
How Do I Fix the Flashing Red Light on My AirPods Case?
Usual Causes of AirPods Flashing Red/Amber:
- Software Issue: Your AirPods case might also flash Amber due to a software issue, this sometimes occurs when there was an error in the pairing process requiring you to set up your Airpods once again.
- Critically low battery: The AirPods case might flash Amber when the battery is extremely low, which differs from a standard low battery that typically causes a red flashing light.
- Continuous factory reset: Your AirPods could be caught in a constant factory reset loop, causing the case to repeatedly reset and display an Amber light.
Troubleshooting Techniques:
Solution 1: Basic Reset
Start by resetting your AirPods. You’ll need to place your AirPods in their case properly and then close the lid. After about 30 seconds, you can open the lid and then go to your device’s “Bluetooth” menu.
Look for Your Airpods on your Bluetooth list. If your Airpods were previously connected to your device You’ll see a little “i” symbol next to that device’s name. Next, you’ll need to click that “i” and then click “forget this device.” That will erase the connection to start fresh and repair it.
You will then need to press and hold the button on the back of your AirPods Pro case so that it will disconnect from every device you’ve attempted to pair. You’ll see a white light when that’s done, and you can attempt to go through your pairing process all over again.
Solution 2: Checking Your AirPods Firmware Version
Here’s how to check if Your Airpods Firmware is up to date:
- Using an iPhone or iPad:
To check your AirPods firmware version on an iPhone or iPad, make sure you have the latest version of iOS or iPadOS. Then, follow these steps:
a. Go to Settings > Bluetooth. b. Tap the Info button (i) next to the name of your AirPods. c. Scroll down to the About section to find the firmware version.
If there is a firmware update available, here’s how to update it:
- If your AirPods are not already in their charging case, place them inside.
- Connect the charging case to a power source using the included Lightning to USB cable. Alternatively, you can use a Qi-compatible wireless charging mat.
- Move your iOS device close to the charging case.
- Make sure your iOS device is connected to the internet.
- Wait for a brief moment for any available software updates to be downloaded and installed automatically.
- If you’re experiencing any issues updating your AirPods, make sure that the charging case has enough charge.
- If necessary, try resetting your AirPods.
- Using a Mac:
To check your AirPods firmware version on a Mac, make sure you have the latest version of macOS. Then, follow these steps:
a. Press and hold the Option key while choosing Apple menu > System Information. b. Click Bluetooth, then look under your AirPods for the firmware version. c. With macOS Ventura, you can also choose Apple menu > System Settings, click Bluetooth, then click the Info button (i) next to the name of your AirPods.
If there is a firmware update available, here’s how to update it:
- If your AirPods are not already in their charging case, place them inside.
- Connect the charging case to a power source using the included Lightning to USB cable. Alternatively, you can use a Qi-compatible wireless charging mat.
- Move your Mac device close to the charging case.
- Make sure your Mac is connected to the internet.
- Wait for a brief moment for any available software updates to be downloaded and installed automatically.
- If you’re experiencing any issues updating your AirPods, make sure that the charging case has enough charge.
- If necessary, try resetting your AirPods.
Your AirPods will receive firmware updates automatically when they are charging and within Bluetooth range of an Apple device connected to Wi-Fi. But if there are no nearby Apple devices, you can schedule a firmware update appointment at an Apple Store or with an Apple Authorized Service Provider.
Solution 3: Extended Charging
If you suspect that the issue is due to a Critically low battery. As a first step, try charging your AirPods overnight or even for an entire day. This is because the battery of the AirPods may have drained completely, and it needs to be fully charged to function properly.
Solution 4: Keep the Case’s Lid Open When Charging
Open the charging case and leave both earbuds inside while they charge.
Solution 5: Individual Pairing
This approach involves resetting each AirPod separately, following suggestions from Apple Support forums.
- Remove the AirPods from your device’s Bluetooth settings.
- Place the right AirPod in the case and press the setup button on the back for exactly 15 seconds while the case is open.
- Connect the single AirPod to your device and listen to audio for 30 seconds to a minute.
- Return the AirPod to the case, close it, and leave it for 30 minutes.
- Take the AirPod out of the case, wait 15 seconds, and repeat the process for the left AirPod.
- Once both AirPods have been processed, remove the device from your iPhone settings.
- Put both AirPods in the case and press the setup button for 15 seconds while the case is open. The white light should appear, allowing you to pair them normally.
Solution 6: If Only One Earbud is Working
- Open the Bluetooth settings on your device and “forget” the AirPods.
- Take out the problematic AirPod from the case.
- Hold down the back button on the AirPod until the light turns white.
- Check your device for a connection pop-up. If it appears, select “Connect” to reconnect the AirPods.
- If the connection pop-up does not appear, try resetting the AirPods and the charging case by following these steps:
- Place both AirPods in the charging case.
- Close the lid of the charging case.
- Wait at least 15 seconds.
- Open the lid of the charging case.
- Press and hold the button on the back of the case until the light starts flashing white.
- Once the AirPods and charging case have reset, try holding the back button on the problematic AirPod again to trigger the connection pop-up.
Solution 7: Secondary Reset Procedure
- Remove the AirPods from your device’s Bluetooth settings.
- Ensure the case is connected to a charger.
- Open the case and hold the button on the back.
- The light will transition from Amber to solid white, followed by a blinking white light.
- Continue pressing the button until the light turns Amber again.
- Close the case and wait for 15 minutes.
- Open the case near your device, and the pairing animation should be displayed.
These steps may help to resolve issues with the connectivity and functionality of your AirPods. However, if you continue to experience problems, it may be necessary to contact Apple support or an authorized repair provider for further assistance.