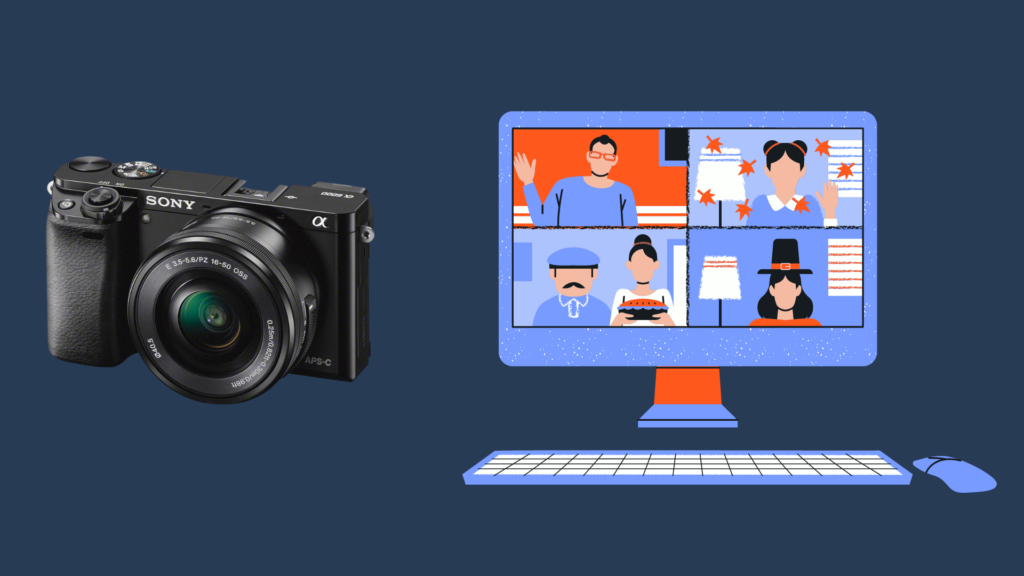
The Sony a6000 is a lightweight digital camera that can capture high-quality pictures in video. If you’re in need of a webcam, but you already have an a6000, you’re in luck. Instead of buying a new camera, you can use your Sony camera as a webcam.
You can easily turn the Sony a6000 into a webcam with the official Sony Imaging Edge Webcam app. This app can convert most Sony cameras into a webcam in minutes. If you’d like the best possible picture quality from your a6000, you can also use an HDMI capture device.
There’s no reason to spend extra money on a webcam when you have an excellent camera like the a6000. Keep reading to find out how to start using your existing camera as a webcam.
Using the Sony a6000 as a Webcam: A Step-By-Step Guide
Thanks to Sony’s webcam app, using your a6000 as a webcam is an easy process. Just go through these simple steps to turn your camera into a webcam:
1. Download the Sony Webcam App
Sony’s Imaging Edge Webcam app can convert most Sony cameras, including the a6000, into webcams. You can download the application directly from Sony’s website. Once the app has finished downloading, complete the installation process before moving on to the next step.
2. Connect Your Camera to Your Computer
Use a USB cable to connect your camera to your computer. If you don’t have the cable that came with your camera, you can use any compatible Micro USB cable. Once your camera is connected, it should immediately be recognized by your computer.
3. Find the Right Spot for Your Webcam
You’ll want to make sure your a6000 provides a clear view of your face. Ideally, your camera should be elevated so that it’s at the same height as your monitor, which you can do by placing your camera on a small tripod or a stack of books. You can test your camera in the Imaging Edge app.
4. Set Up Your Webcam
Open up your preferred video conferencing app and select a video source. As long as the Imaging Edge Web app is running, you should see “Imaging Edge webcam” under your list of options. Once the camera is selected, you can start using your Sony a600 as a webcam.
There’s no audio support in the Imaging Edge app, which means you’ll need to find another option for audio. You may be able to use your computer’s built-in microphone, but if this isn’t an option, you’ll have to pair your a6000 with a microphone or another source of audio input.
Charging the Sony a6000
The battery on the a6000 drains fairly quickly when capturing video. You can’t use the video camera when charging your camera normally, which is why it’s best to find an alternative way to keep your camera charged.
A compatible AC power adapter can serve as a dummy battery for your a6000, providing you with the battery life you need while you use your camera as a webcam. The Sony a6000 uses an NP-FW50 battery, which means you’ll need to look for an adapter that uses the same type of battery.
Another option is to use rechargeable battery packs. When your battery is running low, you can swap out your current battery pack for a pack that’s fully charged. Just be aware that you may have to temporarily disconnect from your video conferencing software while you change out your battery.
How to Improve the Image Quality of Your Sony a6000
If you’ve followed the steps above, and you’re not fully satisfied with the image quality that you’re getting from your Sony a6000, you may want to consider using a video capture device. Here’s how you can use a video capture device along with your a6000:
1. Find an HDMI Capture Device
A capture device is a type of hardware that can convert your camera’s video signal into a digital format. HDMI capture cards can be placed directly in the HDMI slot in your computer, making them easy to use. Make sure that the capture device you choose has a HDMI port.
2. Connect Your Camera to Your Capture Device
Once you have a capture device and have placed it in your computer’s HDMI slot, use a HDMI to micro HDMI cable to connect your Sony a6000 to the capture card. When the two devices are connected, you can move on to the next step.
3. Set Up Your Camera
To get better performance from your camera, you’ll want to make a few changes to its settings. You should place your Sony a6000 in MovieMode, with Continuous AF enabled. You should also enable Manual Exposure as well as Face/Eye Detection.
After your camera is plugged in and set up, you should be able to select it as a video source in your video conferencing app. If you don’t see your camera as an option, check to see if either your camera or your HDMI capture device needs driver updates. Once you’ve made updates, restart your computer, relaunch your video conferencing app, and select the a6000 as your video source.
Can I Use a Sony a6000 for Streaming?
The a6000 can be an excellent streaming camera. With that said, if you plan on streaming, it’s best to avoid the Sony webcam app and use an HDMI capture device. For the best possible performance, you’ll also want to choose the right lens and accessories.
A wide angle lens is ideal for streaming video. With a wide angle lens, you’ll get crisp video even when you’re sitting close to the camera. These lenses are highly versatile and will give you the best possible image quality while you stream.
To keep your camera steady, consider investing in a desktop tripod. You can improve the quality of your lighting by mounting a lighting device onto your computer monitor. Lastly, look for a dedicated microphone that can deliver high-quality audio as you stream.