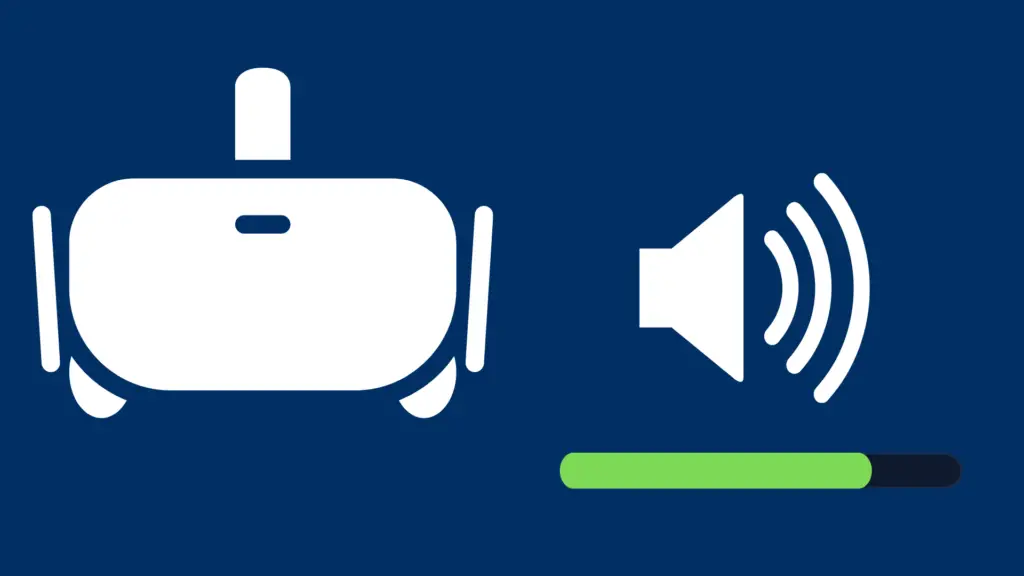
Are you an Oculus Quest user? If so, you know the joys and frustrations of this V/R Headset. One common area for user questions concerns how to turn the volume up on Oculus Quest 2. Read on to find answers to this question and its variations.
Where is the volume on my Oculus Quest 2?
As most experienced technology users know, finding the right button is always the first step.
On Oculus Quest 2, the volume button is located on the underside of the headset. With the Oculus Quest 2 on your head, the button will be on the right side, just above your nose. A long white bar, the button has a plus and a minus end. Press plus (on the right) to increase the volume, and press minus (on the left) to decrease it.
What if I want to change the volume on my Oculus Quest 2 during a game?
If you’re negotiating with a goblin thug, trading shots with an adversary, or just busy flying, you probably don’t want to stop, drop your controllers, and fumble for the volume button. Instead, press menu, and the volume control is on the right. You’ll still have to pause your game, but at least you won’t have to hunt for a button.
My Oculus Quest 2 still seems really quiet—what can I do?
Perhaps the issue isn’t volume control so much as volume capacity. Some users find Oculus Quest 2 operates at half the volume of a typical Smartphone. The first step to remedy this situation is adjusting the head straps. Let out the top strap almost all the way so that it cradles the back of your skull. This will place the side straps much closer to your ears, often resulting in a marked increase in volume. Watch out! If you had the volume turned all the way up, you may now find it to be overly loud.
I’ve tried the existing head strap solution. What else can I do to increase volume capacity?
If you’ve tried adjusting the head straps and you’re still not getting the sound capacity you’d like, there is another remedy that can also increase the wearability of your Oculus Quest 2 headset. In fact, the following solution is often offered as a fix for comfort rather than for volume.
Consider this: the Oculus Quest 2 is front heavy because the electronics are located in the headset and there is nothing in the head straps to offset this weight. In fact, Quest 2 is even worse than the original in this regard because its head strap is not supported by the base of your skull and so can slip off more easily.
Most users respond to this problem first by tightening the head strap to prevent the headset from drooping. Unfortunately, this can produce a major neck ache and increasing discomfort to the face as the tightness cuts of circulation. The next solution is to invest in an add-on head strap.
What? More head straps?
The inadequacy of the original head strap has led to the development of the Oculus Elite Head Strap. This strap addresses some of the problems of the original, allowing you to keep the audio closer to your ears. However, the Elite strap can break, and it has been discontinued for some time. So some users have preferred to create their own head strap solutions that include a counterbalance.
That’s right: to offset the weight of the headset, you can add a head strap with a battery pack that has the bonus of increasing the battery life of your Oculus Quest 2. But once you’ve begun to modify your straps, why not go further?
Is this the DAS? What does that even mean?
Some users have discovered the add-on known in the Questworld as “DAS.” This acronym stands for the HTC Vive Deluxe Audio Strap (I guess HVDAS didn’t roll off the tongue quite as well). While it doesn’t use the counterbalance approach, it’s much more comfortable than the Quest 2’s own straps and also increases the volume. The DAS strap sits above the ears, and the headphones hang down on either side like more typical over-ear headphones. Best of all, unlike the Elite Strap, the Deluxe Audio Strap is readily available online.
And how much will this cost me?
In addition to the DAS, which costs about $99 as of this writing, you’ll need adapters. You can print them using a 3D printer (because everyone has one of those, right?) or find them online via Amazon or eBay. Either way, you’ll spend an additional $10-25 dollars. But hey, it’s worth it to be able to play Beat Saber and Synth Riderz without straining to hear…and getting sore after just 15 minutes! Best of all, now you can refer to your modified Oculus Quest 2 with its add-on audio strap by the affectionate term, “Frankenquest”!
How do I add the DAS to my Oculus Quest 2 to increase my volume?
Building your new Frankenquest doesn’t require much technical, DIY know-how. You’ll need to:
- Remove the top strap
- Attach a new top buckle (the DAS is too thick for the original)
- Unclip the side straps
- Attach the Frankenquest adapters
- Clip the DAS straps to the adapters
- Plug the headphone cable into the Oculus Quest 2’s audio jack.
That’s it! Increase volume and add comfort with the Oculus Quest 2. Embrace the Frankenquest!