If you own an Oculus Quest 2, you might be familiar with controller drift, a frustrating issue where the thumbstick appears to move on its own.
This can lead to unintentional actions in games and apps, making it difficult to have a smooth gaming experience.
Fortunately, there are several ways to address this problem. In this article, we’ll explore the reasons behind controller drift on the Oculus Quest 2 and provide step-by-step solutions to help you get back to enjoying your virtual reality experience without any interruptions.
Causes of Oculus Quest 2 Controller Drift
The “Oculus Quest 2 Controller Drift” is often caused by factors ranging from software glitches and battery issues to physical wear and debris accumulation. However, pronounced or severe drifts are often an indication of dust or debris accumulation within the joystick housing.
| Potential Causes | Description |
|---|---|
| Thumbstick Misalignment | Deadzone settings misaligned with physical joystick movement. |
| Wear and Tear | Extended usage can wear down the thumbstick. |
| Debris Accumulation | Dirt or particles trapped around the thumbstick’s base. |
| Battery Issues | Degrading or malfunctioning batteries can cause drift. |
| Firmware Glitches | Bugs or glitches in the system’s firmware. |
| Internal Misalignment | Joystick not returning to neutral or minor internal obstructions. |
| Dust Inside Controller | Accumulated debris within the joystick housing causing drift. |
How to Fix Oculus Quest 2 Controller Drift
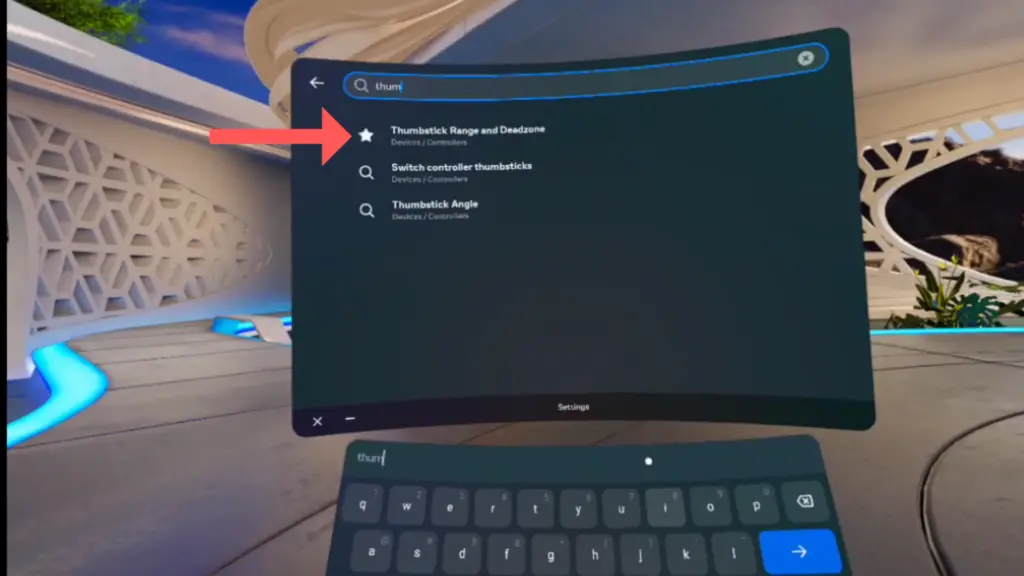
1. Thumbstick Range and Deadzone Adjustment:
The ‘deadzone’ is a setting that determines the amount of thumbstick movement needed before it starts registering in the software.
It creates a “zone” where small movements won’t be recognized, hence reducing the chances of drift or unintended inputs. This can be especially helpful if a controller’s thumbstick is slightly worn out or if there’s an inherent design sensitivity.
1. Access Settings:
- Navigate to “Settings”.
- Choose “Thumbstick and Deadzone”.
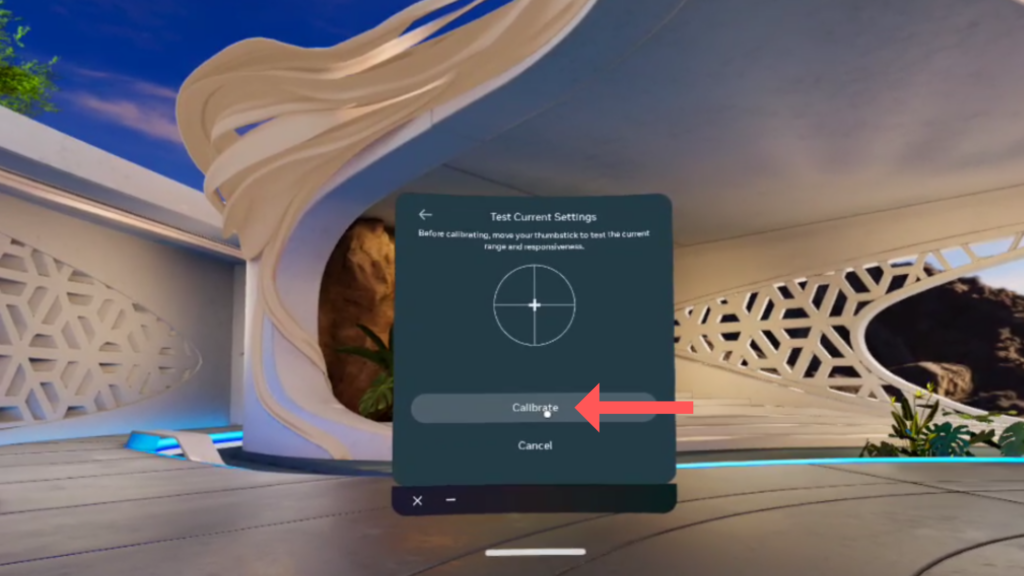
2. Controller Calibration:
- Click on “Reset Left” and then select “Calibrate”.
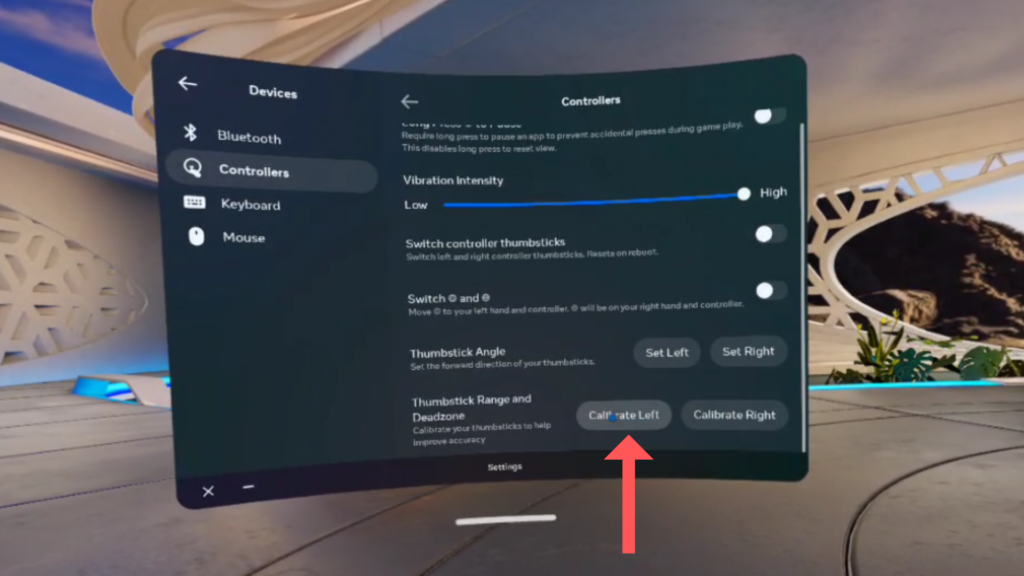
- Follow the on-screen instructions carefully during calibration.
3. Adjusting the Deadzone:
- Post-calibration, set the deadzone to around 70-80%. This setting usually ensures the thumbstick is sensitive yet avoids unintended movements.
- Test the controller in various situations to check its responsiveness and absence of drift. If drift continues, tweak the deadzone settings until you achieve the best result.
4. Calibrating Both Controllers:
- Don’t forget to calibrate and adjust the deadzone for the other controller as well.
Cleaning the Thumbstick
Dust and debris on the Oculus Quest 2 controller’s thumbstick can lead to drift issues. Before considering disassembling the controller for an internal cleaning, try thoroughly cleaning the base of the thumbstick. This often resolves the problem without the need to open up the controller.
Tools you’ll need:
- Compressed air can
- Soft bristle brush
- Isopropyl alcohol (70% or higher)
- Cotton swabs
Procedure:
- Hold the controller with the thumbstick facing downwards to prevent debris from going deeper.
- Gently use the soft bristle brush to clean around the thumbstick.
- Carefully use the compressed air can to blow out any debris, keeping the nozzle at least an inch away to prevent damage.
- Lightly dampen a microfiber cloth with a small amount of 70% or higher isopropyl alcohol. Gently wipe the base of the thumbstick to remove any sticky residue or dirt that could be causing drift.
- Allow the controller to dry completely before testing.
Realigning the Joystick: Gentle Pressure Technique
Sometimes, a simple method like applying gentle pressure can rectify the drift issue in the Oculus Quest 2 controller. Over time, regular usage can lead to the joystick slightly misaligning from its original position, or it may not settle back into its neutral position after being moved. By applying a mild force, you might be able to reset it. Here’s how to do it:
1. Hold Steady: Grasp the controller firmly in one hand, ensuring you have a good grip.
2. Push and Rotate: Gently press down on the joystick, as if you’re clicking a button. While keeping it pressed, rotate the joystick in a circular motion, moving it clockwise and then counterclockwise a few times.
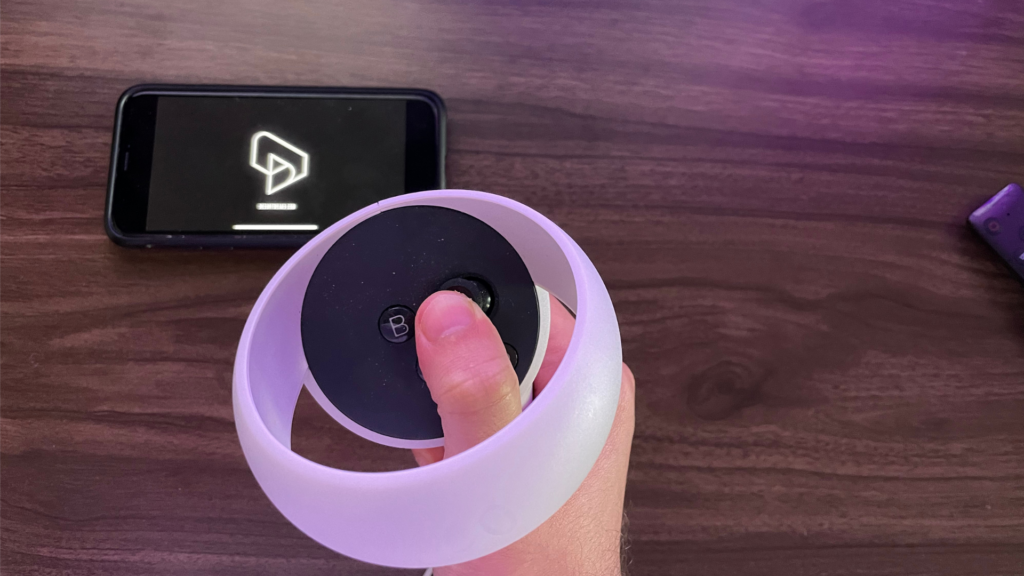
3. Release and Test: After rotating, release the joystick and let it return to its neutral position. Check to see if it moves smoothly and springs back to its center position without any resistance.
4. Gentle Taps: Holding the controller with the joystick facing downwards, give the back of the controller a few gentle taps. This action can potentially help reset the joystick or dislodge any minor obstructions affecting its movement.
5. Evaluate: Test the controller in your Oculus interface or in a game to check if the drift issue has been resolved. If the drift persists, it might be worthwhile to try the method a couple more times or move on to the next troubleshooting step.
Remember, the keyword here is “gentle”. Applying too much force can potentially damage the internal components of the joystick or the controller itself. Always exercise caution to ensure you don’t exacerbate the problem or cause new issues.
Battery Replacement:

An often overlooked factor in the performance of the Oculus Quest 2 controller is the condition of its battery. A dying or malfunctioning battery can occasionally cause erratic behavior, including joystick drift. Here’s a comprehensive guide on how to replace the battery of your Oculus Quest 2 controller:
Firmware Update
Sometimes, Oculus releases updates that can fix bugs or improve hardware performance.
- Ensure your Oculus Quest 2 is connected to the internet.
- Navigate to the ‘Settings’ menu, then ‘Device’.
- Check for any available updates and apply them.
- Restart your Oculus Quest 2 after the update.
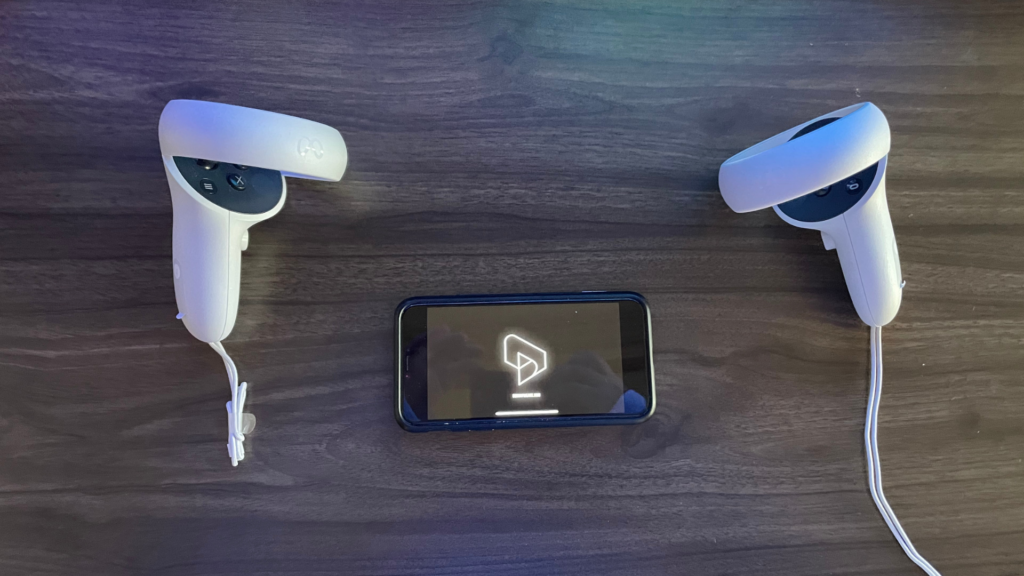
Re-pairing the Controller to the Oculus Quest 2
Controller drift can sometimes be caused by wireless signal problems rather than issues with the controller’s tracking system. One way to potentially resolve this problem is to unpair and then re-pair the Touch controller with the Oculus Quest 2 headset.
- Open the Quest App on your device.
- Go to Menu > Devices.
- Select your headset.
- Choose Controllers, then select the drifting controller.
- Click Unpair Controller.
- (Optional) Replace the controller’s battery.
- Follow on-screen instructions to re-pair the controller.
Clean the Joystick Housing
If none of the external cleaning methods work, the issue might be more deep-rooted. Over time, tiny particles and residues can accumulate in the sensitive areas of the joystick, leading to the disruptive “drift” phenomenon.
To truly address this, you would need to delve into the internals of the controller.
If you’re brave enough and feel confident in your technical abilities, consider following a detailed guide by iFixit to disassemble and clean the joystick housing.
If not, it might be best to seek assistance from a professional or specialized repair service.