Beat Saber is a popular virtual reality rhythm game that has gained a large following since its release. The game has seen numerous updates over the years, but sometimes these updates can break compatibility with mods that players have come to love.
In this article, we will guide you through the process of downgrading Beat Saber on the Oculus Quest 2 so that you can continue to use your favorite mods.
Step 1: Disable App Sharing on Quest
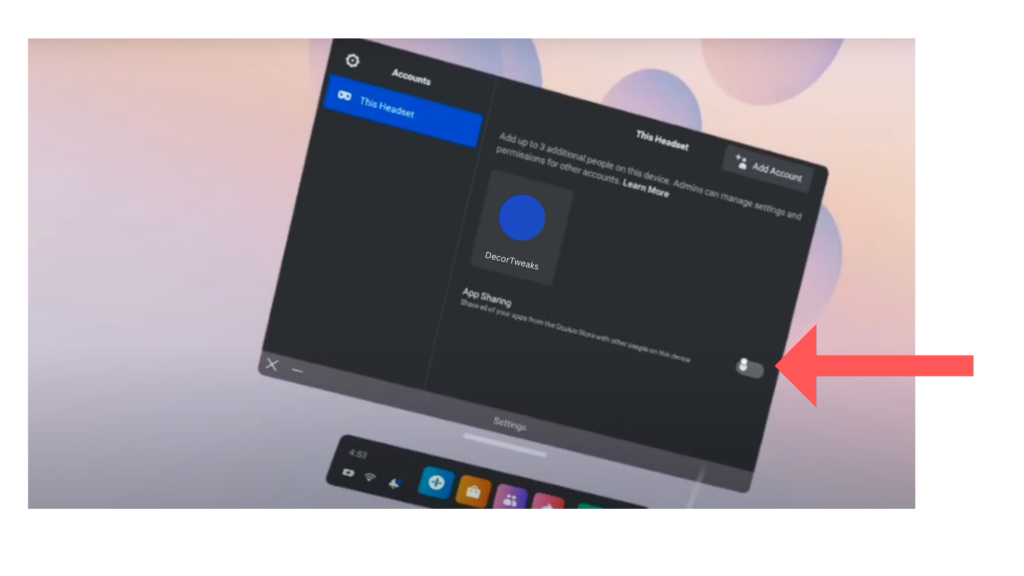
App sharing can interfere with the modding process, so make sure to disable it before proceeding. To do this, go to your Quest 2 headset settings, and navigate to the “Account” section.
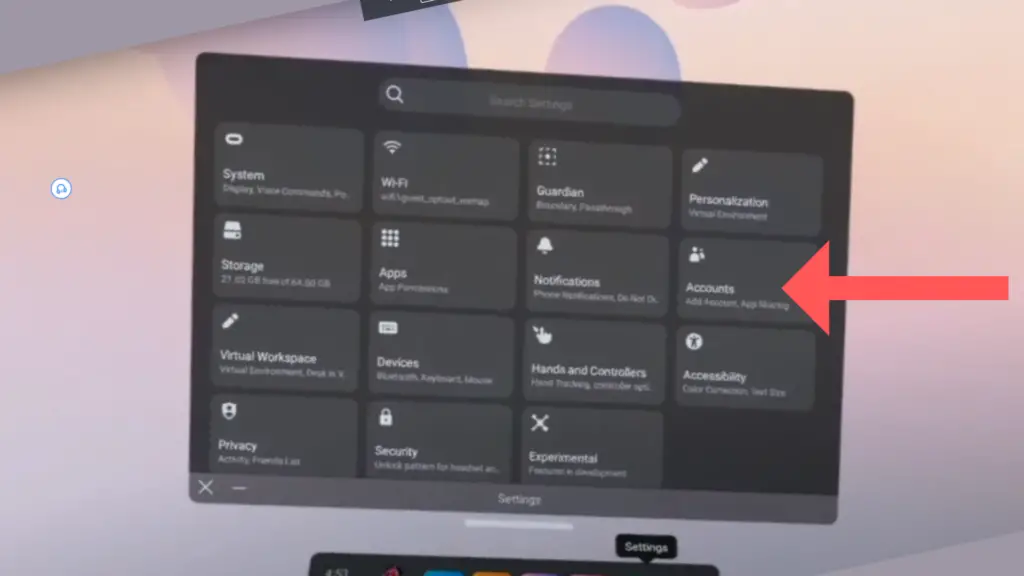
And ensure that app sharing is turned off. You’ll also want to ensure that no other accounts are linked to your device.
Step 2: Activate Developer Mode on Quest
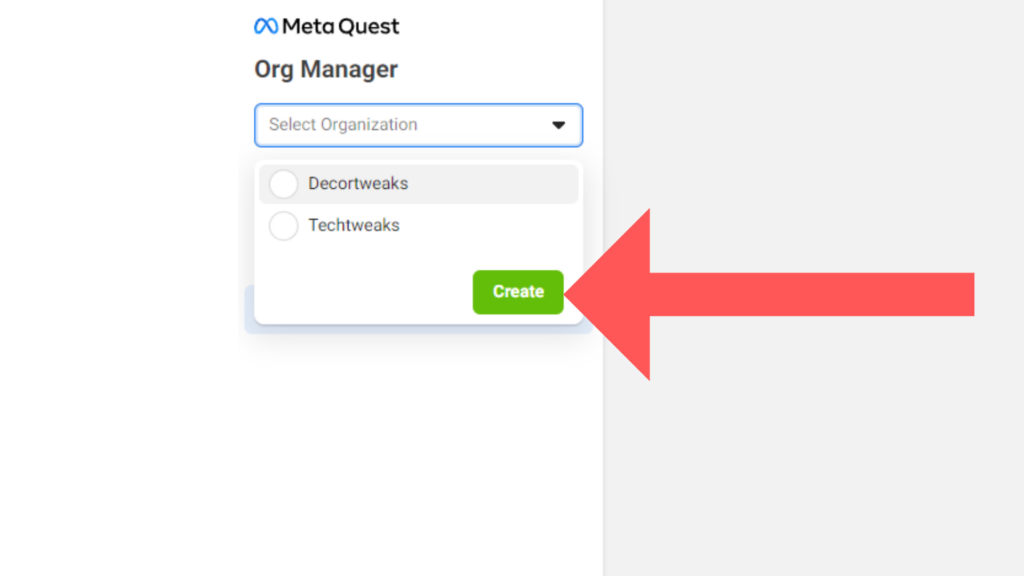
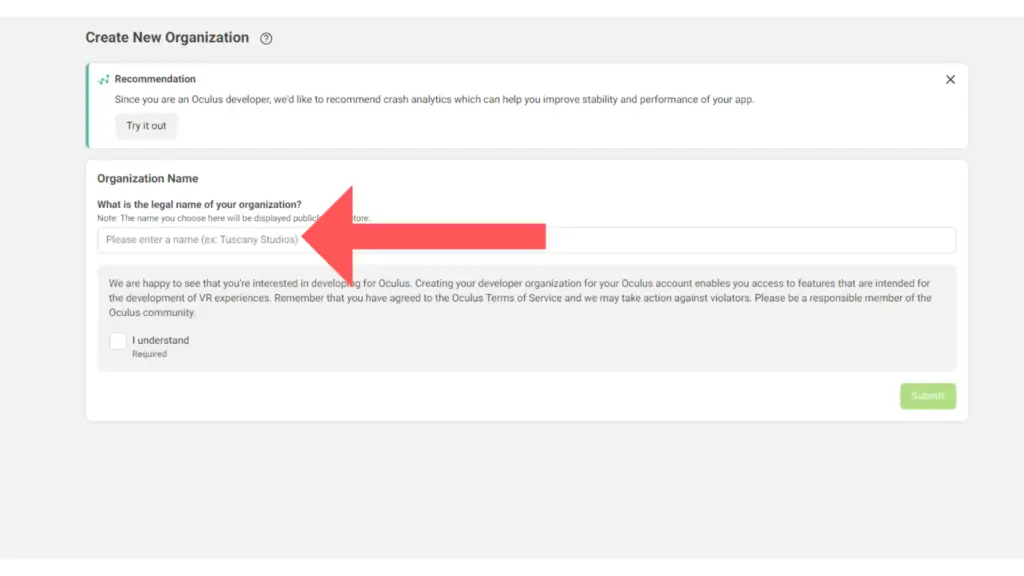
To enable Developer Mode on your Quest, create a developer account by visiting developer.oculus.com, log in with your Oculus account, and follow the prompts to create a new organization.
After signing up for Developer Mode, go to your Oculus app on your phone, and select “Devices.”
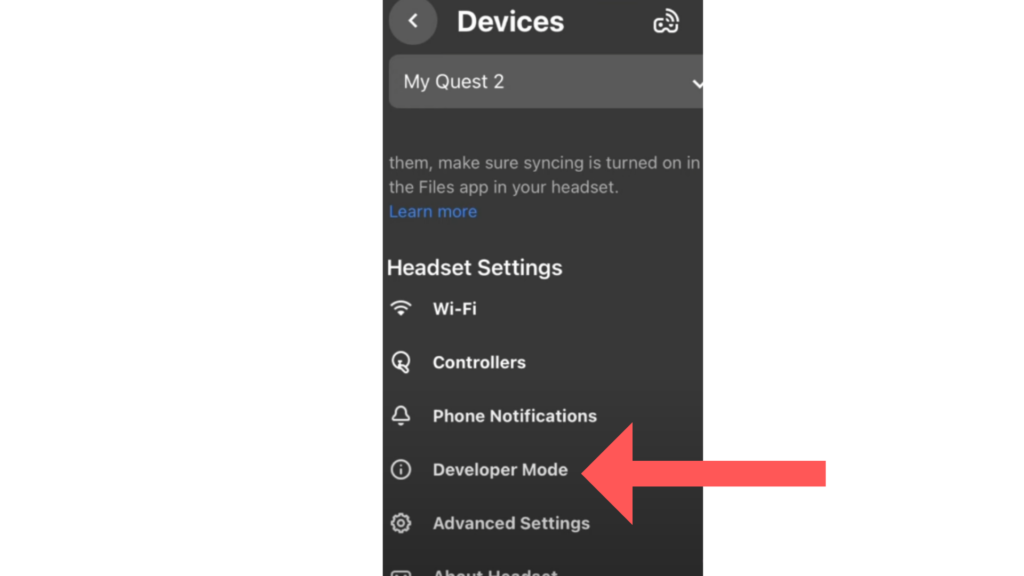
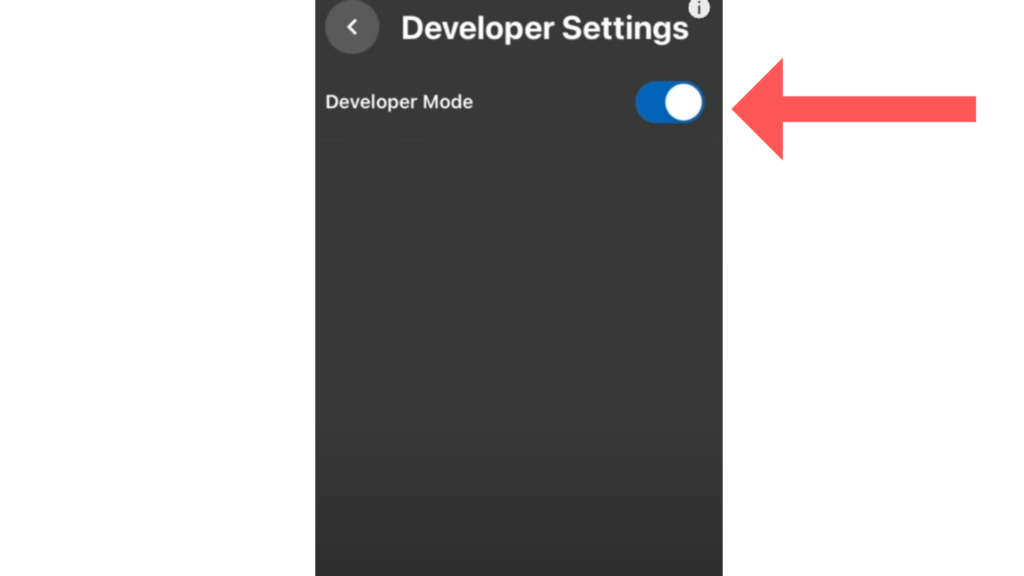
Now enable “Developer Mode.”
Step 3: Download and Install SideQuest
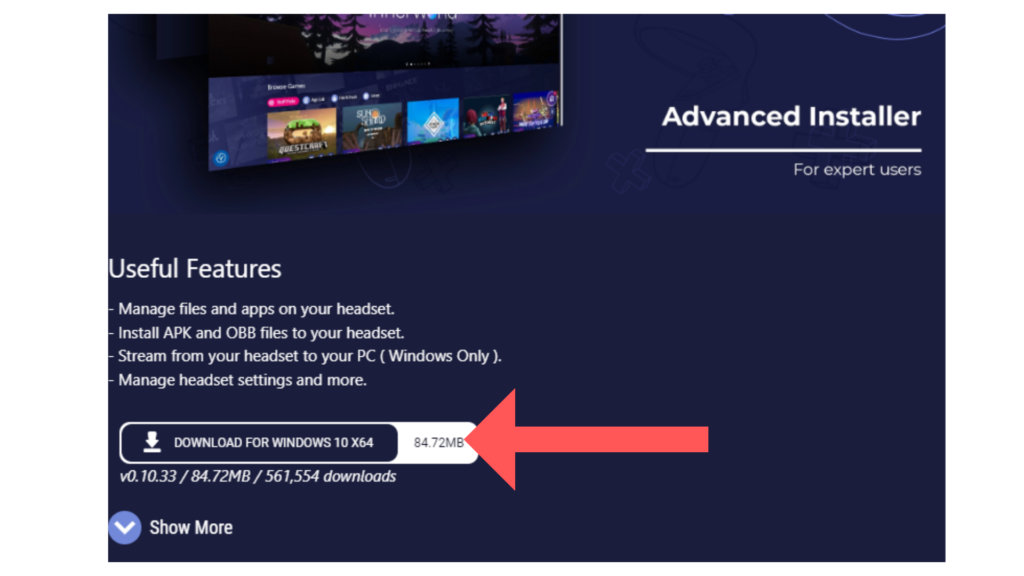
SideQuest is a third-party software that allows you to sideload apps and games onto your Oculus Quest 2. Download and install the Advanced installer of SideQuest from the official website and launch the application.
Launch SideQuest
Next, connect your Oculus to your PC or laptop using a cable. Put on the headset. You will then see a pop-up inside the headset asking if you want to “Allow USB Debugging.” Select “Allow.” You may see more than one notification, so be sure to select “Allow” for all of them.
A green icon on the top left will indicate that your device is now connected with Side Quest.
Step 4: Download and Install BMBF on Quest
Now on the Sidequest search bar, type in BMBF. This is a custom mod installer for Beat Saber.
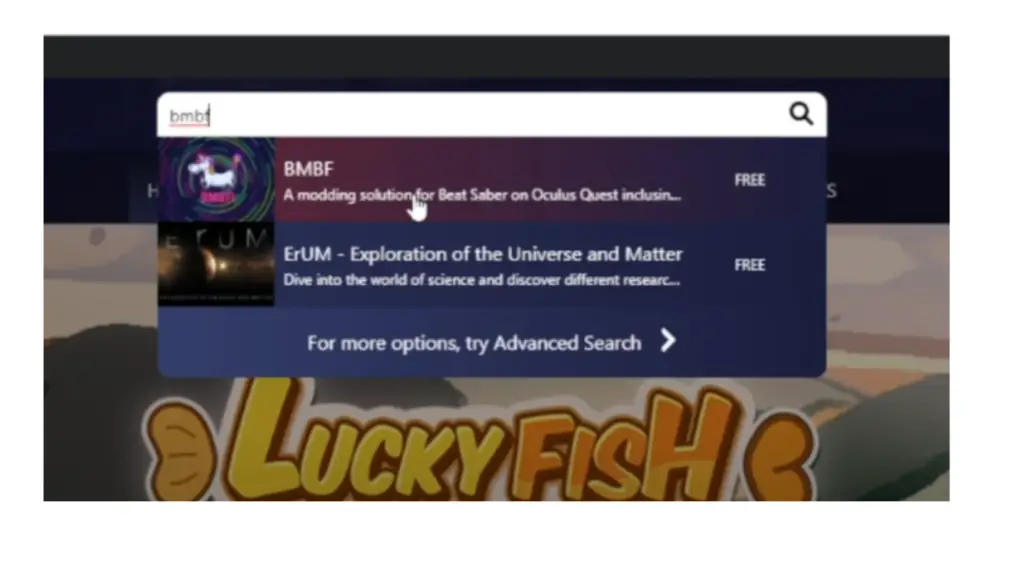
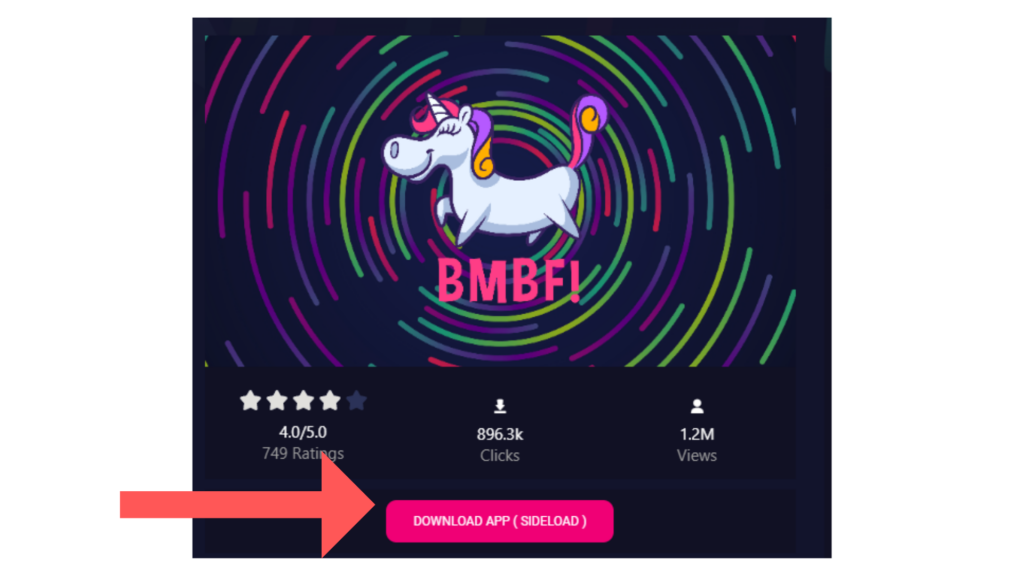
Search for BMBF within SideQuest and click on download (SideLoad).
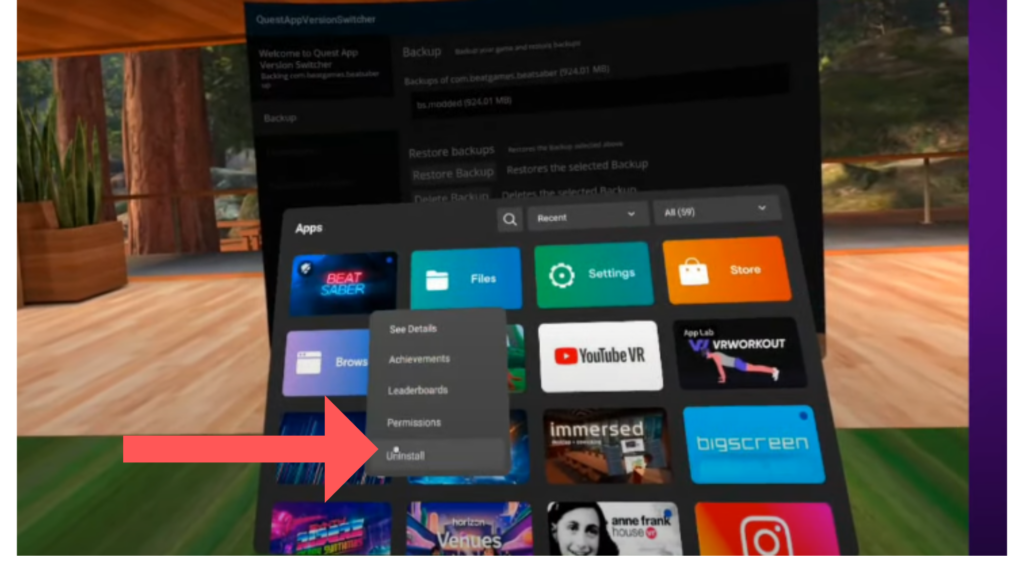
Step 5: Uninstall Beat Saber
Next, uninstall the current version of Beat Saber from your Quest 2.
Step 6: Download and Install Beat Saber APK on Quest
Next, you’ll want to visit Oculus.com and ensure you’re logged in on the same account that you own Beat Saber. You’ll also want to leave this tab open when installing the Beat Saber APK.
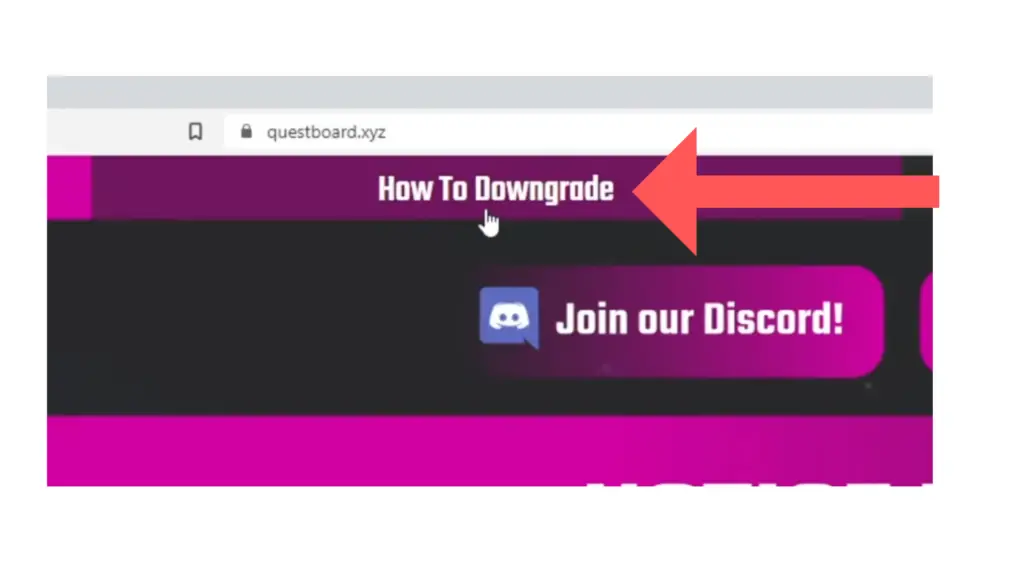
Then Visit Quest Board, select “How to downgrade,” and follow the instructions.
Scroll down to find the download button for the Beat Saber APK.
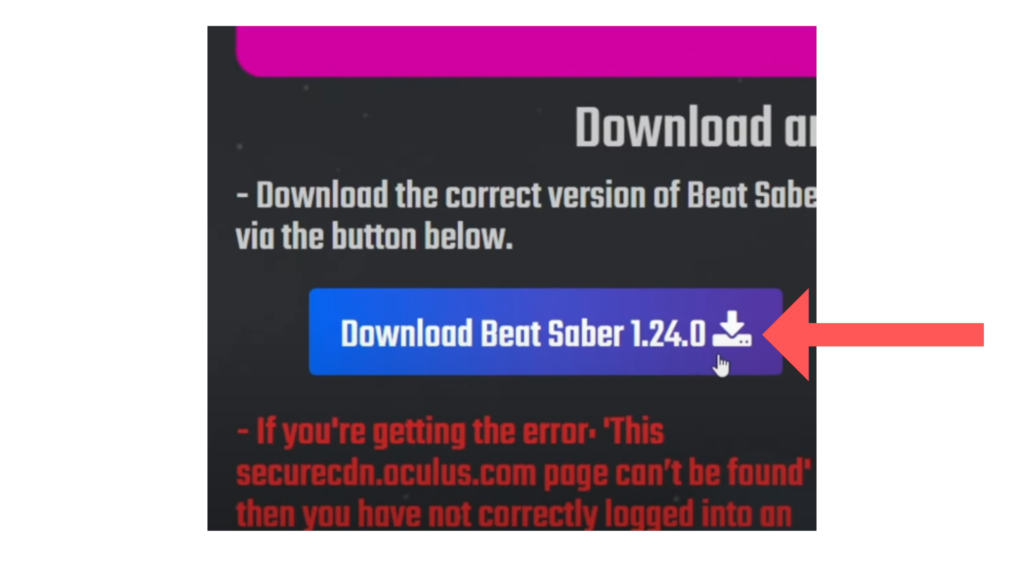
Then, on SideQuest, ensure you’re still connected to your device. And click on the arrow icon in the top right corner to Install the APK file onto your Quest 2.
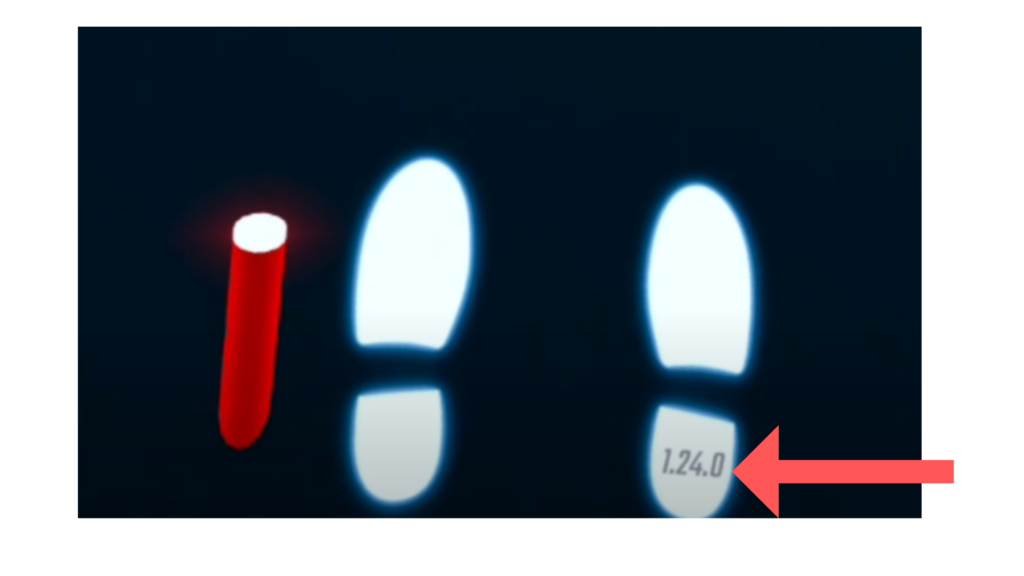
Launch Beat Saber to ensure you are running the correct version.
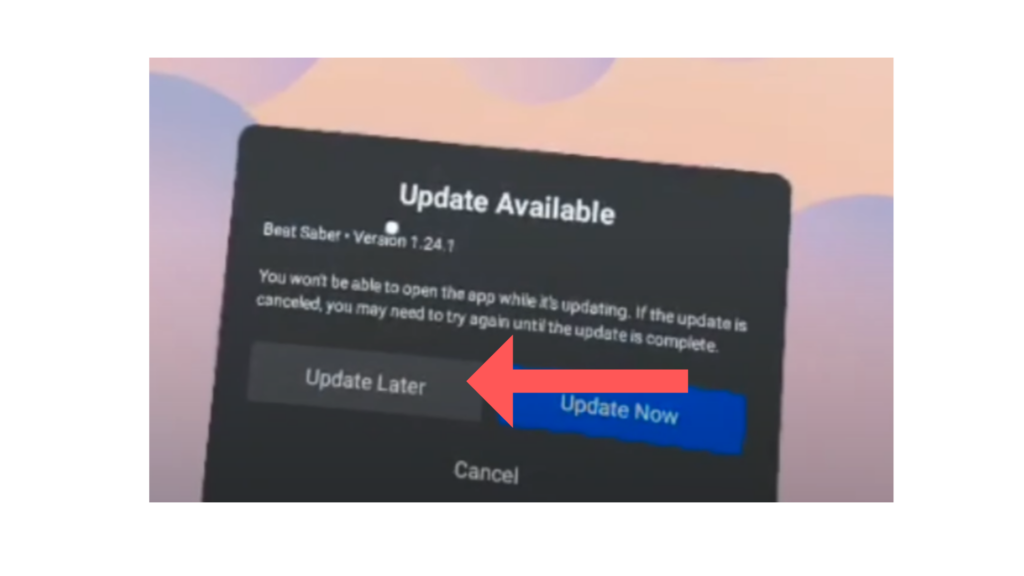
Upon launching beat saber, you’ll receive an “Update available popup. Select “Update Later.”
Confirm your Beat Saber Version by Looking Down at Your Feet.
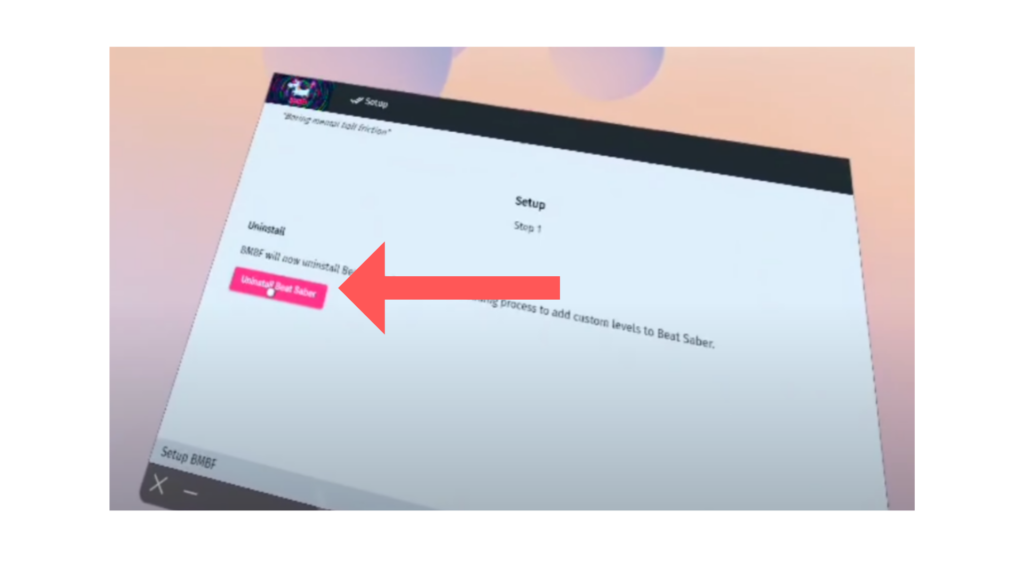
Step 7: Modding Beat Saber with BMBF on Quest
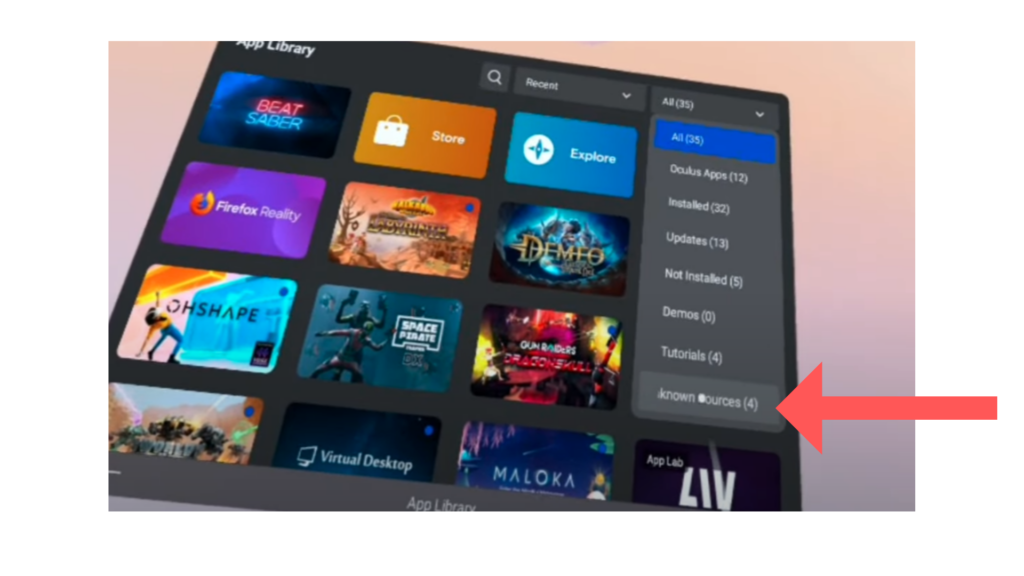
On your Quest App library, select “All” in the top right corner and select “Unkown Sources.”
Select launch BMBF, and select “Uninstall beat saber.”
Once complete, select “Patch Beat Saber” to install the moded version. You’ll receive a notification asking to “restore the app.” Doing so will restore the unmodded version, so you’ll want to click on “Close.” Once Beat Saber is installed, do not open Beat Saber yet; instead, close BMBF and relaunch it.
Step 8: Sync BMBF with Beat Saber
Once BMBF is launched, if you’ve previously moded, you’ll receive a notification asking if you would like to restore your playlist. You can select Restore if you would like to restore it.
In BMBF, go to “Tools” and select “Start Beat Saber” If you see “Sync Beat Saber” instead, then select it and then select “Start Beat Saber.” Once complete, you should have a modded version of Beat Saber with custom songs and other features.
Step 9: Install Additional Beat Saber Mods
You’ll find all the mods currently installed on your headset in the Mopd tab on BMBF.
To install additional mods, visit Quest Board, select Released Mods, browse the available mods for your version of Beat Saber, and download the ones you want on Sidequest. Next:
- Make sure your headset is connected and allowed access.
- Put on your Quest 2 headset and go into BMBF.
- Click on “Tools” and note the URL displayed in the top right corner.
- Type the URL exactly as shown into your computer’s browser.
- Keep your headset awake and connected to SideQuest, then press “Enter” in your browser.
- You should see the “Upload Files” page; either click in the center or drag and drop your mod files.
- Check the bottom right corner for “Cued” and then click “Sync to Beat Saber.”
- You should see “Success” for each mod. If not, there was an issue with the transfer.
- Launch Beat Saber, and when prompted, click “Open App” instead of “Restore App” to avoid reverting to the unmodded version.
- Check that your mods are present and working correctly in the game.
(Note: Ensure you select Open App when opening Beat Saber instead of selecting Restore to stay in the moded version.)
Final Thoughts
In conclusion, modding Beat Saber on the Oculus Quest 2 can seem daunting, but it’s a great way to expand the game’s capabilities and enjoy custom songs and other features.
By following the above steps carefully, you can successfully mod Beat Saber and continue using your favorite mods.