Protecting your data and game achievements is essential when using any device, including the Oculus Quest 2. Thankfully, the Oculus Quest 2 includes a cloud save backup feature to help you safeguard your saved data against unforeseen disruptions or losses.
In this article, we’ll show you how to turn on the cloud save backup for the Oculus Quest 2. We’ll also explain how to check which of your games and apps support this cloud save feature. This way, you can be sure your data is safe and accessible when needed. So, without further ado, let’s dive right in and ensure your data remains secure and accessible.
Understanding Cloud Save Backup
Cloud Save Backup is a useful feature available on Oculus Quest 2, which helps users safely store their game progress and settings on the cloud. By enabling this feature, you can seamlessly switch between devices or safely remove games without losing their saved data.
When Cloud Backup is enabled, Meta, the company behind Oculus, securely stores the device’s app data, such as game progress and game settings, on their cloud servers. The benefit of using cloud backup is that it allows players to access their saved files across different devices seamlessly.
Once cloud backup is enabled, compatible games and apps will automatically back up their saved files to the user’s Oculus account. It is important to note that not all games and apps support cloud saves, so users should check in-game settings or developer documentation to confirm compatibility.
Enabling Cloud Save on Your Device
How to Enable or Disable Cloud Backup on Oculus Quest 2:
1. Wear Your Headset: Begin by putting on your Oculus Quest 2 headset.
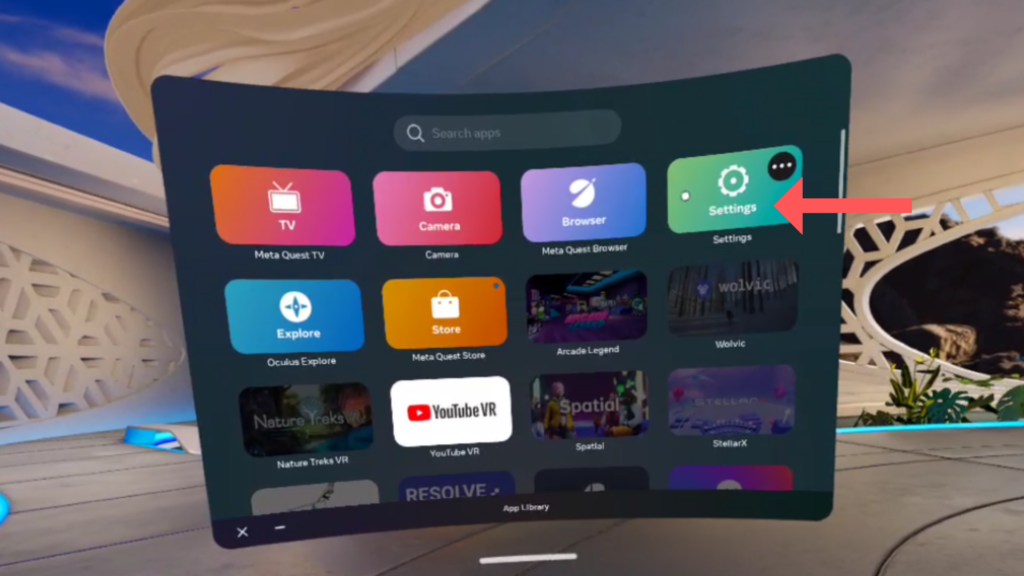
2. Open Settings: Press the Oculus logo button on your right controller, then click on the “Home” navigation to open the Settings page.
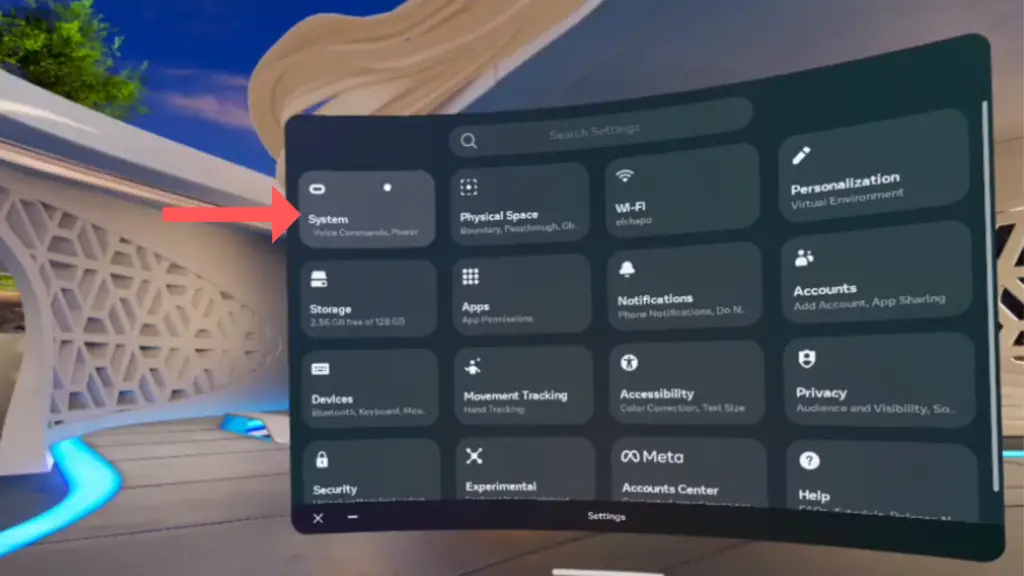
3. Navigate to System Settings: Inside the Settings panel, select “System.”
5. Backup Settings: Within the System options, select “Backup.”
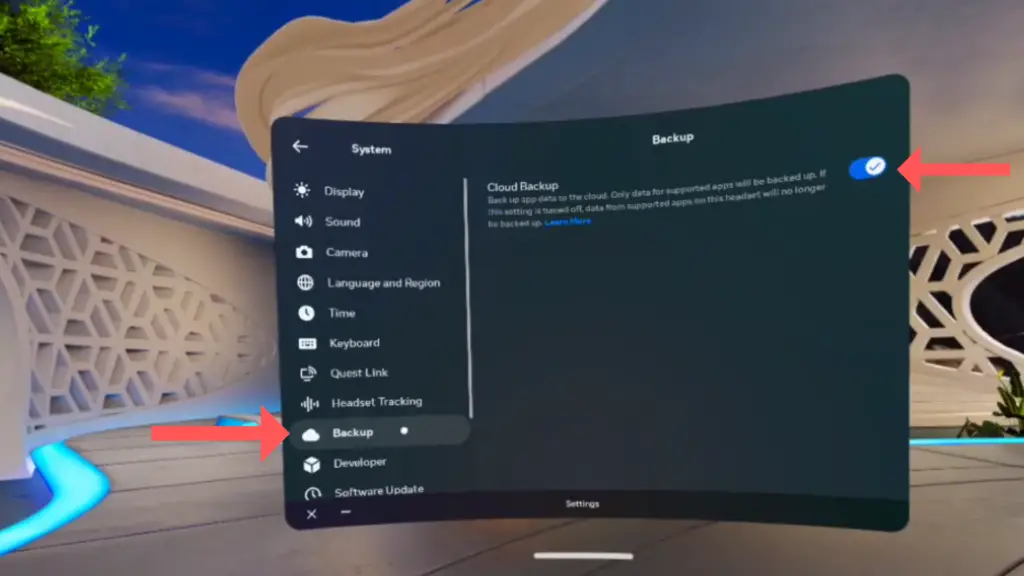
6. Toggle Cloud Backup: Here, you’ll see a toggle option next to “Cloud Backup.” Simply select this toggle to either turn Cloud Backup ON (if it’s currently off) or OFF (if it’s currently on).
Again it’s important to note that while the Oculus platform does offer built-in cloud backup for many games, it’s not available for all. For games that support cloud saves, your progress is automatically saved to your Oculus account. But, it’s a good idea to check the game’s settings or its store page to see if cloud backup is an option.
Verifying Cloud Backup for Oculus Quest 2 Games and Apps
Ensuring the safety of your game and app data is essential. Oculus Quest 2 provides a cloud backup feature that allows you to safeguard your progress and data. To easily verify which of your games and apps have been backed up:
1. Visit the Dedicated Backup Page:
- Open a web browser on your computer or mobile device and navigate to Oculus Cloud Backup. (https://secure.oculus.com/my/cloud-backup/)
2. Login to Your Account:
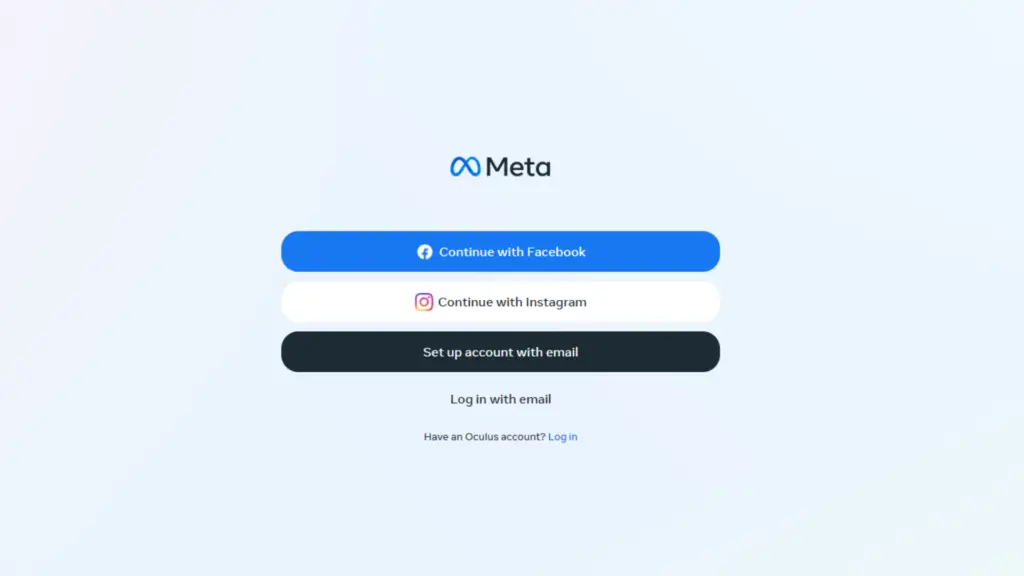
- If you’re not automatically logged in, you’ll be prompted to enter your Facebook Oculus account credentials. This ensures secure access to your backup details.
3. Review Your Cloud Backups:
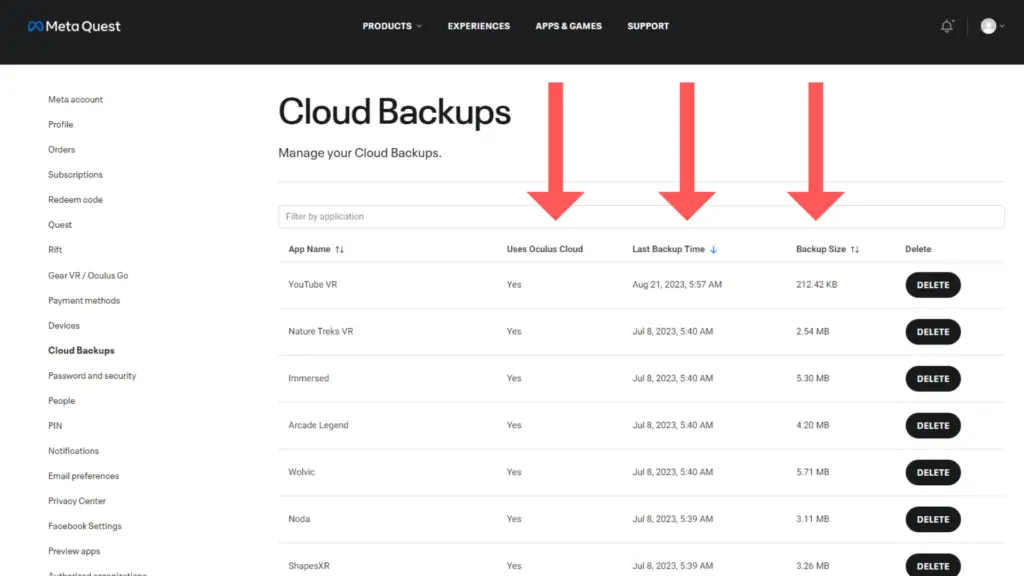
- Once logged in, you’ll be presented with a comprehensive list of all your backed-up games and apps. Here, you can check the status and details of each backup.
4. Identify Supported Games and Apps:
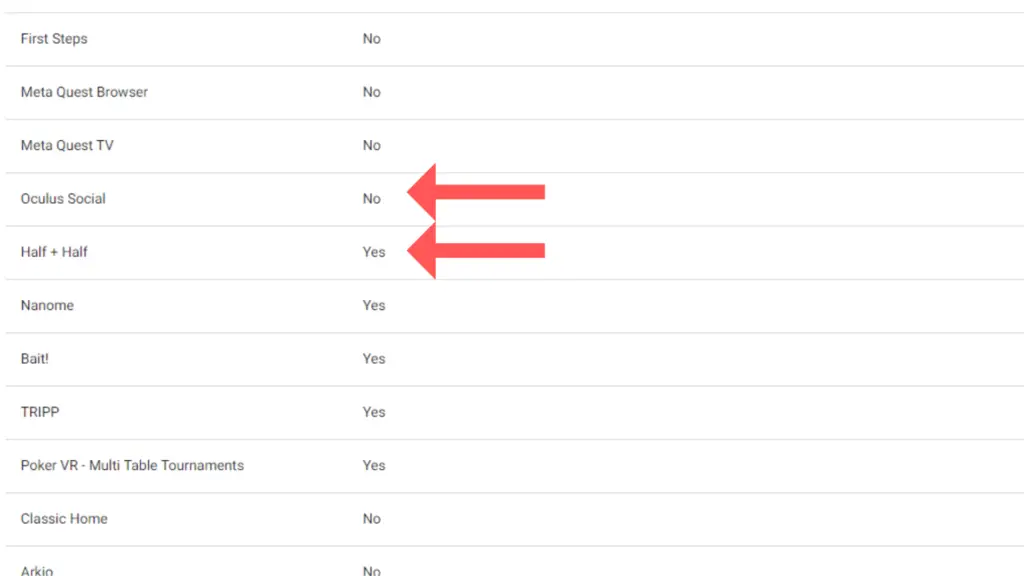
- The platform also provides information on which games and apps support cloud backups and which don’t. This can help you keep track and make informed decisions about your gameplay and data storage.
Regularly visiting this site will give you peace of mind, knowing that your virtual experiences and progress are securely stored and easily recoverable.
Troubleshooting Common Issues
Resetting Your Device’s Connection
Sometimes, cloud save backup on Oculus Quest 2 may not function properly due to connection issues. It’s important to ensure that your device is connected to Wi-Fi and maintain a stable internet connection. If you experience connection issues, follow these steps:
- Press the Oculus button on the right controller to bring up the universal menu.
- Click on the clock area and open Quick Settings.
- Select the Wi-Fi icon and check if your device is connected to a working Wi-Fi network.
- If not connected, select the appropriate network and enter the password, if required.
- Re-test the cloud save backup functionality.
If the issue persists, consider resetting your Wi-Fi router or modem by unplugging it for approximately 30 seconds and then plugging it back in. This step ensures that your router/modem is functioning optimally and allows the Oculus device to establish a connection.
Updating Your Oculus Software
Outdated software may also cause issues with cloud save backup on the Oculus Quest 2. It is critical to keep the software up-to-date for an optimal user experience. Here’s how you can update your Oculus software:
- Press the Oculus button on the right controller to bring up the universal menu.
- Click on the clock area and open Quick Settings.
- Select Settings and then System.
- Choose Software Update from the list of options.
- Check for updates, and if an update is available, follow the on-screen prompts to install it.
- Restart your device after installing the update and re-test the cloud save backup feature.