

The next generation of thermostats is amazing. Google Nest comes with a number of options that can maximize your comfort and save you money, but it’s also got a little bit of a learning curve. That said, if you are wondering how to make your Google Nest thermostat hold a specific temperature then you are in luck.
With a Google Nest Thermostat E or a Nest Learning Thermostat you simply have to disable the auto-schedule and set a new temperature and with the standard Nest thermostat you simply have to enable the ‘hold temperature’ function in order to hold the temperature.
Today we’ll walk you through the simple steps that you need to set your Google Nest thermostat to a simple, set temperature. After that, we’ll briefly touch on some advanced settings available with the Nest E and the Nest Learning Thermostat that can do this automatically!
It’s easier than you think… You’ll see!
How to make your Google Nest thermostat hold a temperature
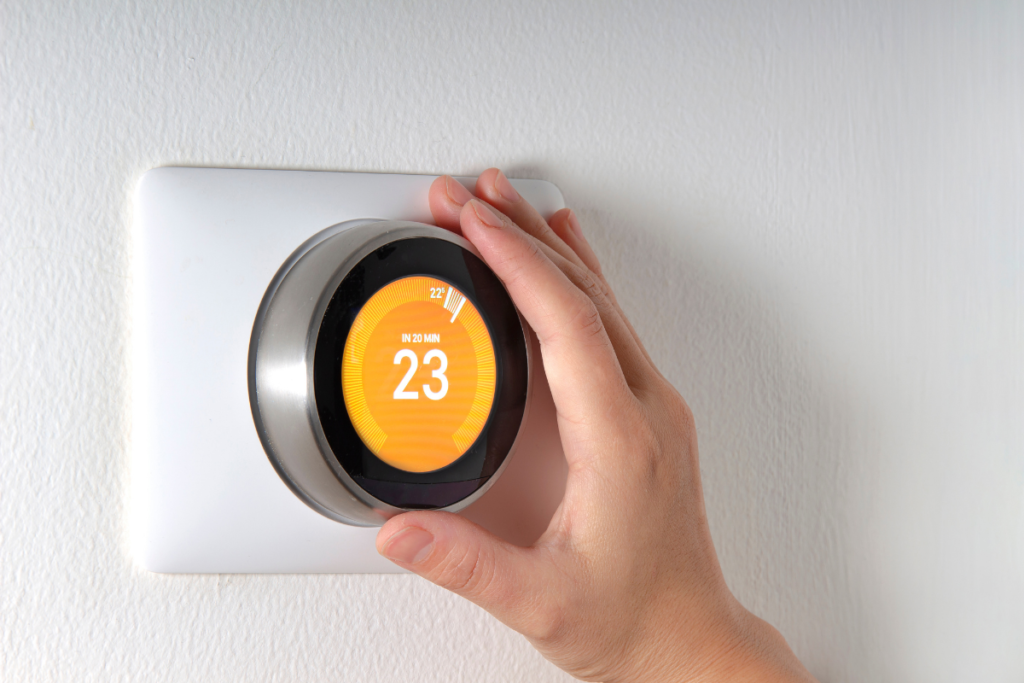
If you have the original Google Nest thermostat then setting a specific temperature is a piece of cake. Setting a ‘hold temperature’ gives you an easy way to go off your schedule briefly to keep the place at a certain temperature if you need to stay longer or if you want to set a minimal temperature while you are on vacation.
Let’s go through the steps for this simple process.
Setting a temperature through the Home app
If you are using the Home app for your Google Nest then you will want to follow the steps below:
- Touch the Home app icon on your Smartphone or Tablet.
- Select your thermostat on the opening screen.
- Confirm that your thermostat is currently in one of three modes or this will not work. It should be set to ‘Cool’, ‘Heat’, or “Heat • Cool”. If it not, turn on the mode that you want before we proceed.
- Select the ‘Hold Temperature’ icon. It should look like a clock.
- Select the temperature that you want it to hold. Note: If you don’t see the setting, you can manually set the temperature to the one you want directly on the thermostat, and when you go back into these settings it should be a listed option.
- After selecting the temperature, you will need to select the end time for your temperature hold. This can be for up to 24 hours, unless you use the Eco preset. With the Eco Preset you can select ‘none’ and it will hold the temperature until you change it.
- Select Start and your temperature hold will begin. Note: If you want to make changes to this temperature then you will need to end the hold. Steps for this will be listed at the end of the Google Nest section.
Setting a temperature directly through the thermostat
Setting the temperature directly through your Google Nest thermostat is even easier. To do this, just use the following steps:
- From the menu view on your thermostat, select the Hold option. It will look like a clock icon.
- Select Eco Mode if you want to hold the temperature indefinitely or Current Temp if you want to hold a specific temperature for up to 24 hours.
- Select ‘None’ in Eco mode for an indefinite mode or select how many hours that you wish to hold (up to 24) if you are using the Current temp settings.
- Choose Confirm to activate the new settings. As with the Home app, if you wish to change the temperature then you will need to end the hold before this will be possible.
Ending a temperature hold
Ending a Temperature hold only takes seconds. From your app or thermostat menu, simply select the Hold temperature/clock icon and then select Stop. This will end the hold so that you can program in the new settings which you desire.
Holding a specific temperature with a Nest Thermostat E or a Nest Learning Thermostat
If you are using a Nest Thermostat E or a Nest Learning Thermostat then your steps are going to be a little different. For your Nest Thermostat E you will have 2 scheduling options:
- Auto-schedule
- Basic Schedule
While your Nest Learning Thermostat will only have one:
- Auto-schedule
We’re going to need to disable the Auto-schedule as this will override any manual settings that we make. This is by design, as the Google Nest uses Auto-schedule learning to determine what temperatures you like and when you typically want them set, so if we don’t change this then Google will change the temperature automatically.
Turning off the Auto-schedule learning
When we turn off your Auto-schedule learning your Google Nest thermostat will retain it’s exiting schedule, but it will stop learning from any changes that you make until you re-enable this setting. Use the steps we have listed below to do this from your app or directly from your thermostat:
- From the Google Nest App: Select the icon for your Nest app and then select your Thermostat from the screen. Choose Settings and then select Auto schedule. Press Off and you are done!
- From your Thermostat: Select Settings on your thermostat, then select Nest Sense and Auto-Schedule. Choose Off and you are done!
Clearing out existing schedules
This step is optional, so you can skip it if you like. If you simply want to see if there is a set schedule then you may view it with the following steps:
- For Nest Learning Thermostat: Select the ring on your screen and then choose Schedule.
- For the Nest E Thermostat: Select the ring on your Thermostat and then choose Settings, followed by Schedule.
To clear out a set schedule you can select Settings, then Reset (or Clear, depending on your model), and Schedule. Note: If you have a Google Nest Thermostat E, you can also select Basic and this will override an existing schedule and replace it with the default Basic schedule preset of your Nest Thermostat E
Creating a new schedule
For a scheduled temperature hold with your Nest Learning or Nest Thermostat E you must go into your quick view menu, where you will select Schedule for a Nest Learning model or Settings and then Schedule for the Thermostat E.
After that, just select the temperature and times that you like from the screen which follows. We should note that if you have one of these models, there are some advanced settings that can override your temperature hold which you should be aware of.
Holding a specific temperature: Advanced scheduling settings to watch
There are a couple of settings that you should be aware of which can save you some time and which frankly, are a great reason for selecting a Google Nest Thermostat in the first place. Try one of the settings below to really get the most out of your Google Nest when it comes to custom temperature settings:
- Presence sensing: Make sure that you haven’t enabled ‘Home and Away’, because this will override your temperature hold if the Google Nest Thermostat doesn’t sense that anyone is in the house. To do this you will need to disable the Eco Temperature auto switching function.
- Early-On: If you have Early-On enabled, then this is designed to ensure that your home is a specific temperature when you wake up or arrive there from work. This will start at a lower temperature to cool the house faster, so if you want to override this then you will need to disable Early-on.
In closing
Today we’ve outlined how to hold a specific temperature with your Google Nest. This is useful if you are new to this thermostat or simply need a quick way to set a specific temperature immediately so that you can bypass a set schedule.
As you can see, it’s a piece of cake, just don’t forget to check advanced options if you have the Nest Learning or Thermostat E models. Your Google Nest Thermostat should now retain the exact settings that you have defined!


