

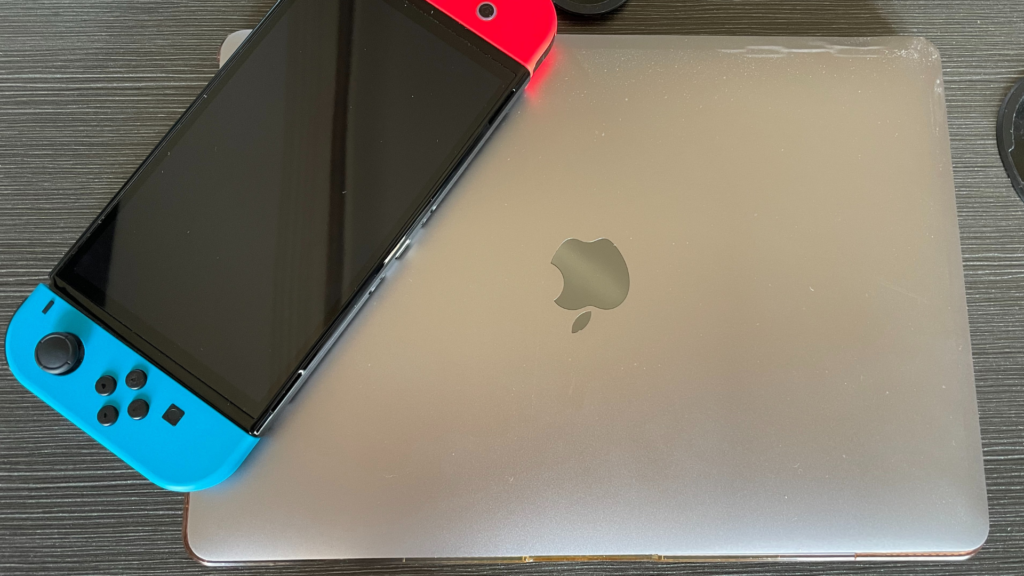
If you own a Nintendo Switch and want to connect it to a bigger display, but a MacBook is all you have, then believe it or not, this is actually a viable option.
The connection process will require a few initial setup requirements, one being a streaming app such as OBS. You’ll also need a Video Capture card that’s compatible with your MacBook, then you’ll be all good to go. Let’s walk you through the whole process step by step.
How to Connect Nintendo Switch to MacBook
The main thing you’ll need to get your Switch to connect to your MacBook is a Video Capture card. You’ll also need to download and install a video streaming app such as OBS. Here’s how to do it.
(Note: This will not work on the Nintendo Switch Lite)
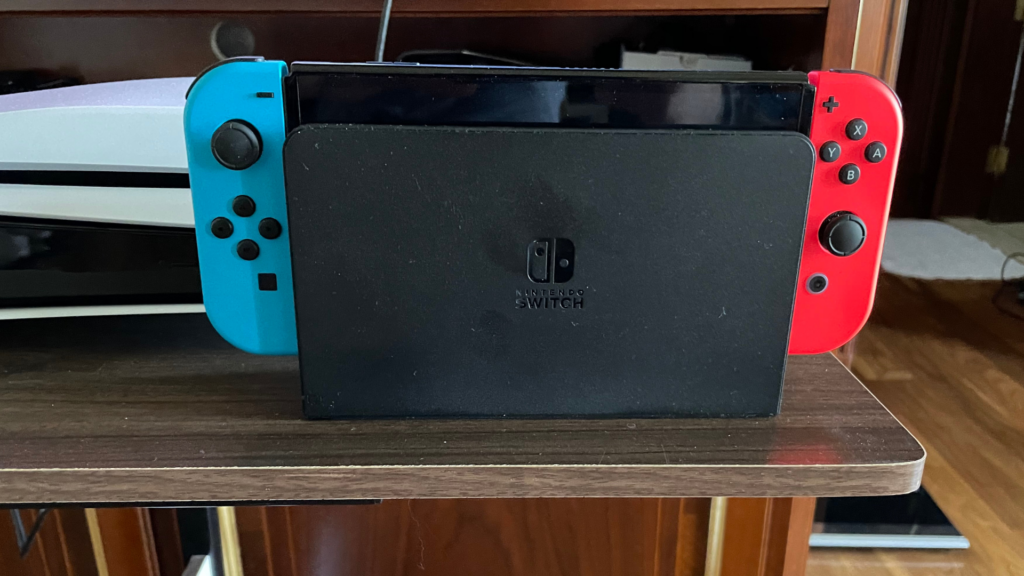
1. Insert the Nintendo Switch into the Dock.
2. Remove the Nintendo Switch’s HDMI cable from the TV.
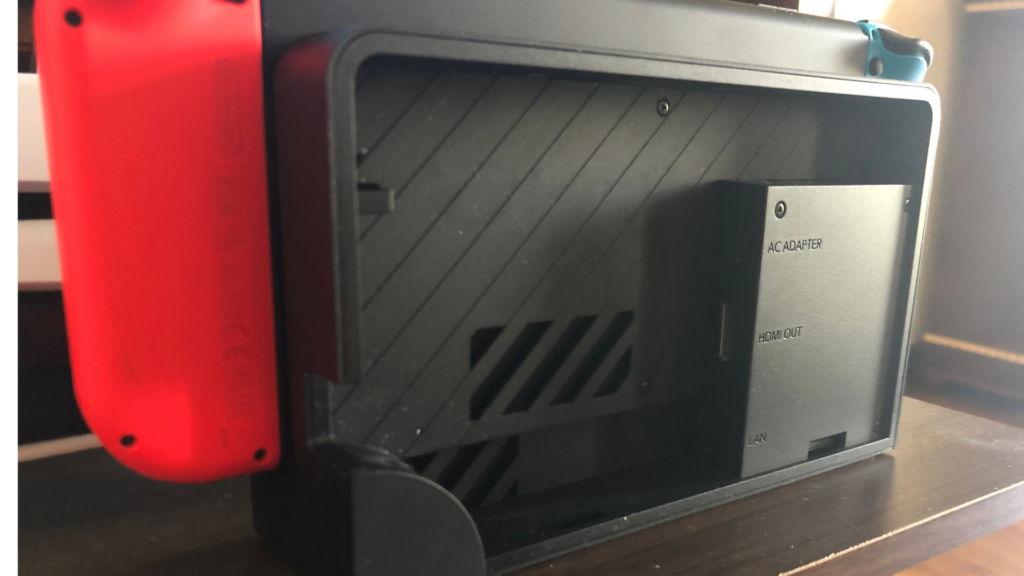
3. plug the HDMI cable into the Video capture card’s HDMI port & the other end onto your Nintendo Switch’s HDMI port.
4. Next, you will need to download & install the OBS app. This will allow you to stream your Switch’s screen to your MacBook.
5. Before launching the app go to your Sound Settings on your MacBook, and on the Input tab, select your Video Capture Device. To do this, click on the apple icon on the top right corner of your screen >System Preferences > Sound > Input.
6. Once the app is installed, Launch the app and press the + icon located under Sources at the bottom of the screen.
7. Select Audio Input Capture, name it whatever you’d like, and press Ok.
8. On Device select your USB capture card and select OK.
9. Now select the gear icon under the Audio Mixer tab and select Advanced Audio Properties.
10. And select Monitor and Output and close the tab.
11. Now go to the main menu and press on the + icon once again under Sources and select Video Capture Device, and name it to whatever you’d like
12. now on Device, select the drop-down menu and select USB Video.
13. Now select your resolution, and FPS 1920×1080 resolution and 60 FPS are preferred for optimal quality.
14. Now turn on your Nintendo switch your display should display on the left Preview screen. Now right-click the right screen labeled Program and select Full-Screen Projector (Program), and select your MacBook.
15. And that’s it! You should now be all set.
What’s a Video Capture Card?
As mentioned above, a capture card is needed to help stream your Nintendo Switch’s content from your Switch to your MacBook. But what is it exactly?
A Video Capture card is simply a device that converts a video signal from one device, in this case, your Nintendo Switch, into a format that your MacBook recognizes, thus allowing you to display your gameplay onto your screen.
Once you’ve gotten your hands on a Video Capture card, you’ll then need a compatible streaming program to allow you to display your content to your screen, such as OBS.
How to Connect your Nintendo Switch to Your MacBook to Share Photos and Videos
If you’re trying to connect your Switch to your MacBook to simply share your gameplay photos or videos, then the process is much simpler.
Thanks to the Switch’s 11.0.0 update, a USB-C cable will now allow you to connect to a PC.
To do this, you’ll first need to download and install the Android File Transfer application if you’re a mac user, in order to be able to share the files between both devices.
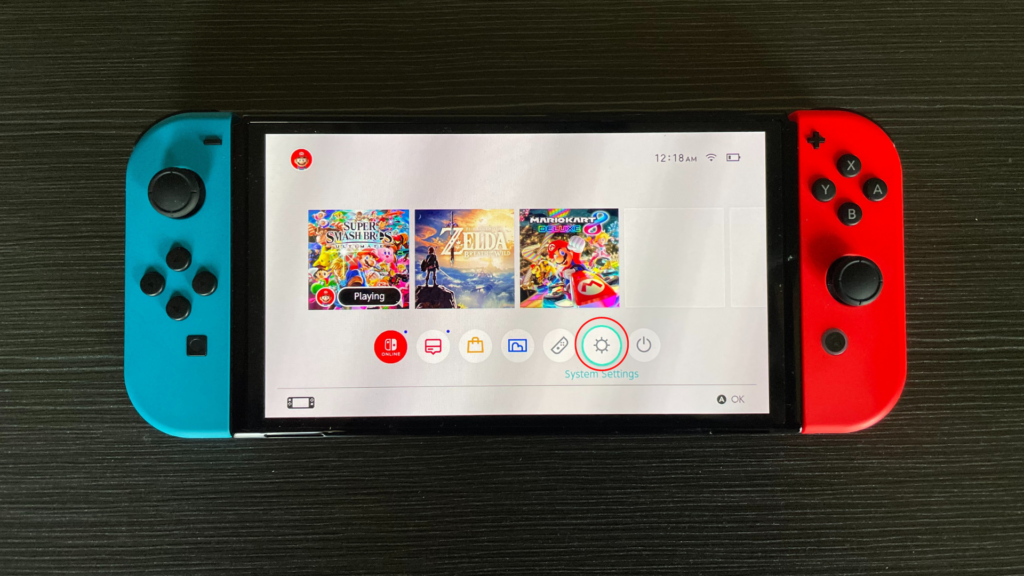
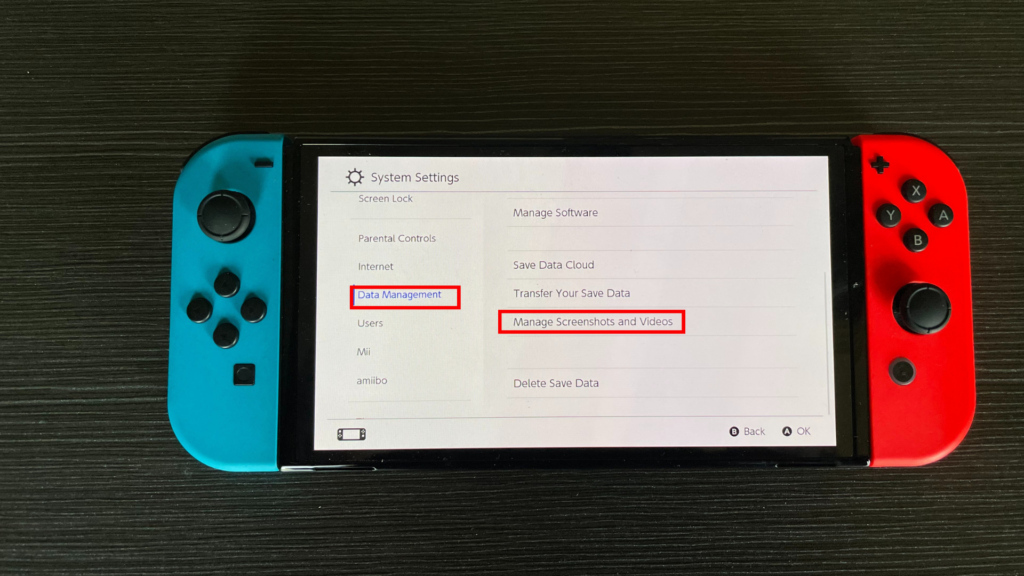
- Now head over to your Nintendo Switch, and navigate to System Settings.
2. select Data Management, now tap on Manage Screen Shots & Videos
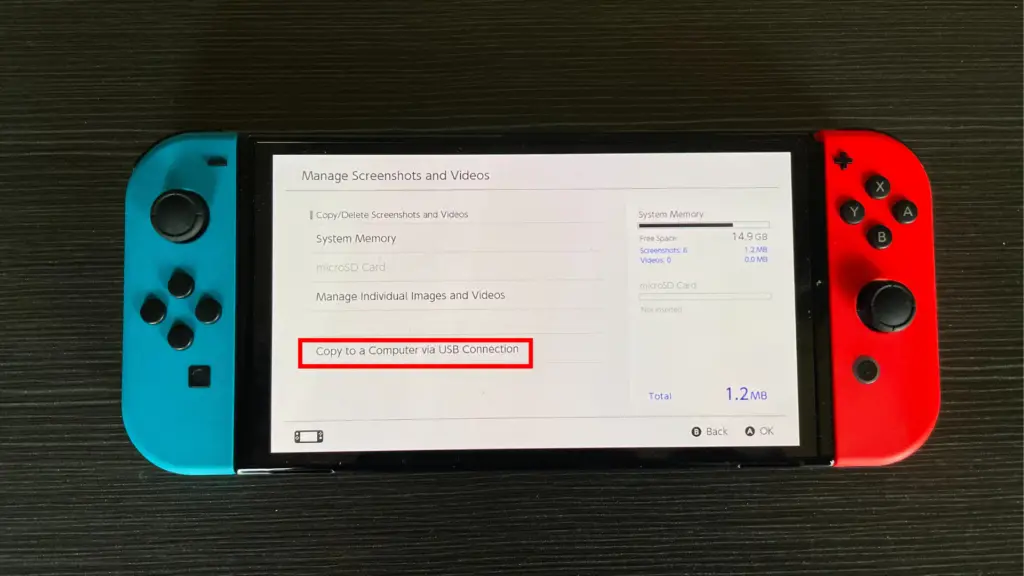
3. And then select Copy to PC via USB Connection.
Now Plug in the USB-C cable into your Nintendo switch and the other end into your MacBook.
All you would need to do now is open your MacBook Applications and select the Android File Transfer Application. Once you open the Application, your Nintendo Switch should be recognized. From here, simply open the folders of the images you want and drag and drop them onto your MacBook. And that’s it!
Can Gaming Damage Your MacBook?
Gaming itself cannot damage your laptop whatsoever. However, gaming on your laptop may demand more resources from your device and thus potentially causing your device to heat up more than it would normally.
Heat, in general, is known for causing damage to a laptop’s battery and Motherboard and can result in either chemically aging the device’s battery life or reducing the efficiency of the device’s electrical current and thus resulting in reduced overall performance.
However, even if this is the case, MacBooks, in general, are equipped with a safety system that prevents your laptop from reaching dangerously high-temperature levels by instantly shutting off your device once it begins reaching levels of extreme temperature.
You can also monitor your device’s temperature levels and ensure that it never exceeds the normal operating temperature. This also includes sun exposure or room temperature conditions.


