

Jlab earbuds are quality earbuds, and everyone loves them. That said, there are issues that can sometimes occur where you find that your earbuds are not working on one side. Typically, it is going to be the left side, as the right earbud actually establishes the direct connection.
Steps between the different models may occasionally differ, but don’t worry; we’ll provide instructions for every pair of Jlab earbuds below.
Let’s start with the most common reasons why your Jlabs earbuds aren’t working on one side.
Possible reasons why your Jlab earbuds are not working on one side
This issue is not uncommon as it is generally a matter of setup or configuration. The good news is that if this is the case, you have some easy steps which you can follow that might get your earbuds back in action in record time. Below are the most common reasons for the issue which you are currently experiencing:
- Your earbuds need to be manually reset.
- They need to be “forgotten” & reconnected.
- Charging connectors are blocked, or earbuds aren’t placed correctly in the charging case
- The earbud tips are not fitted correctly, resulting in the earbuds being improperly positioned in the case’s charging pins
- Another device may be trying to establish a connection to your earbuds
- One earbud might be turned off
- The earbuds may have run out of battery
- It could be actual damage to the earbuds
We’ll elaborate on each of these possibilities and give you some instructions to follow so that you can narrow down the issue from home and take the appropriate steps. Let’s get started!
Your JLab earbuds need to be manually reset
We’ll begin with how to reset your JLab earbuds, mainly because this is the solution in most cases. The pairing process may have just run incorrectly, and resetting them will allow you to start from scratch.
The reset process varies depending on the JLab earbuds model you own. Below we’ve provided reset instructions for every Jlab model in the market. Simply find the earbud model you own and follow the steps below:
JLab Go Air:
- First, “forget” your JLab go Air from your device’s Bluetooth list.
- With both earbuds placed inside the case, quick tap one earbud seven times (your earbuds should flash Blue three times)
- While both earbuds are still in the case, quick tap the other earbuds seven times
- Take both earbuds out of the case; if the reset process was successful, one should flash solid white while the other one flashes white and blue. Indicating that your earbuds are now connected to one another and are ready to pair.
If this didn’t work for you in some cases, you might need to repeat this process two or three more times.
Jbuds Air Models:
- On your device’s Bluetooth settings, select to forget the ‘Jbuds Air’ earbuds listing.
- Place your earbuds in the charging case, leaving the case open.
- Beginning with one of your earbuds first, you should tap the button 4 times. We should see blue lights blinking 4 times before turning a solid blue.
- Repeat this for your other earbud.
- Remove your earbuds from the charging case, being sure to keep them separated at least 2 inches from each other. Your left earbud should soon flash a solid white, while the right will be blinking in blue and white. Indicating that your earbuds are connected and ready to pair.
Epic Air Models:
- Place your earbuds in the case and “forget” your Epic Air earbuds from your device’s Bluetooth list.
- With both earbuds still place inside the case, quick tap one earbud seven times (your earbuds should flash Blue three times)
- While both earbuds are still in the case, quick tap the other earbuds seven times
- Take both earbuds out of the case. If the reset process was successful, one should flash solid white while the other one flashes white and blue. Indicating that your earbuds are now connected to one another and are ready to pair.
They need to be “forgotten” & reconnected

As mentioned above, in some cases, the pairing process may have just run incorrectly, and all that would need to be done is for you to restart the process. To do this, go to your device’s Bluetooth list and “forget” your JLab earbuds. Now place your earbuds in pairing mode to reconnect and select them on your device’s Bluetooth list, and they should now be connected.
How To Pair: JLab Go Air / Go Air Pop / Go Air Sport / Go Air Tones / JBuds Air ANC / JBuds Air V3/ V2/ V1 /Jbuds Air Icon :
- Turn off Bluetooth from any previously connected device.
- Turn on your earbuds.
- Take both earbuds out of the case.
- Your earbuds will automatically enter pairing mode.
- On your device’s Bluetooth list select your JLab Go Air, and they should be connected!
Another device is trying to establish a connection with your earbuds

This is a very common problem among wireless earbuds and headphones in general. Although you may have had a previously connected device’s Bluetooth turned off or even disconnected from your earbuds. Your earbuds may still be trying to establish a connection with that device.
To prevent this from happening, you’ll need to “forget” your earbuds from a previously connected device and try pairing them to your new device once again.
Ensure both earbuds are placed correctly in the charging case
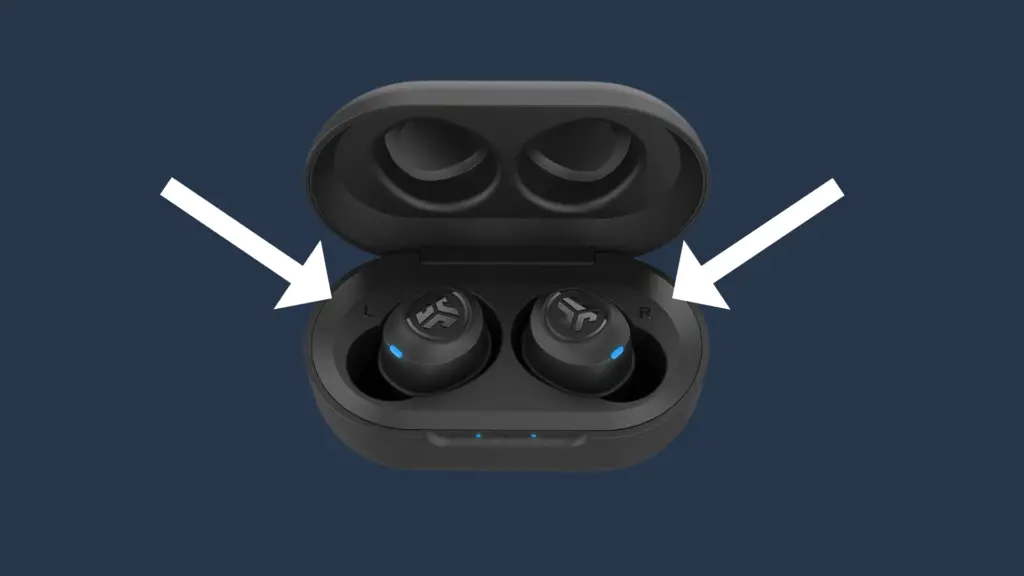
Another common issue for one earbud not to be working is that your earbuds aren’t sitting correctly in the case. This can prevent both earbuds from successfully connecting to one another. This can be due to simply not placing them correctly in the charging pins, dust & debris build up in the charging pins that need to be cleaned, or you’ve placed the tips of your earbuds incorrectly, thus preventing your earbuds from sitting perfectly on the charging pins.
Ensure Both Earbuds Are powered on
As simple as this may sound, this tends to happen more than you think. One earbud may simply be off; JLab earbuds turn off after three minutes of inactivity. Here’s how to turn your earbuds on. (All JLab earbud models have the same process for turning them on. ).
How to turn on: Jlab Go Air / Go Air Pop/ JBuds Air ANC/ JBUDS Air V3/ JBuds Air V2 / JBuds Air V1 / Jbuds Air Icon/ Jlab Air Exec / Jbuds Air Pro: / Epic Air ANC/ Epic Air Sport ANC:
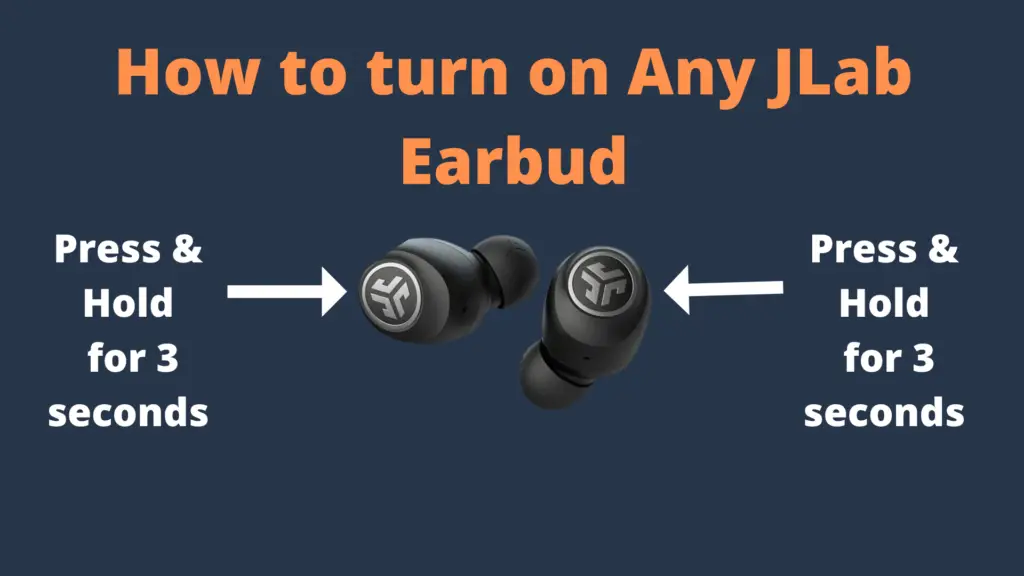
- Press & hold the JLab logo on the back of the earbud for 3+ seconds
- This should power your earbuds
Check the battery status of both earbuds
As mentioned above, not having your earbuds placed correctly in the charging pins can cause a few issues. One of them can be that one earbud may not have been charging simply because the charging connectors were blocked by dust or debris, or your ear tips have been incorrectly placed, preventing them from sitting on the charging pins, thus preventing them from charging.
It could be actual damage to the earbuds
While these are robust earbuds, any electronics may be damaged, and some common things to consider in such a case are these three issues:
- Dropping or crushing damage
- Used in extreme humidity, heat, or cold
- Earbuds were cleaned and placed in the case without drying.
Some final words on your JLab Earbuds
If none of these steps appears to have resolved your issue, then be sure to check the updated manual information for your specific JLab earbuds model. Here you may find troubleshooting information that will be model-specific and, in some cases, presented in video form to help you along.
We hope that these steps resolve the issue. However, if you are still having trouble with one earbud not working, then you may check the upper left of the JLab page highlighted ‘support.’ This will allow you to register to Jlab’s support to see if further options are available for your earbuds.


