

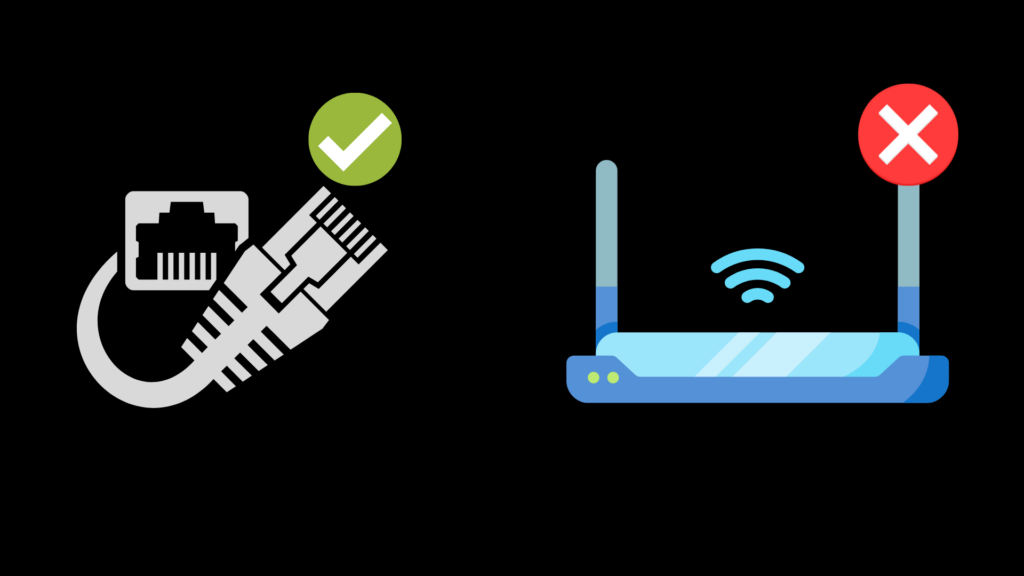
The Internet relies on a complex working relationship between every smart device at or between the endpoints. A single device can have several abilities, and each one may encounter errors during its operation. For example, your Wi-Fi router may be properly distributing its Internet connection to devices wired by Ethernet cable, but its wireless functions aren’t working.
Troubleshooting the issue with the router requires a number of steps to accurately suss out the problem, but here is a quick cheat sheet for many tech problems: make sure all cables are solidly plugged into the right spot, make sure everything is powered, and turn everything off and on again. While not as elegant or detailed as the solutions below, the mantra will work for basic problems without needing to understand more.
Determining the Problem with Your Wi-Fi Router
The first step in any tech troubleshooting is narrowing down the source of the issue. When a router’s Wi-Fi is failing but the Ethernet is working, that points to an issue with the router, the connecting device, or somewhere in between. Testing other devices with the router is the easiest way to quickly determine which end it is.
To form an Internet connection over Wi-Fi, a few steps have to take place. The router needs to have an active connection through a modem, most likely the one provided by your ISP. Then the router passes the data from the connection along to its connected devices, including both wired and wireless connections. There may also be signal boosters and access points along the way. Each step introduces potential places for the chain of connectivity to break down.
The first thing you’ll want to do is find and record your router’s model. You may not need it right now, but knowing the model will help you find details later. Look at the router’s physical form, and you should find the model printed on a sticker or etched into the plastic. Some vendors may also put the default user name and password for the router’s configuration menu there, too, so grab those bits of info if you haven’t already updated the router admin password.
Then, check the Internet connectivity through both wired and wireless devices. You won’t be able to use a smartphone for a wired connection without an adapter, so look towards a laptop or a gaming console. A smart TV close to the router might work, but it is a hassle to move if far away. Test each device for a minute or two if they connect to see if there are any hiccups in the service during use.
- If other devices are connecting to the router’s Ethernet and Wi-Fi without problem, then the source of the issue is most likely the device that’s failing to connect or its wireless adapter. Skip past the next section to begin troubleshooting.
- If other devices can’t connect to the Wi-Fi service or have consistent interruptions, then the problem is most likely with the router or beyond. Continue to the next section.
- If devices are connecting to the router but not receiving an Internet signal through both Wi-Fi and Ethernet, then the issue is likely further down the line, at the modem or beyond. Look for troubleshooting advice for a modem that’s not receiving an Internet signal.
If the Wi-Fi Isn’t Properly Working for Multiple Devices
Make Sure that the Wi-Fi is Turned On and Discoverable
The Wi-Fi functionality can be turned off on routers to let them function as wired-only devices. Depending on the model, there may be a physical button or switch on the device, or it may require checking the router’s configuration menu. These switches and buttons can be accidentally flipped when plugging in the router and cables, so don’t assume that it’s on.
A physical inspection of your router should reveal if there’s a physical Wi-Fi switch. A quick online search of the router’s model will tell you for sure if one exists.
The router’s configuration menu can also turn off the Wi-Fi, but it’s also less likely to be turned off by accident. You’ll need to use a connected device, and you will need the router’s IP address and login information. You can find the address on a PC by running the command prompt, entering “ipconfig”, and looking for the default gateway.
The configuration menu varies between models and manufacturers, so you’ll need to consult the user manual or look for a Wi-Fi toggling option once logged into the router. In the menu, you’ll also see the option for SSID broadcasting or discoverability. If it’s turned off, you’ll have to manually enter the network’s name to try to connect, which is doable but inconvenient.
Power Cycle the Wi-Fi Router
A power cycle is simply a restart that involves fully removing power from the device for at least 30 seconds. Capacitors within tech devices can keep them powered enough to maintain their old connections for a few seconds. The power cycle will make sure it gets a full refresh on all of its startup routines and connections.
Turning it on and off again is a valuable technique in a troubleshooting arsenal. You don’t want to always jump to a restart, especially if anyone is actively using the Ethernet connection for important work. That said, it has a way of fixing many issues without a ton of fuss.
Check the Wi-Fi Signal Strength
Wi-Fi signals have a limited range. For a typical model, you can expect about 150 feet (30 meters) of maximum Wi-Fi coverage, but that number quickly drops as obstacles and other devices put out competing signals into the air.
A smartphone or tablet is the fastest tool to get an idea of the signal strength. With the Wi-Fi network discoverable, put the device as close as possible to the Wi-Fi router. If the signal improves, then the router is not generating enough signal strength. Try removing other wireless devices from the near vicinity of the router.
Damage to the router’s antennae can also cause problems. Give them a visual inspection, and make sure they haven’t come loose from their housing.
Try Switching to a Different Wi-Fi Channel
Multiple Wi-Fi routers in the same area can also cause problems, including ones in use by your neighbors. Wi-Fi operates on a number of channels, much like a TV that uses channels. For severe signal problems, switching the channel may be your best bet for getting better Wi-Fi.
Like turning Wi-Fi on and off, you’ll need to use the router’s configuration menu to switch the Wi-Fi channel. For 2.4 GHz Wi-Fi, channels 1, 6, and 11 are frequently recommended for minimal overlap, but you can test out the other channels without worry. If all of your neighbors are on the recommended channels, the others will probably perform better, anyhow.
5 GHz Wi-Fi has a bigger channel list with banded gaps. You don’t have to worry as much about overlap, just other routers using the same channel band.
If Other Devices Are Working with the Wi-Fi Service
Double-Check Your Password
It is entirely possible to enter your password ten times, get it wrong every time, then finally get it right when trying again. Double-check the password, remembering that they are case-sensitive. If you have another connected device, you may be able to use it to see the current Wi-Fi password.
You can also try using the Wi-Fi Protected Setup (WPS) connection option to skip the password. Start connecting to the Wi-Fi network, then hit the WPS key on the router.
As a last option, you can reset the Wi-Fi password in the router’s configuration menu.
Check the Wireless Adapter for External Damage
Your device’s wireless adapter may have an extended antenna that it uses to capture the Wi-Fi signal. If it comes loose or gets damaged, the signal will be lost or degraded. These types of wireless cards are most common on desktops, but you may find one on a laptop.
Replace the antenna if you notice any substantial damage or cracks. You may have to head down to the store to pick up the replacement, but they’re relatively inexpensive. Otherwise, make sure the antenna is fully installed into the housing, which is usually a screw mount.
Try Running the Network Diagnostic Tool
Built-in diagnostic tools have limited usefulness, and they’ll most often do nothing or complete the next step for you. Still, it’s worth running the tool just in case it happens to find and fix the problem with minimal effort.
On a PC, you can right-click on the taskbar menu’s connectivity display to quickly find the Troubleshoot Problems option. Alternatively, the advanced adapter settings will give you the option to “Diagnose” the issue if you right-click on the specific adapter.
For a macOS device, hold down the Option key and find the Wi-Fi icon. Clicking it will show options that include Open Wireless Diagnostics.
Restart the Wireless Adapter on the Device
If your device is already disconnected, restarting its wireless adapter may fix underlying issues without wider service interruption. As stated earlier, the network diagnostic tool may have restarted the adapter for you, if it did anything at all.
On a PC, there are two quick ways to restart the adapter: the Network and Internet Settings menu, or the Device Manager. You can search for both in the search bar, but right-clicking the network icon in the taskbar icon section will give you the option to go right to the Network settings menu. Once there, go to “Change adapter options” under Advanced network settings.
The Device Manager has a longer list of devices, but they’re organized by purpose. Scroll down to the Network Adapters, click the arrow to open up the menu, and find your adapter. It will most likely have a designation like 802.11 b/g next to its name.
For a mobile device, a full restart is the easiest way to also restart the wireless adapter. The settings menu will let you clear out the saved network settings, which will only serve to make you re-enter your Wi-Fi password in most cases.
Make Sure the Wireless Adapter’s Drivers Are Installed and Updated
Drivers are the tools that a computer needs in order to make use of other devices, such as the wireless adapter. Most wireless adapters will either come with drivers installed or automatically install and update them. Some may need proactive installation, and the drivers can become corrupted just like any other data on a computer.
If you have an installation disk for the adapter, try uninstalling the adapter and reinstalling it with the disk. If not, use a wired connection or another device to download the driver and any updates. You will need to know the adapter’s model and your operating system to get the right version, but it should be available for free on the manufacturer’s website.


